Recovering the seats with covers from LSeat
Joe Angell
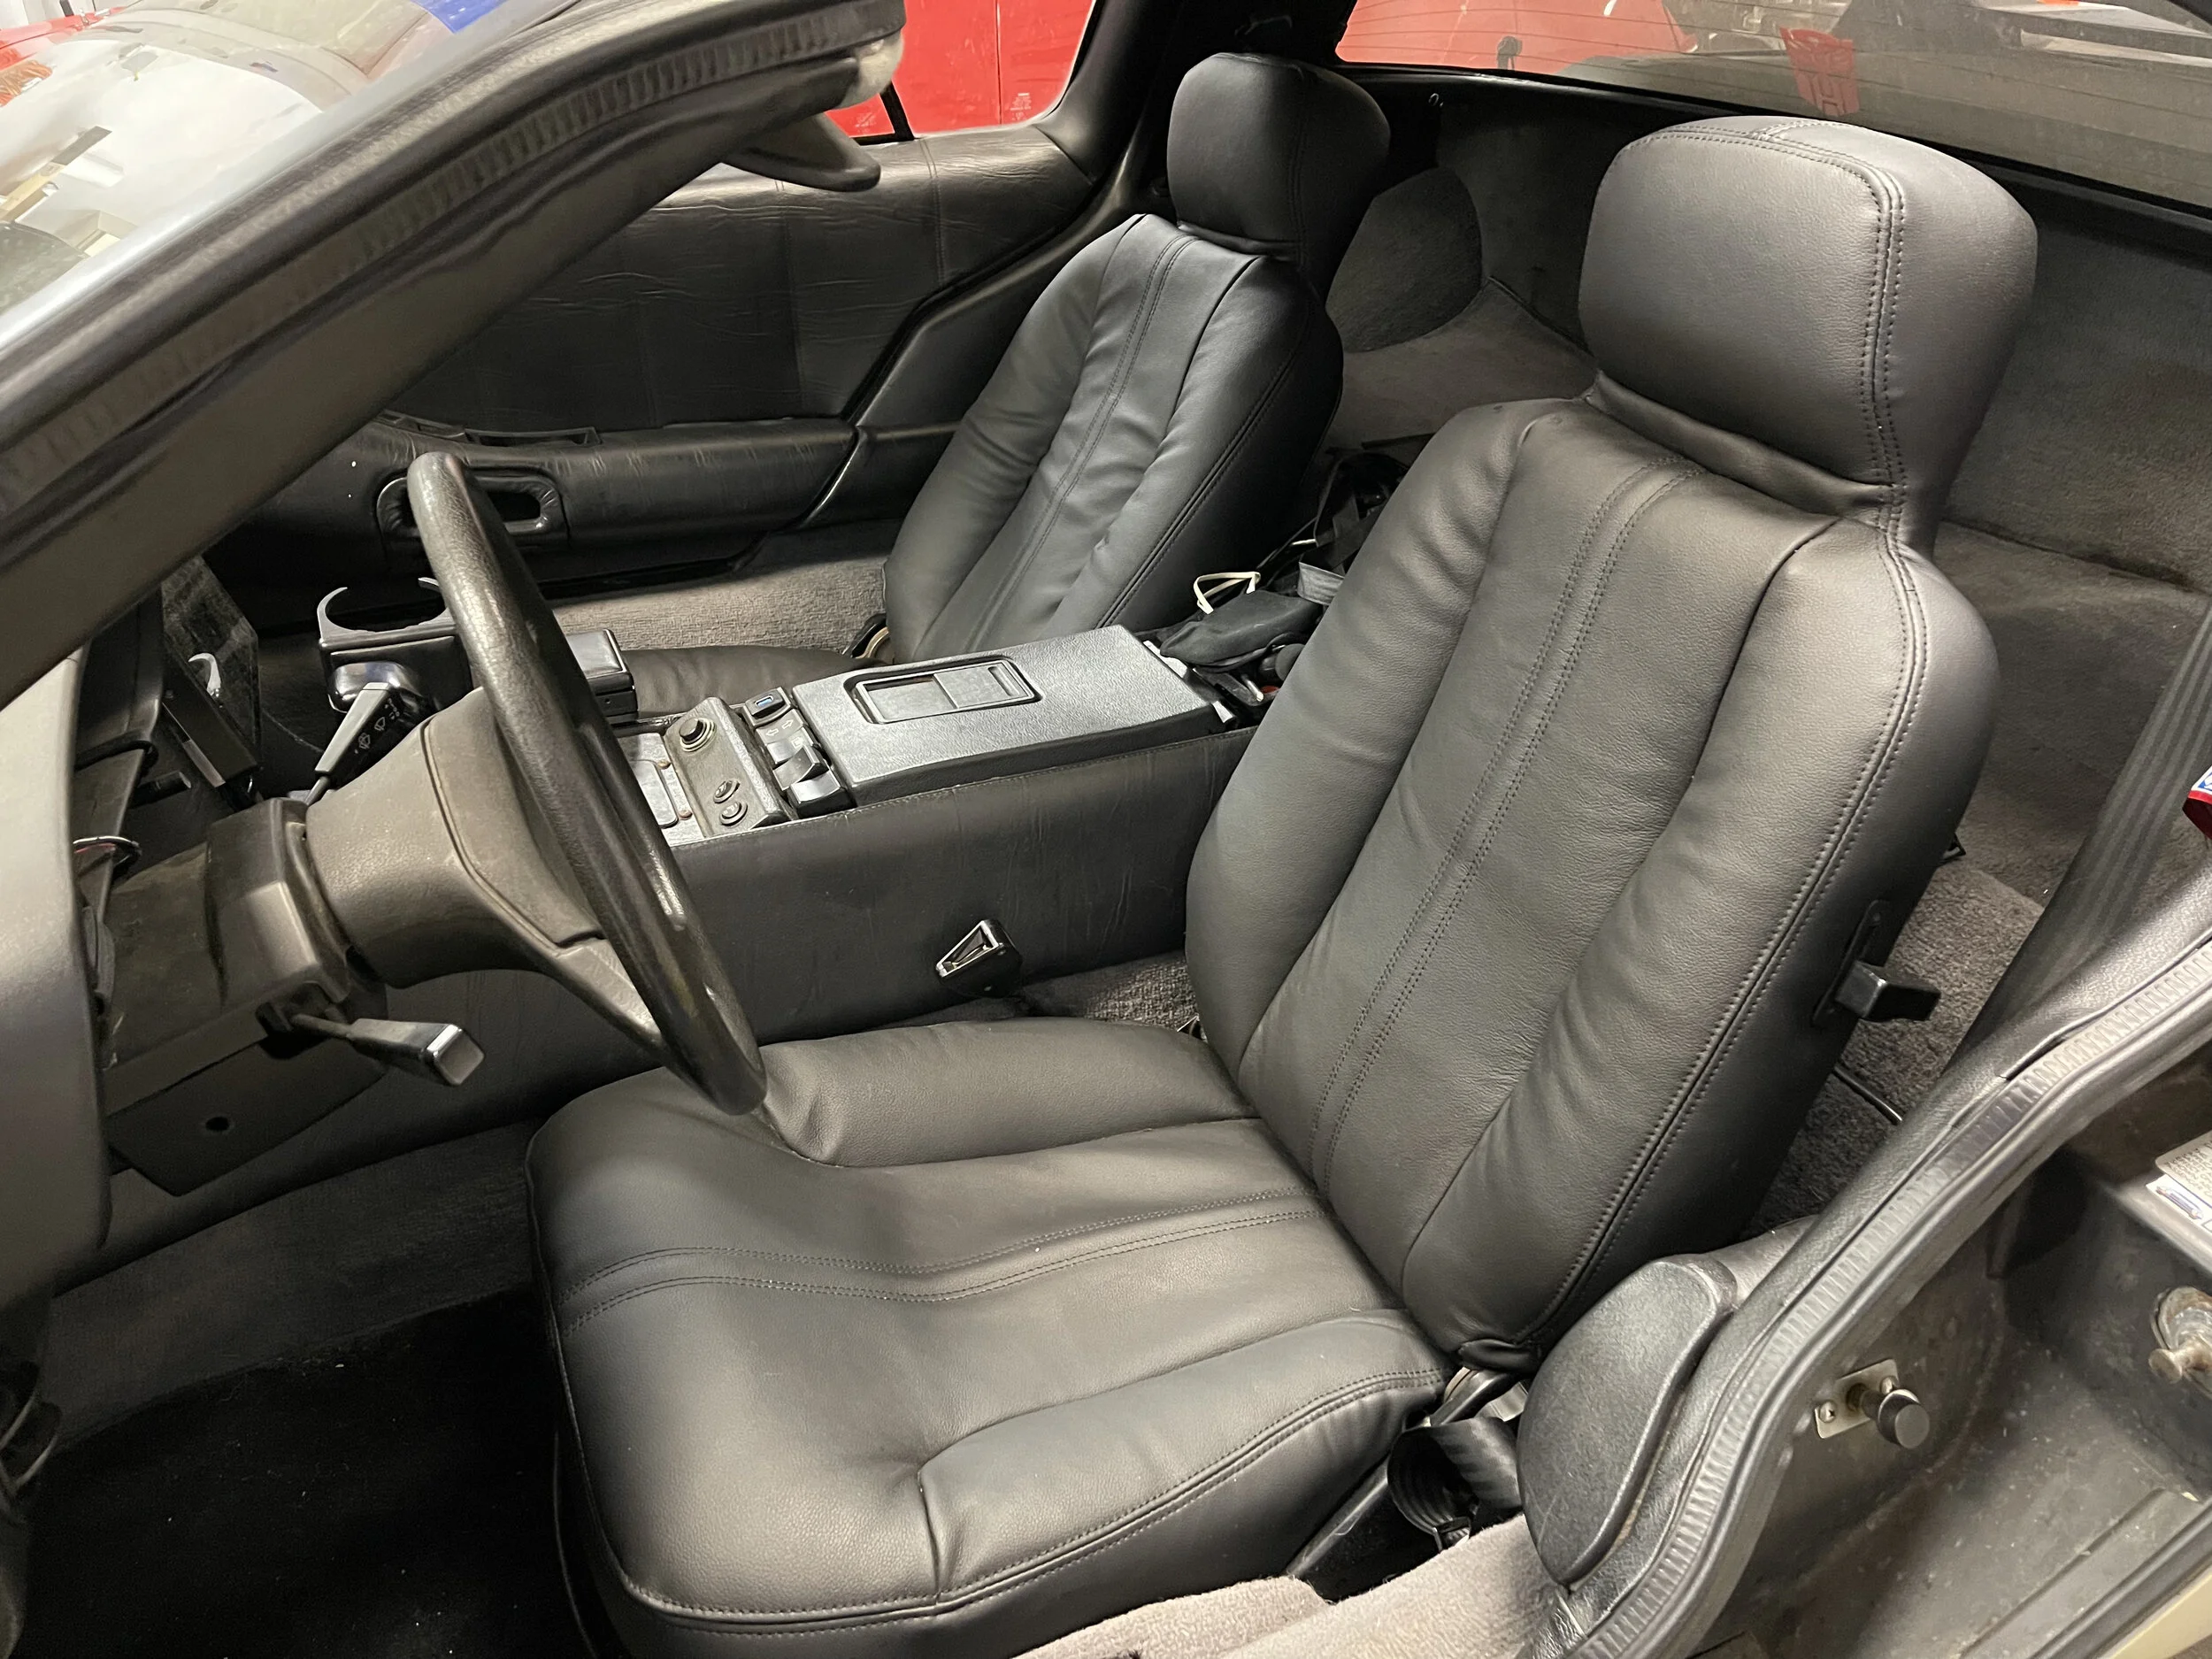
As with many 40 year old cars, my seat covers were showing signs of wear and tear. The driver’s side wasn’t too bad, but the passenger side had a fair bit of damage. It was time to replace the seat covers.
Choosing Seat Covers
There are two readily available options for seat covers that I’m aware of. The first is from DeLorean Texas, which sells black and grey covers for $700 for a pair. The second is LSeat, which sells covers in a variety of colors with options such as two tone, thread colors, piping, diamond stitch, perforated inserts and custom logos, starting at $350 a pair.
They both have their pros and cons. The DeLorean ones have a “wrinkled” look in the on the center of the seat backs, which some people like. The LSeat ones are half the price and have a lot of customization options.
I decided to go with those from LSeat, mostly for budgetary reasons. I went with simple, stock-looking black seats. They took about six weeks to arrive, as LSeat makes them on demand. I also ordered their hog ring tool and some hog rings, and bought a set extra hog rings in different sizes on Amazon just to be safe, as well as some hog ring cutters.
I did place an order for new seat rails from DeLorean Texas. The studs on mine had been stripped, and I had one seat held in with two nuts while another was held in with a just single nut. The studs are hard to replace, and the rails aren’t terribly expensive, and this was a good time to replace them.
Also, check out DMCTalk.org for threads on recovering seats. There are tips for DeLorean Texas seats and discussions about LSeat vs DeLorean seat covers. It’s a good resource to browse before attempting this yourself.
Removing the Old Seats
The seats are bolted though the bottom of the car. To remove them, you have to raise the car, then remove the nylocks with an 11mm socket. You should them be able to lift the seats up from the inside fo the car. You may have to pull the seat forwards to clear the seatbelt before you can lift it from the car itself.
Removing the Back Boards
On the back of the seat is a board that is held in with two screws on the button. You can remove these with a Philips screwdriver. The top and side of the boards have metal brackets that slip under the top and side edges of the seat backs. You simply slide the board down and flex it a bit to pull it free.
I did not replace the leather on my boards, as they were in good shape. They are simply stapled on.
Lower Seat Covers
Removing the Lower Seat Covers
Flip the seat over to get started. The seat rails will have to come off before you can remove the covers. These are held in with hex cap screws, and will require an Allen wrench to remove. You’ll need to slide the rails to get access to both screws. Set the rails aside until it’s time to put the seats back in the car.
The covers themselves are held on with hog rings. These look sort of like thick stapes that puncture the leather and are bent into rings around the frame of the seat. The need to come off.
The bulk of the rings run the permitter of the bottom of the seat. You can remove these by bending them apart with pliers, or you can do what I did, which is cut them with hog ring cutters. These are like wire cutters, but are stronger and designed for thicker gauges of wire. Side cutters will work well, too.
Two rows of plastic pins that run down the center of the seat bottom and through the rubber mat suspended along the bottom. The matt stays put, but the pins need to come out. You can try to save these, and I did, but I wound up breaking them. I came up with another solution for them for the new covers, which I’ll describe later, and just cut out the rest.
With all the rings cut and the plastic pins out, you can pull off the cover. It mostly comes straight off, plus the bit that goes under the seat back, which you simply pull through.
There are metal wires running through two pieces of fabric that extend perpendicularly along the bottom of the old cover, which I’m going to call “tabs”. These wires each have three rings twisted into them, and are what the plastic pins go though to pull the tabs against the rubber backing of the seat. You’ll need to reuse these in your new covers, so pull them out and set them aside.

A close up of the metal wire running through the bottom of the old seat cover tab.
The wire removed from the old seat cover.
One of the pins that holds the tabs to the seat bottom.
Four of the pins that I managed not to break.
The lower seat cover fully removed.
Installing the New Lower Covers
Before installing the new covers, you may want to steam the seats. Zoe had a steamer for her clothes that I was able to use for this purpose. The idea is that it will “fluff up” the the foam an make the cover fit better. I didn’t notice much of a different myself, but it doesn’t hurt to do it while you have it apart.
While I was here, I replaced my old heated seat inserts with new ones. These are an aftermarket modification, and are quite easy to install, and very affordable (under $100 from Amazon for the kit). Cooled seats are also an option, but you have to mount fans in the seats and get perforated inserts from LSeat. Since I'm in the northeast US and my car is garaged, heated seats were a higher priority than cooled seats, so I decided to skip that.
To start installing the covers, first insert the wires from the old seats though the flaps in the tabs. You may have to cut the tabs to let the center ring poke through.
I replaced the plastic pins with long M5 bolts and nuts, and large fender washers. I didn’t initially have fender washers, so I cut and drilled some metal scrap to create the “washers” for the first seat bottom.
I next laid the covers on the seats, tucking the rearmost part under the back of the seat. This is easier if you tip the seat back forwards a bit. I then pushed a bolt through the rearmost ring in one of the wires, and through the bottom of the seat and out the hole in the rubber mat. I used some pliers to more easily grab the bolt so I could pull it taunt, then slipped on the fender washer and nut. A socket wrench on the nut and a box wrench on the bolt head make it easier to get everything together. You don't want to crank down on the nut — the old plastic pins weren't that tight. It just needs to be tight enough to hold the tabs down. Repeat this with the other five bolts until both tabs are secured.
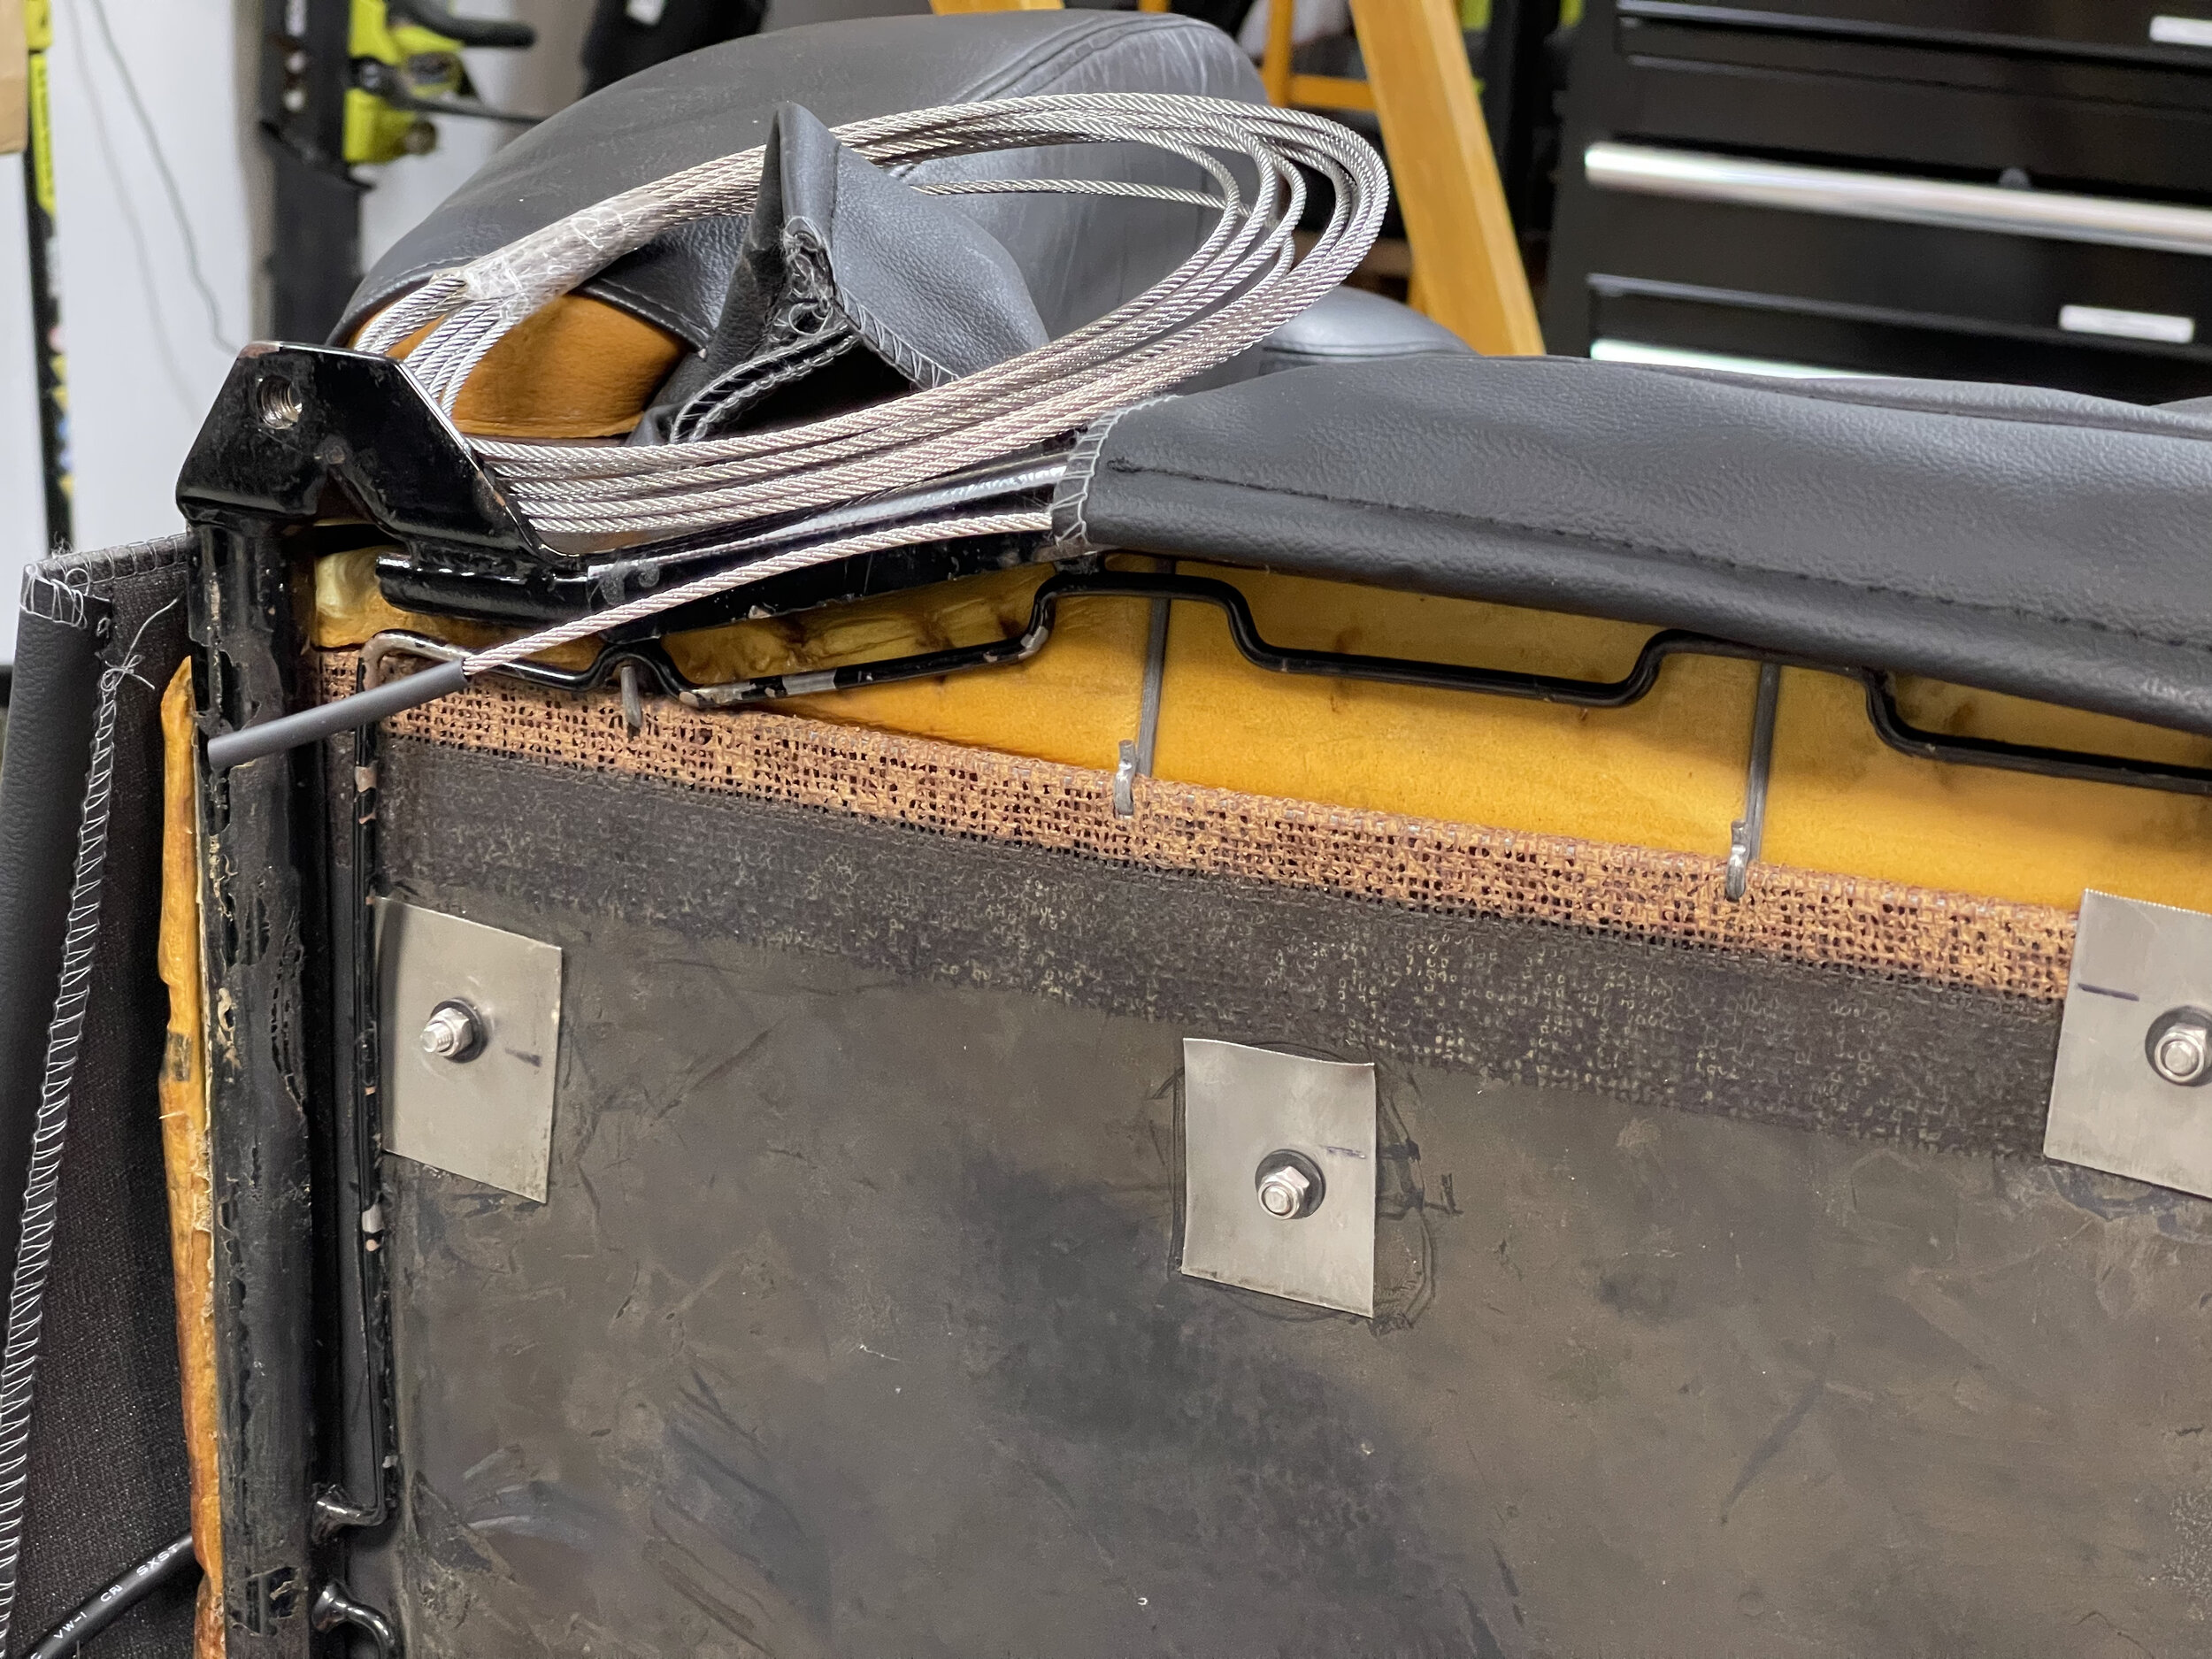
Before you can secure the bottom of the cover to the bottom of the seat, you need to run some wires through the flaps running around the edge of the cover. You can use solid or flexible cable; we went with flexible, using bolt cutters to cut them to length. The flaps aren’t a single continuous loop around the seat, so you don’t need to figure out how to get one long wire through. Instead, you run short lengths through each straight part, with new parts at each corner.
Now you can use your hog rings and pliers to secure the seat cover. This is easier with a helper. Zip ties are also a big help. The idea is that you want to pull the seat bottom as tight as you can, pulling and tugging it to stretch it over the seta frame. Zip ties can make this easier if you’re doing it by yourself: use a pick to put a hole in the cover, then wrap the zip tie around the frame and pull it tight. You should then able to secure it more firmly with hog rings, although you can simply use zip ties if you like.
How many hog rings and zip ties you put in is up to you. You saw how many were there when you took the old cover off, so you should probably put in about that many. More won’t hurt, but you don’t need to go too crazy.
The flap Near the hinge is a little tricky. Unfortunately, I can’t actually remember how I did it, but once you figure it out it’s pretty clear that’s the way it goes. Sorry that’s so vague.
You’re now finished with the lower seat cover, and can move on to the upper.
The new heated seat pad, which sits between the foam and the cover. The cable runs between the upper and lower halves of the seat.
The old wires pushed through the flaps in the new seat bottom’s tabs.
An example of how the old plastic pins and the new bolts go through the tabs and their wires.
A longer shot showing the same plastic pin and bolt through the rail.
All six bolts through the bottom of the seat, with the “washers” I made from scrap metal.
Some steel cables cut to match the old cardboard “wires” that run the perimeter of the seat. this is enough for both seats, minus one that we’d already installed. The bolt cutters can be seen on the lower right of the image.
The first wire partially pushed through the flap in the edge of the seat. The coil of unused wire can be seen at the top of the picture.
Upper Seat Covers
Removing the Upper Seat Covers
This process is similar to the lower covers, but with a few new wrinkles.
First, remove the tilt lever front he side of the seat. The plastic handle itself pulls straight out, and the trim is held on with two small Philips screws. You can set these aside until the new cover is on. The metal piece stays put.
Next, cut the hog rings around the perimeter, just like with the seat bottom. Instead of a plastic mat and some plastic pins holding the center tabs in place, they are simply pulled all the way though and attached to wire rails with hog rings. Simply cut the rings here as well.
You can now pull the cover up to the head rest, but you won’t be able to get it all the way off. At the base of the headrest you’ll find two more rows of hog rings. Cut these from the front side of the seat, and you can pull the rest of the cover off.
At this point, you can steam the foam, like you did with the bottoms. I also replaced the heated seat pad. Really, I thought to do this after I put half the new hog rings in, and had to take it apart again. Good thing I bought extra hog rings.
My old passenger side seat cover.
Removing the tilt lever with a small screwdriver. The handle just pulls straight off.
The titl handle just pulls off.

The seat with the back off, and part of the upper cover removed after cutting the hog rings.
Removing the old hog rings from the middle of the seat with hog ring cutters. There are two rows down the middle, running from top to bottom.
Hidden in this gap is one fo the hog rings for the head rest. The fabric above is the folded-over cover, while the foam is below. There is a second row of rings above this one.
The bare foam, ready to be steamed.
The new heating pad installed on the seat.
Installing the New Upper Covers
Installing the new cover starts with the headrest. This is very, very hard without something to let it slide. There seem to be two ways to do this:
Liberally soak the headrest in silicone spray.
Get a produce bag from the grocery store and put it over the headrest.
I did the produce bag. The idea is you cover the headrest with it, then slide the cover over it. The bag stays on the headrest and is not removed. These bags are quiet and won’t make noise once everything is assembled.
The seat cover went on surprisingly easily this way. Once I had it pulled tight over the headrest, I needed to secure the tabs to the rails at the neck. I elected to punch holes in the tabs, then use zip ties to secure them to the rails. There was no way I was getting hog ring pliers in there, so just did the zip ties. It is more than enough.

A grocery store produce bag over the headrest makes it much, much easier to slide the cover on.
Using a punch to make a hole in the tab, through which I could run a zip tie.
Zip ties used to secure the neck to the rails. I cut off the loose ends of the zip ties before continuing.
Next, I folded the rest of the cover over the seat and installed the center tabs. The way this works is the tyou pull them through the back of the seat. This is actually not that bad, since the foam is quite flexible and splits apart pretty easily. The problem is pulling them tight enough to get the hog tings on. I wound up using a pry bar to push the foam out of the way, then a punch to put hole in the tab, and finally a zip tie though the hole and around the rail. Once I had that tight, I could reinforce it with a hog ring.
You now need to pull the seat tight so you can hog ring it to the frame. I had a lot of trouble with this. You can pull the entire seat cover, not just the edges, to help stretch it more evenly. I made the mistake of using pliers and pulled so hard that I ripped the bottom edge of the seat, but luckily it’s not visible when assembled and it doesn’t compromise the cover. Other owners have noted that the bottom edge is a little short on LSeats, and most use zip ties, so I did the same.
When you get to where the lever is, you’ll have to cut the cover so the lever can poke through. First, the lever sits more towards the back of the seat than you think it does, even after accounting for it sitting back further than you think. Make the smallest cut you can, poke the lever through, and then widen it as needed.
After that, it’s just a matter of hog ringing the seat like you did for the bottom cover, using zip ties and hog rings as applicable. There is another flap near the bottom the has to be wrapped around before hog ringing it in place. I had a little bit of a gap here, but it’s behind the seat, so I’m not too concerned about it being that visible.
The final step is to install the tilt handle trim. The trick is finding the holes, which you can do by feel, but it’s still tough. I mostly found them by blind luck, but it didn’t take very long. The screws will go right through the leather, so there’s no need to cut first. The handle then slips on, and you’re good to go.
I will note that I didn’t cut the slit for the handle properly, and some of the foam showed through. Since my seats are black, I “fixed” this by coloring the foam with a black sharpie. Problem solved.
Using a pry bar to push the foam out of the way. You can see an installed zip tie here as well.
This is what happens if you pull too hard. It did i’ve me a place to run the cable, though. This is also about the time I realized I forgot to put the heat pad on the upper seat. <sigh>
The seat cover installed. Not perfect, but it’s my first seat cover, and no one will really notice.
The handle reinstalled, but some of the foam is visible due to the slit being slightly off.
The foam was hidden by “fixing” it with a black Sharpie. Works for me, anyway.
Swapping Out the Seat Rails
The new seat rails are just the rails, not the adjuster bar. You’ll need to transfer the new rails to the old bar. The bar is held onto the rails with a spring clip. You really just pry this out and pull the rail off, then pry it out again to put the new rail on. I didn’t think to take pictures of this.
You’ll need to cut the lower seat covers to install the rails through them. I just made an “X” shape with a utility knife where each bolt should go. They’re easy to see as round protrusions in the leather. You then just bolt it up as normal. Make sure to set both rails to the same position before you put it back in the car.
The last trick is adding some spacers between the rails and the floor of the car. If you don’t, you won’t be able to slide the seat forward or backward because it will be jammed against the carpet. I used thick M8 washers, hot glued to the bottom of each rail and each other. I used stacks of two on the driver’s seat and three on the passenger seat. Three was probably pushing it; I was barely able to get the nylocks on far enough, but it worked.
With the spacers in place, you can reinstall the seats the same way you took them out. Just be sure the rails are both in the same position before you try to fit them through the floor. One of my rails got pushed backwards a notch and it took me a bit to figure out why it wasn’t working.
And now I have nice new seat covers. They look so much better than the old ones that the small imperfections from my first-time recovering don’t bother me in the slightest.
The hot glue gun and thick washers I used to space the seat rails from the carpet.
A close up of the three stacked washers I used on the passenger seat. Two seems to be better for getting the nylocks on, though.
The seat installed with four all new M8 nylocks.
The final installation. Not perfect, but I’m more than happy with it.