Transmission Dipstick Tube Leaks
Joe Angell
My dipstick tube had been misaligned for a few months, which caused it to rub against the axle slightly. By the time I noticed it. the tube had been worn just enough to be weakened, and was weeping a very slight amount of transmission fluid.
I didn’t feel like buying another tube and dealing with installing it, so I decided to try something new. I had recently bought some FiberFix repair wrap, so I decided to give that a shot. It’s a strip of fiberglass cloth impregnated with a resin. You cut the bag open, dunk it in some warm water, and then wrap it around the around the leaking or broken part. Once it’s dry, you have a durable repair that won’t leak.
I wrapped the tube with it still in the car, making sure to have plenty of overlap with the rap, and it worked perfectly. The worn part was bulked up and the leak was fixed.
I checked the fluid and everything looked good. But the next time I took the car out, there was a huge puddle of transmission fluid on the floor.
I got it back on the lift and hunted down the leak. I cleaned off the transmission and got the car up to temperature in the driveway, but it wouldn’t leak. Back on the lift, I could see no sign of the leak.
Finally I noticed a serious problem — the bolt that secures the tube to the engine was almost completely out. I have no idea how that happened, but I think that when I checked the fluid level that I’d shifted the tube due to the unscrewed bolt, breaking the seal to between the tube and the transmission. Pouring in some more fluid showed that it was leaking from the base of the tube. That meant I’d have to pull the tube and reseal it.
After cutting the zip ties that were holding various wires onto the tube, I took out the two mounting bolts and pulled the tube. I used steel brushes to remove as much of the previous RTV from the hole and the tube itself to prep it for installation.
Luckily, I had some spare otterstat seals from the last time I had to do this. Otterstat seals are much better than the original O-ring and much less likely to leak. I drained the transmission a little more so that the level was low enough to install the new seal and dried the hole as best I could a shop rag. I then applied RTV to the tube and inserted the gasket onto it, then applied RTV to the outside of the gasket and inserted it into the hole in the transmission. I added more RTV around it just in case, then tightened the two bolts down again, using blue Locktite on the engine bolt to keep it from loosening on its own again, and zip tied the wires back to it.
After letting it dry for 24 hours, I topped off the transmission fluid. Well, I meant to, anyway; I accidentally grabbed the wrong bottle and added about a quarter cup of engine coolant before I realized what I was doing. At least I didn’t run it through the transmission. I drained it completely (interestingly, coolant seems to be heavier than ATF, as it came out of the drain first) and refilled it with actual transmission fluid.
And no leaks — the tube was completely repaired and I was good to go.
Red ATF visible at the base of the tube.
The bolt at the top of the tube that is for some reason not actually screwed in to hold the tube tot he engine.
The damaged gasket and RTV from the tube shifting due tot he loose bolt.
A new, unused otterstat gasket (left) and a used, swollen one (right). You shouldn’t reuse the gaskets.
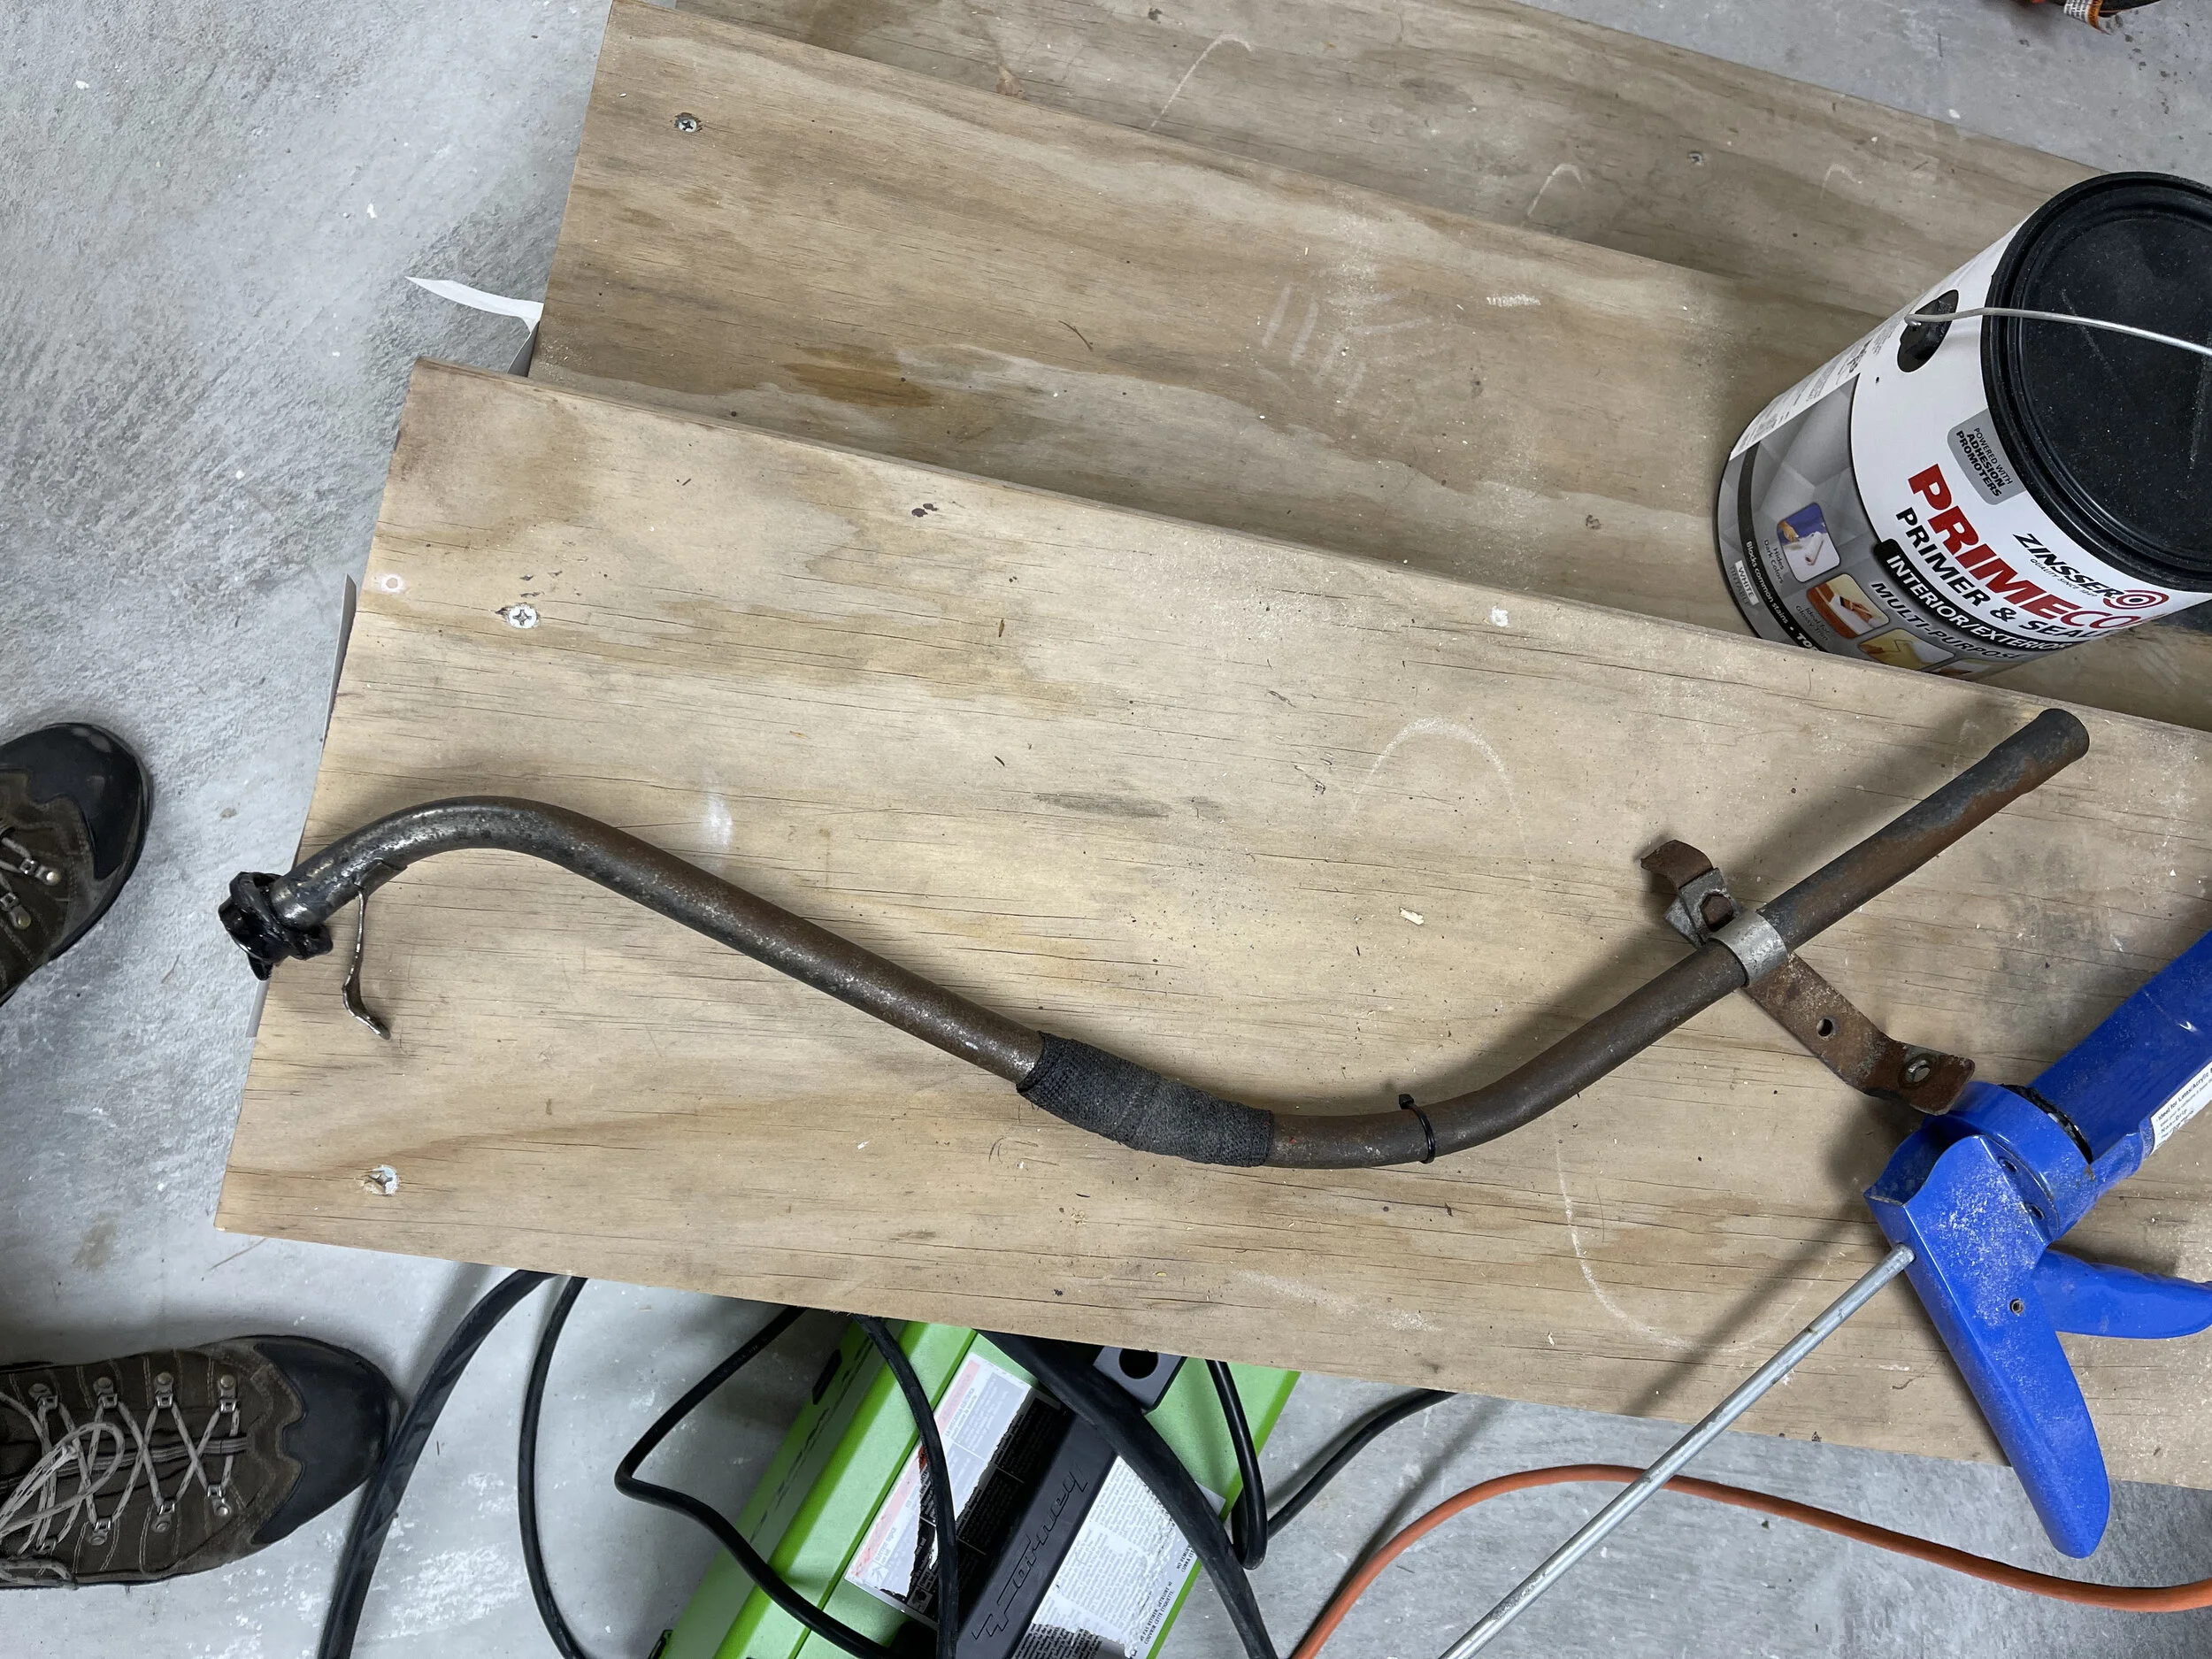
The tube with the FIberFix applied to repair the weakened structure from rubbing against the axle.