LED Taillights
Joe Angell
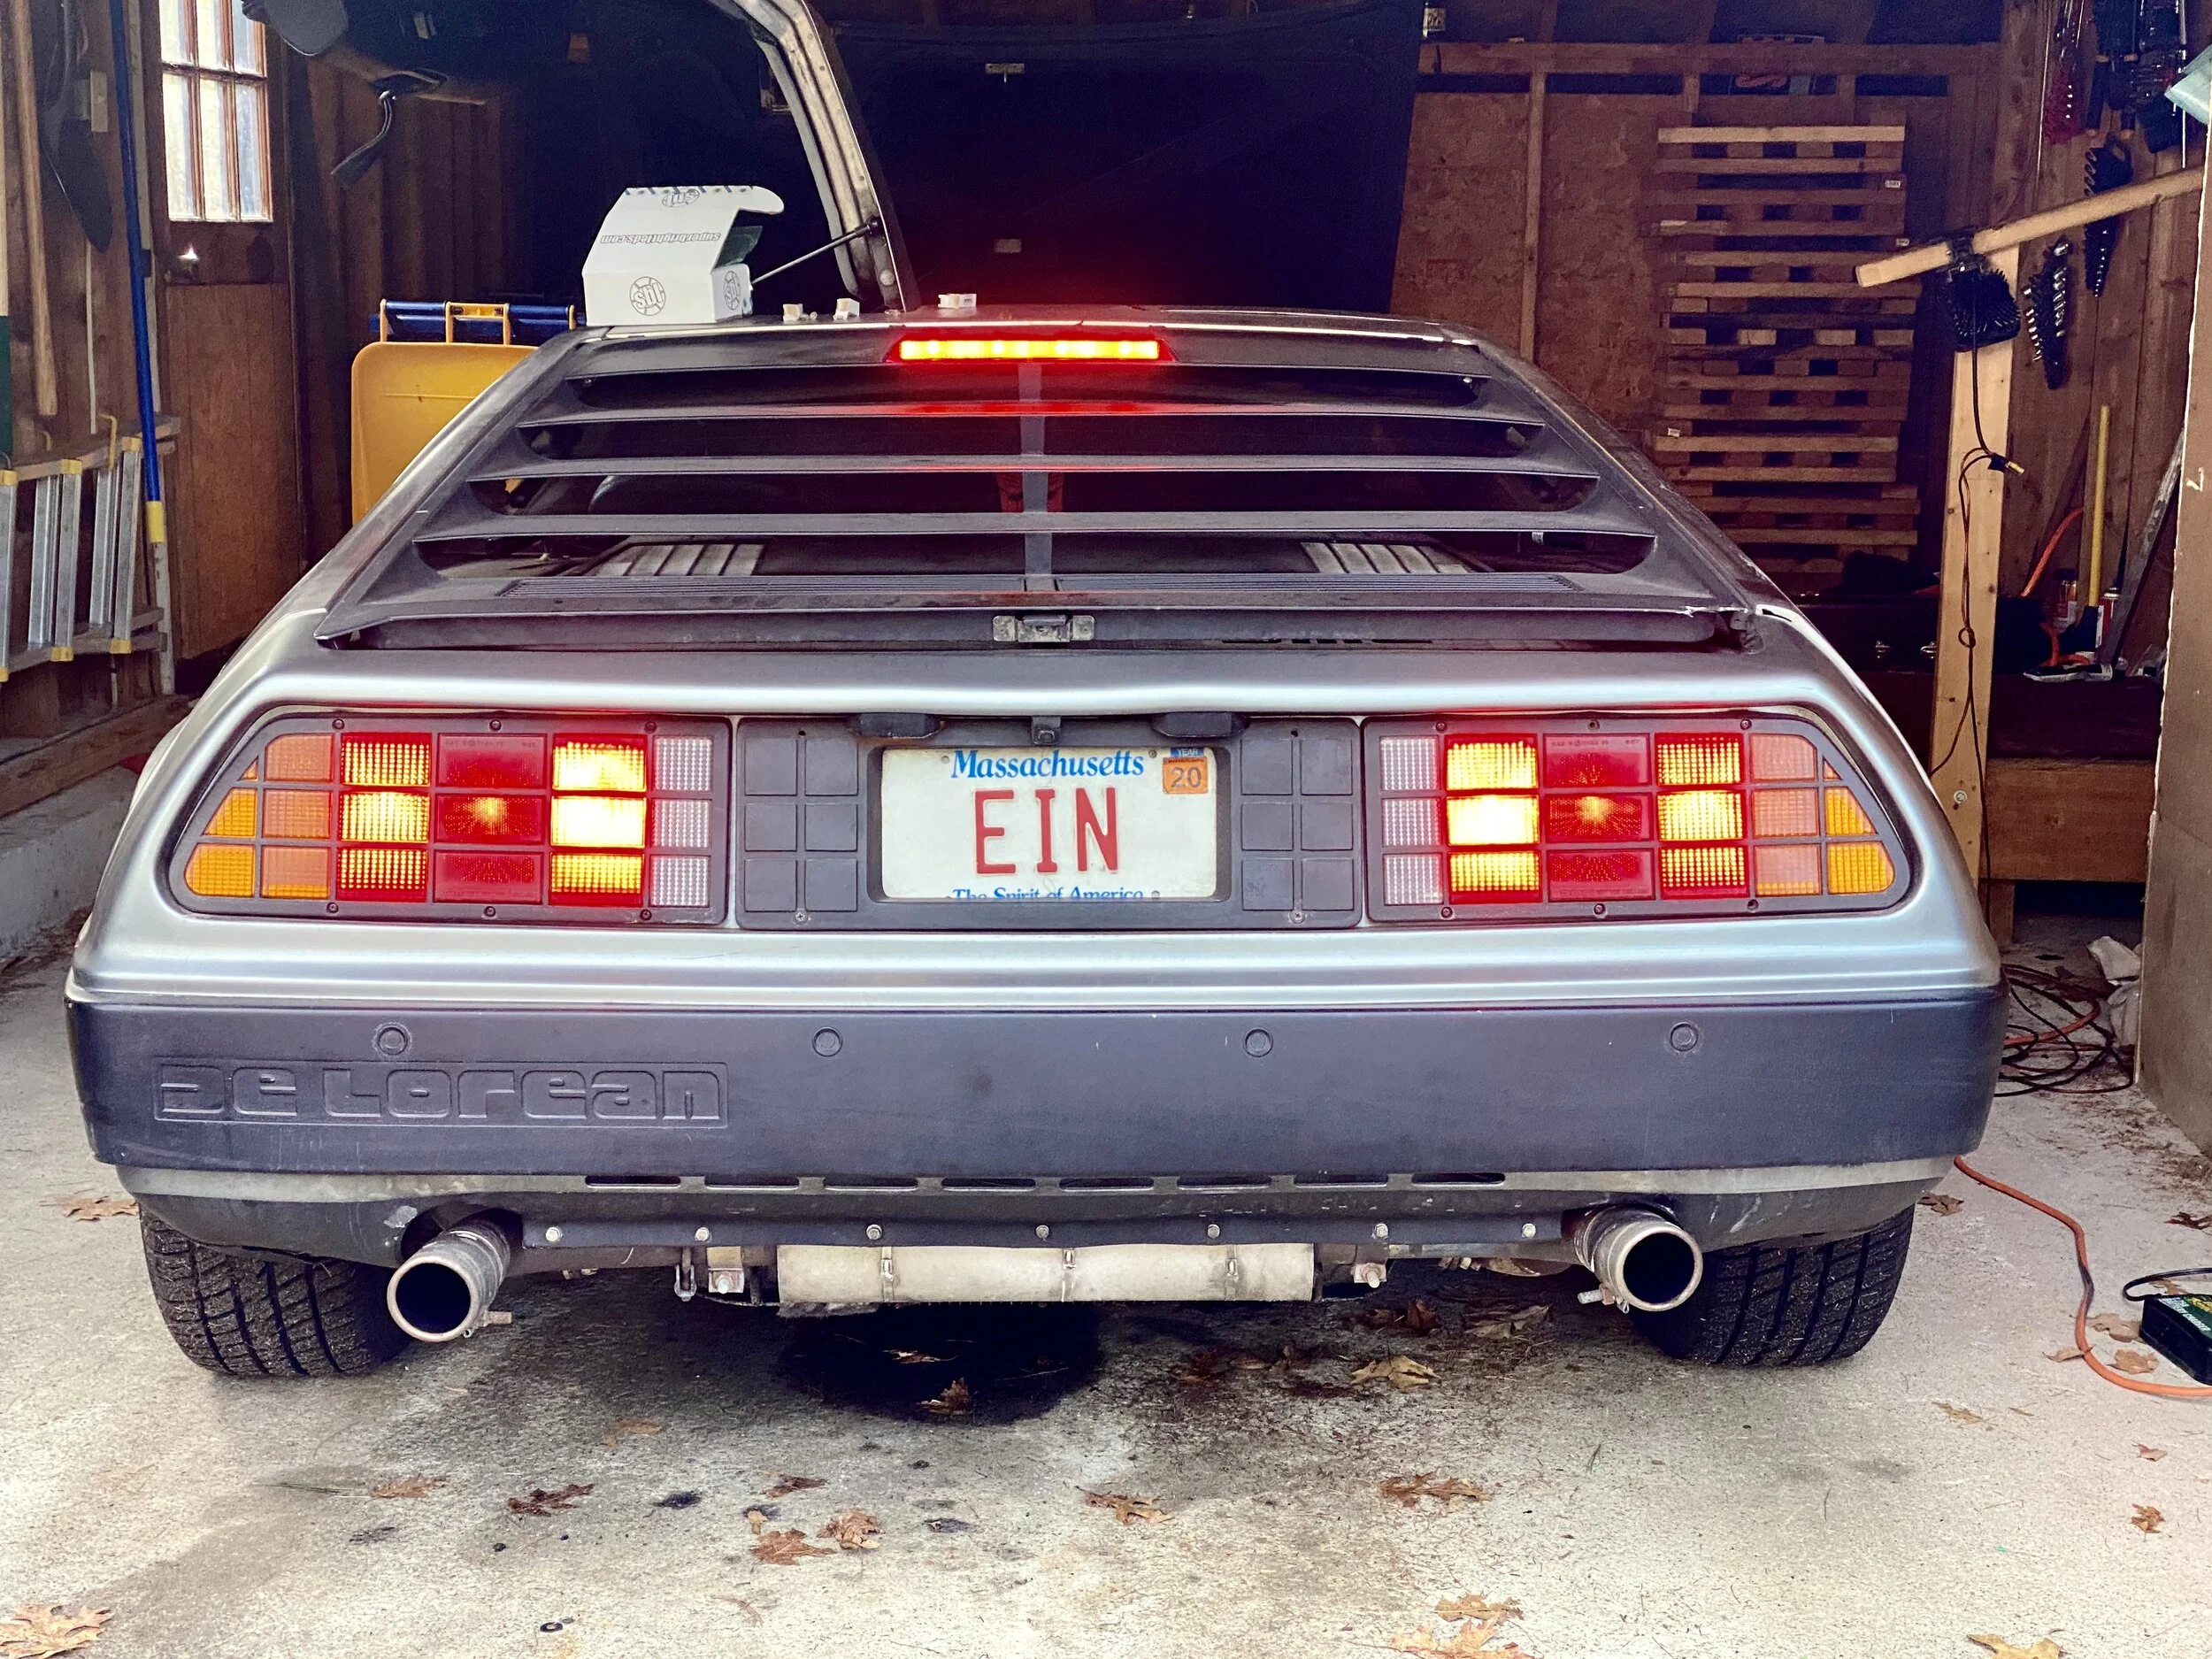
Over the Christmas break, I did a simple and common update: LED taillights. LEDs come on faster, which is desirable with panic braking as it reduces the response time for cars behind you. They also use less power and are generally more consistently bright.
I bought a set of lights from SuperBrightLEDS.com, which conveniently lists the DeLorean. I had previously updated the marker lights and door lights, so I just needed the taillights and front turn signals. For a standard DeLorean setup, this requires:
Four (4) Brake Lights, Red, 1156 Style
Two (2) Rear Turn Signals, Amber, 1156 Style
Two (2) Reverse Lights, White, 1156 Style
Two (2) Tail Lights, Red, 89 Style
Two (2) Front Turn Signals, Amber, 1157 Style
Note that the rear turn signals are 1156 bulbs, and are just turn signals. The fronts, however, are 1157, which have a “dim” mode for marker lighting and a “bright” mode for the turn signal.
Rear Lights
Installation is just what you’d expect — remove the tail lights, pull out the tail light boards, and replace the bulbs.
Some LED bulbs are polarized — they’ll only work installed one way. Many newer bulbs automatically handle reversed polarities, though, and either way will work. Be sure you test everything before you put the screws back in. The 1157 bulbs won’t quite fit in the 1156 sockets, so don’t try to force it if it doesn’t fit, but rather check to make sure you used the right bulb.
Front Lights
On the front, it’s just removing the two screws for each lens, then twisting the bulb housing out of the base of the lens. My front lenses were stuck a bit, but a little prying with picks/screwdrivers in the screw holes popped it out.
The front 1157 bulbs only go in one way. If you put them in backwards the turn signal will be on all the time. I had a small issue where the contacts weren’t very good on either bulb when put in the right way, but once the lenses were screwed back onto the bumper, the contacts were pushed in more firmly and the light worked just fine. Still a little disconcerting, though.
Third Brake Light
The louver-mounted third brake light (aka HCSL or CHMSL) on my car is from Special T Auto, which I understand was used on the Corvette C4 ZR1 hardtop (although not all ZR1s). You can often find these on eBay. This uses four small halogen bulbs with G4-style pins. They are not available in red LEDs, though. My first attempt at ordering warm white bulbs didn’t quite work — they were far too large.
For my second attempt, I got smaller ones that more closely matched the shape of the original bulbs. These worked perfectly, properly fitting in the available space with about the same brightness as the stock bulbs. Unfortunately, they didn’t have red bulbs (or any colors), so I went with warm white bulbs. These look properly red when mounted behind the lenses, as opposed to pink like cool lights can sometimes appear.
Beyond bending the pins apart a little bit, I had no problems installing them. The specific part number is G4-WW2-COBW from SuberBrightLEDs.com (be sure to choose “warm white”, not “cool white”); four bulbs are required.
Three original bulbs and one LED installed in the third brake light.
The illuminated third brake light, showing similar brightness between the LEDs and the halogen bulb.s
The final install of these LEDs.
Flasher Unit
In a classic turn signal setup, the resistance of the incandescent bulbs are part of the capacitor/resistor timing circuit. When a bulb burns out, the resistance changes and you get a “hyper blinker”.
LEDs draw much less current than incandescents, which means that you’ll get the same effect all the time. The solution to this is to replace the flasher module with an LED-friendly one. The timing is controlled more directly, so you’ll never get the “hyper blinker” effect.
The flasher unit on the DeLorean is a three-wire model that looks similar to a relay, and is mounted on the left side of the steering column. Mine was just hanging freely in its socket. These sockets can disintegrate while you remove the old module, but as long as you keep track of which pin on the socket goes to which pin on the flasher, you’ll be fine.
When picking a flasher unit, be aware that there are two styles. The difference is the position of the B and E pins. If you pick the wrong one, the pins will be swapped and the blinkers won’t work. Pictured here is the original DeLorean unit (right) and a compatible LED-friendly one (left). Notice the markings that show that E is on the left and B is on the right.
The unit I got is a CF14 E35. The newer model is GL-02 instead of JL-02, but it shows the E pin on the left, so it will work. Do not get the CF14 E34 — that looks the same, but the B and E pins are swapped.