Door Strikers and an Oil Change
Joe Angell
Adjusting the Door Strikers
My driver’s side door had been rattling while at idle, and the passenger side wouldn’t always close properly at the back, so I went about adjusting the striker pins. This was actually pretty easy.
First check for marks on the heads of the pins and the metal near the latches on the door to see if they are rubbing. If they are, they’ll need to be adjusted by turning them in or out and adding or removing washers. More details can be found in the alignment link below. Early cars may also have to have some of the fiberglass drilled away to more recess the striker further; in my case, these holes had already been made.
For alignment, used this technique from DMCTalk:
Open the door and loosen both striker pins on that side with a 17mm wrench.
Tighten the pins so that they won’t fall down, but also can be pushed around by hand.
Move the pins to the top outside corner of their range of motion.
While holding the door handle up, close the door from the outside. This is easier with the window down, since it gives you a place to push from. This pushes the striker pins to the correct final position. Do not release the handle, as this will move the pins.
With the handle still held down, raise the door.
Tighten the pins with the wrench
Close the door again. It should now latch correctly. If not, repeat these steps until it does.
One thing that threw me off for a bit was that passenger door didn’t want to close all the way at the back. I tried pushing the pin closer to the center of the car, but that didn’t help. I finally realized that I needed to move the pin back towards the outside of the car — the latch claw was hitting the pin because it was too far towards the inside of the car, keeping the door from closing. Once I pulled it outward, I was able to repeat the steps above and the door closed properly.
My doors no longer rattle, the passenger door latches more reliably, and the driver’s side one opens easier, too.
Using a 17mm wrench to loosen the striker.
The stack of washers on my front passenger striker pin, and the recess in the fiberglass to allow for more adjustment.
I have only the one washer on the back, and the recess in the fiberglass was more important here for pin placement.
Oil Change
Oil changes are pretty straight forwards. My car had finished its first six months back on the road with its current oil, so it was time to change it. For the 3.0L, STP S6941, NAPA Gold 1287, and Wix 51287 are compatible narrow filters, while Wix 51626 is a wide filter that scrapes against the oil pressure sender.
Raise the car.
Loosen the oil drain pan. Mine has a hex drain plug, rather than the old square drive plug.
Place a pan to collect the oil.
Remove the oil drain plug and empty the oil.
While the oil drains, remove the oil filter. I use a crush-style wrench for this, but strap wrenches work too. I find the crush ones easier to use. Oil is likely to drain out here.
Once the oil has drained, reinstall the drain plug with a new copper washer.
Apply a light coat of fresh oil to the rubber gasket on the new oil filter, then screw it on until it presses against the engine, and then give it another 3/4 turn or so, by hand, until it is snug and won’t slip off. Don’t over tighten it, and don’t use a wrench.
Fill the engine with the same amount of oil you took out. Pouring the old oil into a container of known size and then pouring the same amount of new oil back in works well, but you’ll want to check the level just the same and add any more as needed until the level is between the first and second marks on the dipstick. Mine took between five and six quarts with the deeper 2.8L oil pan. The fill location is on the driver’s side valve cover on the 3.0L, but the A/C line blocks that in my car, so I had to use the oil vapor separator on the passenger valve cover, like in the 2.8L.
At this point you should run the engine and see if it leaks. I didn’t; I went for a drive instead. I didn’t check under the car until the next day, when I saw a small pool of oil under the car. There was a line of oil running under the oil filter and dripping off onto the floor.
Thinking I didn’t get it on tight enough, I used a strap-style oil filter wrench to further tighten it, but upon starting the car a ring of fluid could be seen around the base of the filter. I asked my mechanic friend, and he thought it was a failed crimp on the filter — a manufacturing defect, not an installation issue.
I replaced the oil filter, tightened it by hand, and had no more leaks.
I went for a drive again, and it seemed fine, but was idling a bit high. After enough driving the idle got quite high, around 2000 RPM. I quickly found the problem when I got home — I forgot to put the oil vapor separator cap back on. It was simply attached to the vacuum line, and not well, and the cap fell off during my trip. The vacuum line was no longer connected to anything, and was creating a huge vacuum leak. That explained the high idle.
It took me a while to figure out that this part was even called an oil vapor separator (it was in the Eagle service manual). You can’t simply plug the vacuum line either, as it is important that moisture is removed from the engine. I still had my 2.8L separator, but it is a much more restrictive design that simply allowed air to bypass it and go right into the engine. However, it did seems to work better than not having a cap at all.
I posted about this to DMCTalk.org, and Mark D kindly replied that there are a couple of Eagle Premiers in the junkyards near his home. He was able to grab a separator for me, and I was back on the road by the end of the week. I mean, I was driving it anyway without the correct separator, but now it was working properly again.
A couple of weeks later I noticed that the cap was popping out on its own. I replaced the hose clamp on the vacuum line so that I wouldn’t risk losing it, but found a more permanent solution through replacing the two O-rings on the cap. I just brought the cap to O’Reilly’s and they easily matched it up. The cap now fits so tight that I’m not at all cornered that it will pop out.
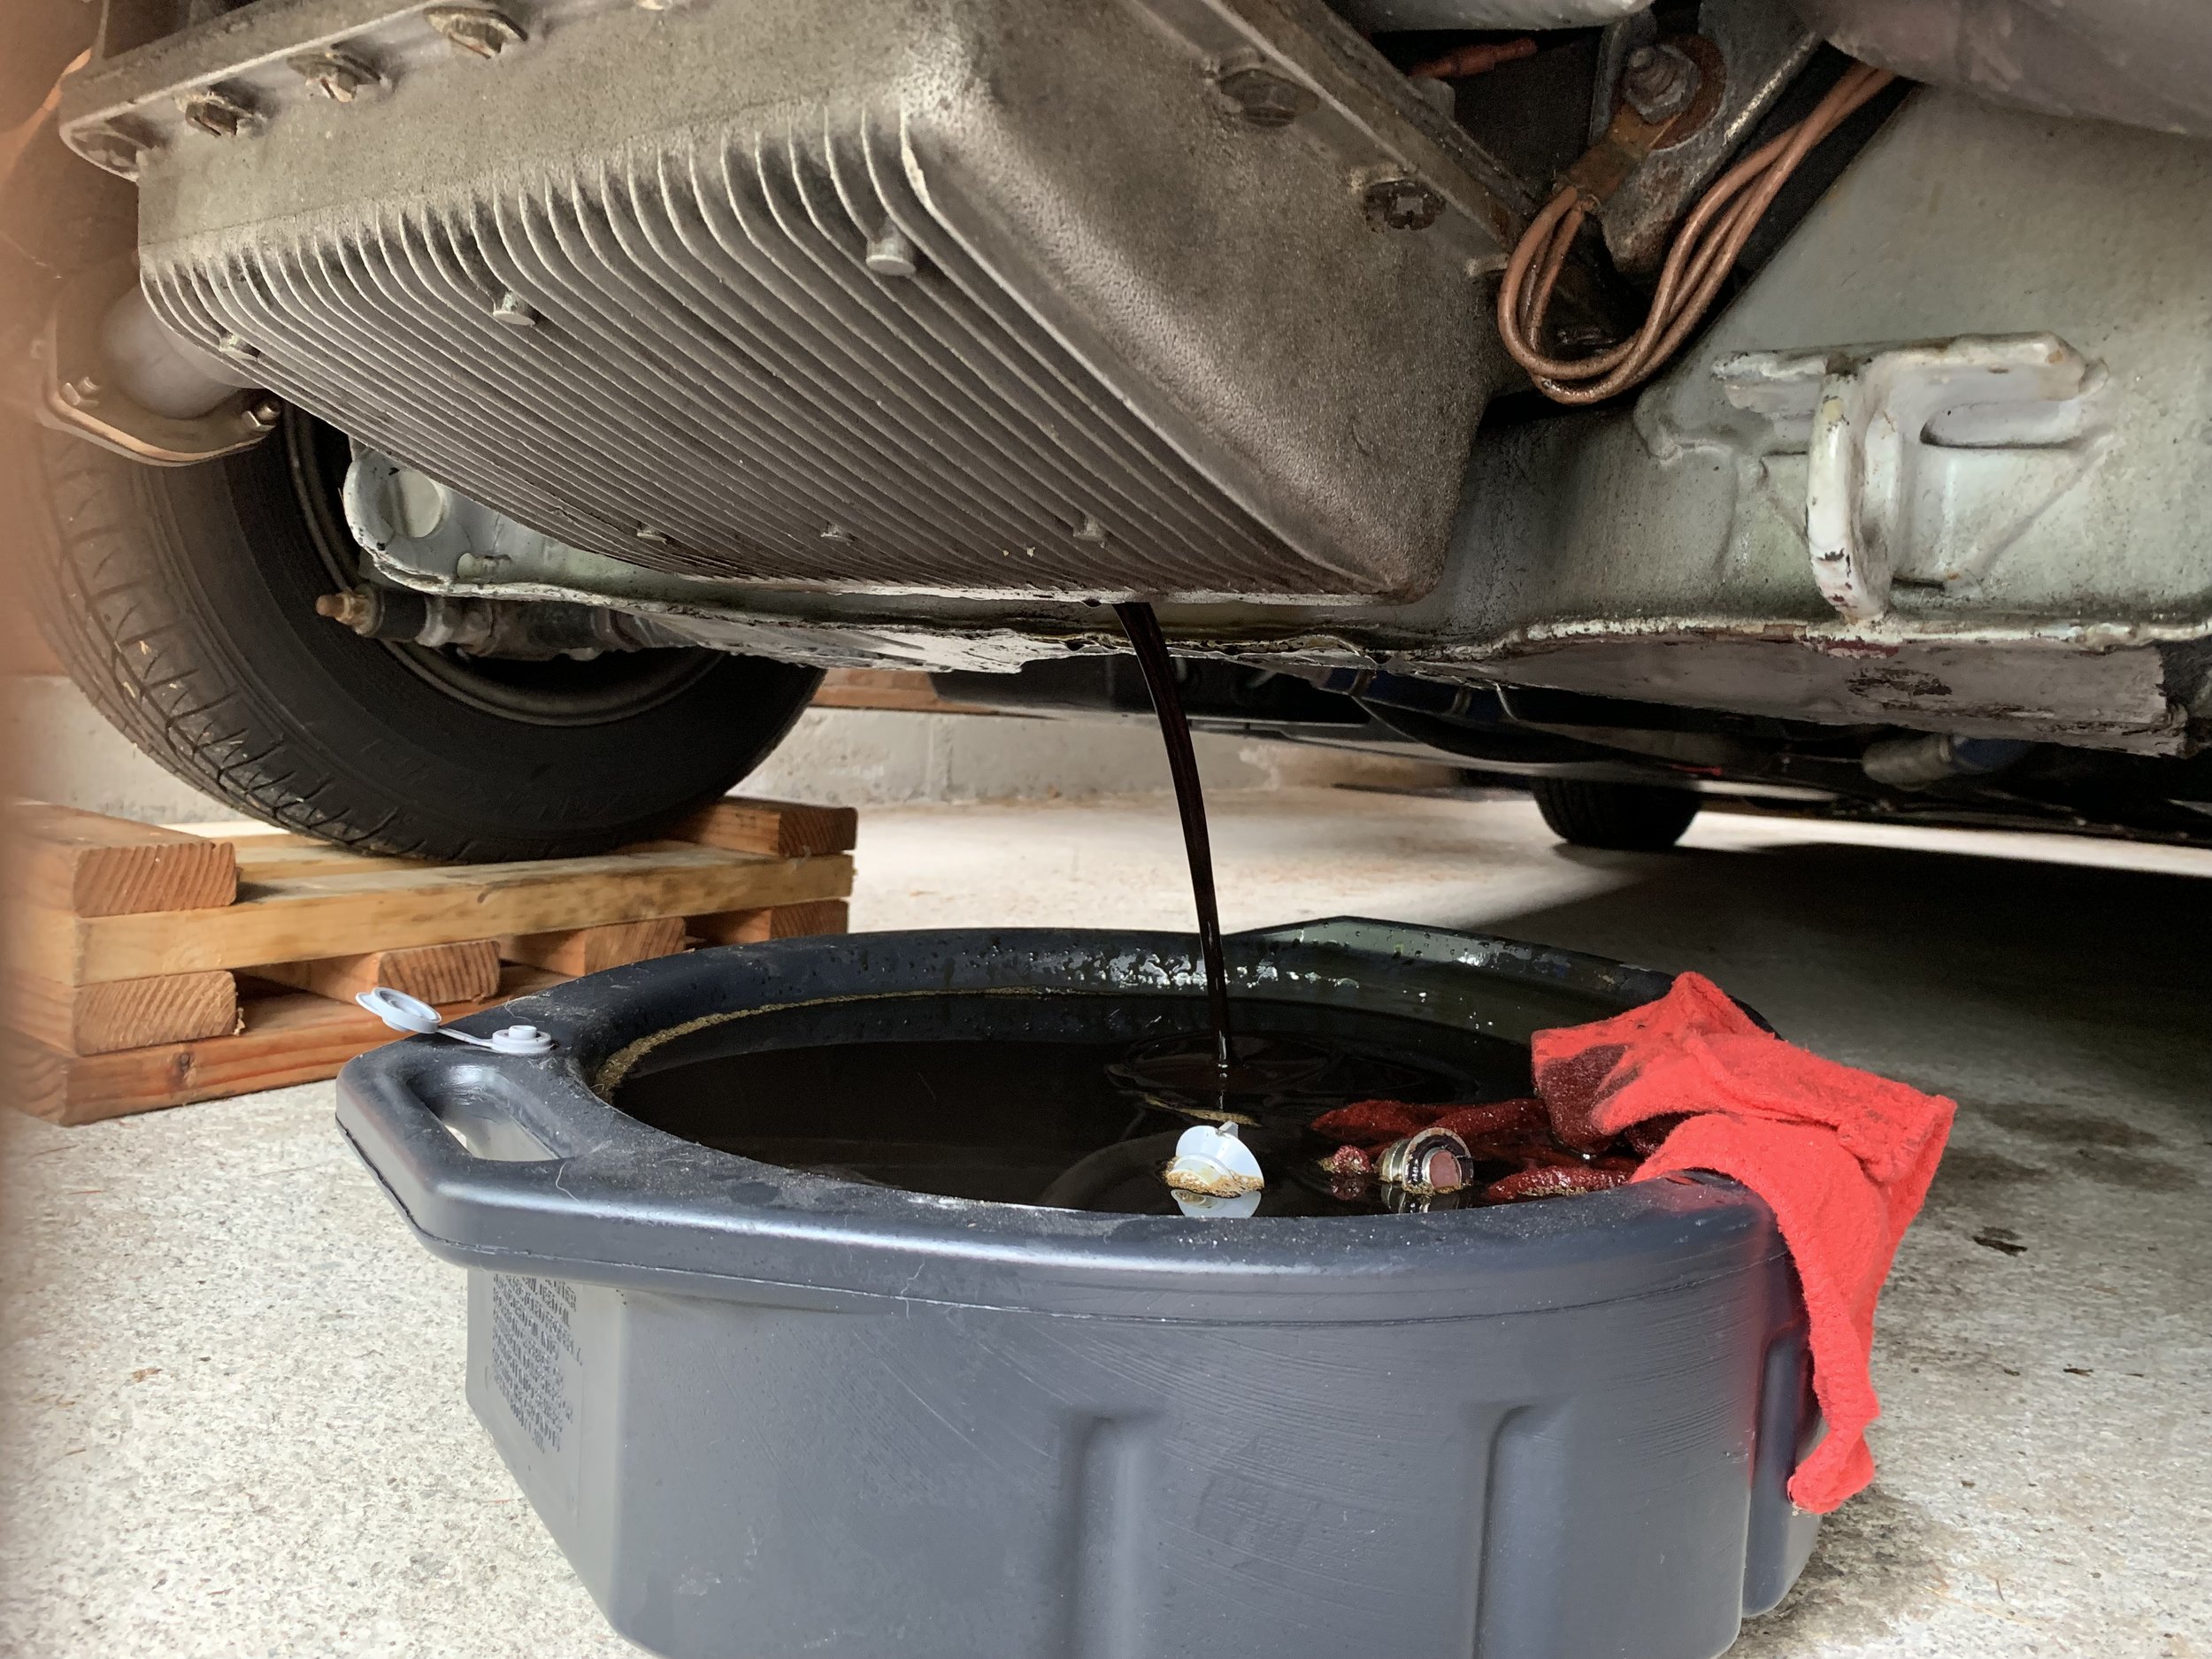
Draining the oil from the engine.
The oil mostly drained and the oil filter removed.
All the drops of oil from my failing oil filter.
The puddle under the car from the failed filter.
After tightening the filter more, the crimp filature got worse and the oil gathered all around the base of the filter.
The oil vapor separator location.
The difference between the lower part of the 3.0L oil separator and the 2.8L separator.
About a week later I checked the level and added a bit more oil. The new oil vapor separator cap is on really tight, and the engine was hot, so rather than burn myself trying to get it off I pulled the A/C line out of the way and just barely got the filler cap off.
The filler cap can be turned fine, but its handle hits the A/C line when you try to lift it off. It only does this on one side, so I grabbed my saw and cut off the end of the handle. Now I can easily get the cap on and off and not have to worry about losing my oil vapor separator again.
The cut oil filter cap in the closed position.
The cut cap in the open position. The notched out handle allows it to clear the A/C line.