Engine Bay Lighting
Joe Angell
The DeLorean has a single light in the engine bay. It is positioned in a basically useless location, on the inside of the rear bumper. It is a dim bulb, and is low enough that it doesn’t illuminate much. Mine doesn’t even work anymore.
I went about upgrading it with some modern LEDs. I found a set of truck bed LEDs for $20 on Amazon. They’re sold in a variety of colors, but I stuck with white. The kit consists of eight LED units with three bright LEDs each. The units are connected to each other with standard two-wire JST connectors. It also included an illuminated switch. The lights come in two strands, and you can make the strands longer or shorter as needed.
Light Placement
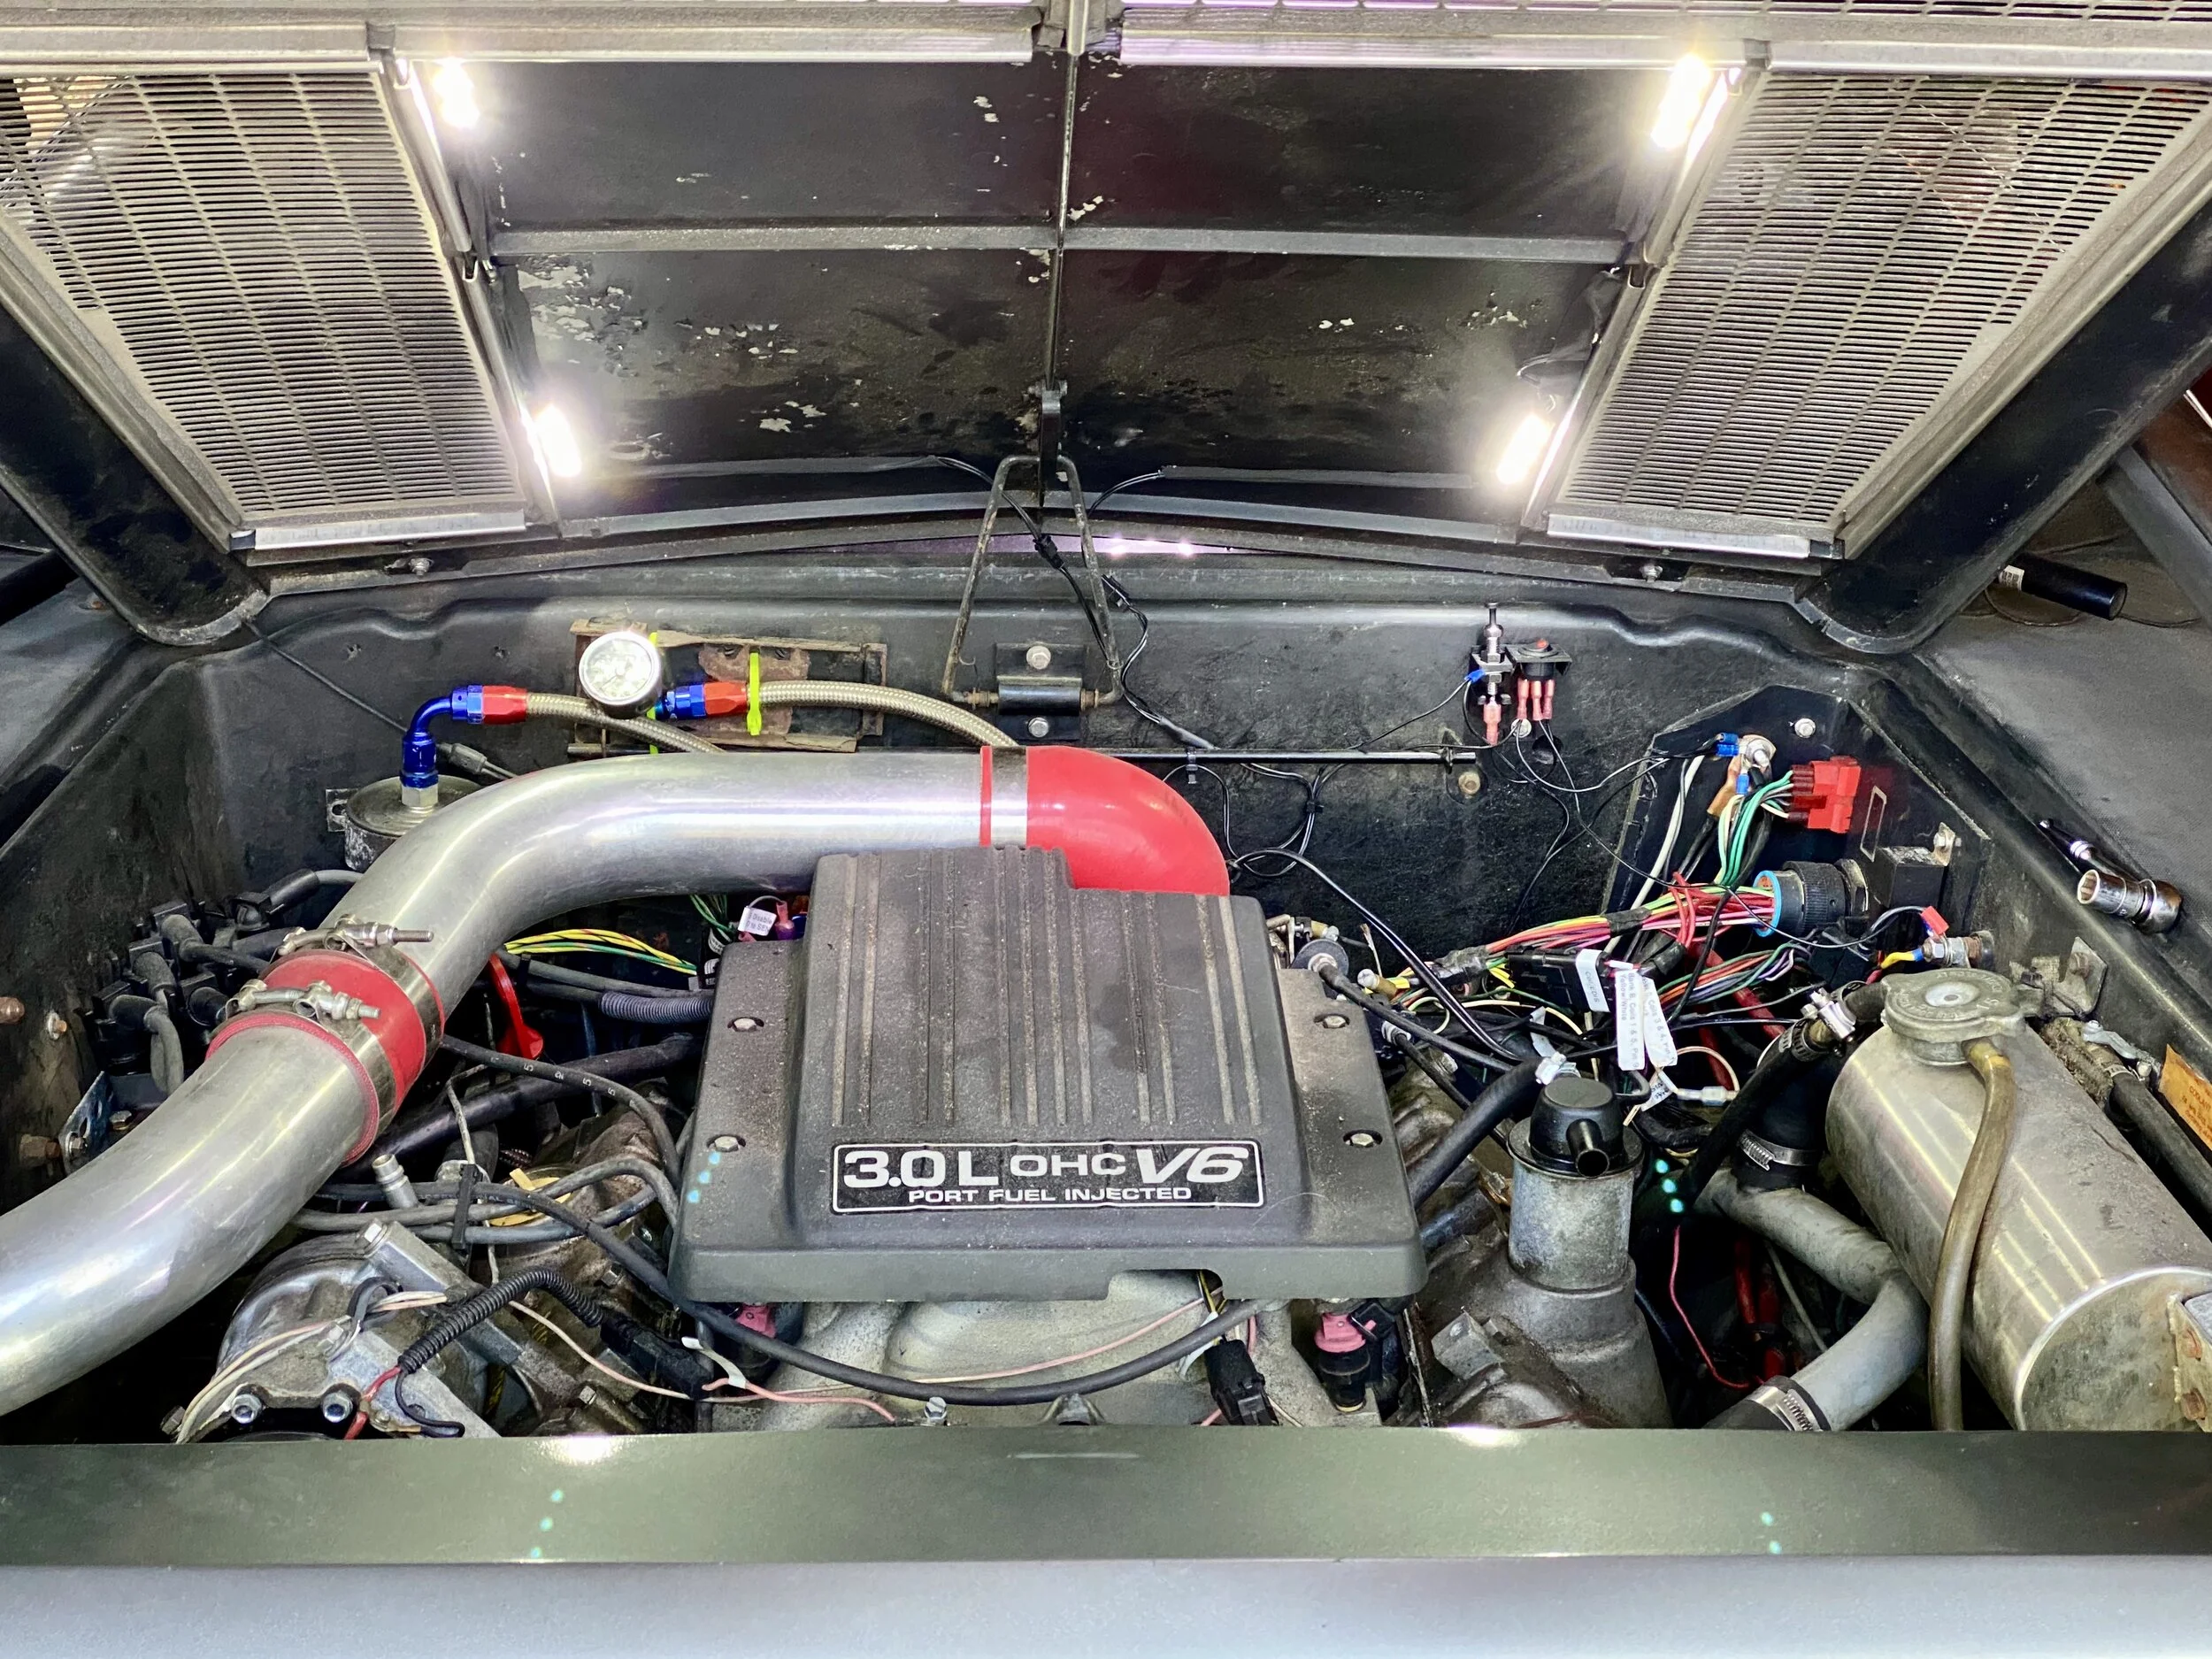
I decided to put four LED units on the engine cover, and four along the back bumper. The engine cover ones illuminate the top of the engine, while the bumper ones illuminate the belt area and the oil dipstick tube.
I didn’t want a lot of extra wire, so I cut and soldered the wires between the lights, trying to get them to about the minimum length without a lot of slack. I mostly succeeded. For the engine cover lights, I did two units on each side, with their JST connectors going to wires that lead to the switch. The connectors let me easily disconnect the lights in case I need to remove the engine cover.
For the back wall, I similarly cut and soldered the wires to shorten them, leaving one JST connector on the passenger side. This connected to a run of wire that led to the switch.
To mount the lights, I used the 3M VHB tape that was already attached to the back of each unit. VHB is pretty strong, so it should hold. I cleaned the surfaces before sticking the lights up.
I left the wires uncovered on the bumper, but I wanted to keep the ones on the engine cover from hanging down. After a bit of experimentation, I ran a bead of 3M black weatherstripping adhesive down a length of wire loom tape and stuck it onto the wires. The adhesive wasn’t sticky enough to hold the wires until it dried, and the tape wasn’t tacky enough to keep the wires up by itself. Combining them seemed to solve both problems. Electrical tap probably would have worked too, but I like this better.
Engine cover lighting installed and on, during the day.
Rear wall lighting installed and on.
The engine bay at night with no illumination.
The illuminated engine bay. Much, much better.
Switch Mounting
I decided to mount the switch on the right side of the engine bay. The original switch is on the left side, but the wiring was no longer there, and I would need to make a new mount anyway. I bought a new momentary push button designed for hood lights from Amazon; a pair was $9. I 3D printed a mounting bracket to hold both the push button and the rocker switch that came with the kit. The switch lets me turn the lights off in situations where they’re blinding me when working on the engine, which can happen at times. I set up my print to reuse a rivnut for the bulkhead connector cover, thus avoiding the need to drill any more holes in the firewall. It took two tries to get the print right, which is actually pretty good.
Engine mount model for 3D printing: STL LXO
Power and Ground
I used ring terminals on existing power and ground terminals in the engine bay. The ground terminal pokes through the wall near the bulkhead connector plate. There were two 12v options, the one commonly used for jumping the car, and a lower one through the bulkhead connector plate that has other wires on it. The lower one is “better”, in that it’s one of the things this might be used for, but I went with the jump point for ease of access.
After mounting, I cut the 12v wire and soldered in an inline fuse holder with a 5A fuse that I forget to install the first time. This is important to keep a short from overheating the battery and causing damage to the entire electrical system.
My first wiring job had a flaw: the LED lamp on the toggle switch was lit at all times. LEDs don’t draw much current (between 10 and 20 mA), but parasitic drain should be as low as possible. In the DeLorean, really only aftermarket radios require power when the key is off, which is usually under 50 mA. In total you want it under 150 mA or so, although Googling around finds different recommendations for this. The higher the drain, the shorter your battery will last between starts, but at 150 mA a 40 Ah car battery will be drained after 11 days, while a 50 mA radio draw will deplete the battery in about a month.
In any case, I didn’t like this so I rewired things a bit. the initial wiring went from 12v, through, the toggle switch, through the momentary switch, and to the lights. I basically swapped the wiring such that 12v went to the momentary switch first, then the toggle switch, and then the lights. As before, both the momentary switch must be up and the toggle switch must be on for the lights to be on, but now the toggle switch LED won’t be on unless the momentary switch is up. This removes the phantom drain from the LED.
Initial switch mounting and wiring. Note that this leaves the red LED on the toggle switch on all the time.
Final wiring ensuring that the switch LED is off when the engine cover is closed.
Longer shot showing the inline fuse holder between the 12v post and the switch (red wire). The ground post is also visible next to the red bulkhead connector.
Results
The new lighting system works pretty well. The engine bay is much better lit now, and I can check the oil and transmission fluid at night in a parking lot or on the side of the road, and even change a belt if need be. About two weeks of of driving has shown the VHB tape to be quite durable, and the lights are still firmly secured to the engine cover and back wall and show no signs of coming loose..