Removing the Center Armrest
Joe Angell
The center armrest holds the shifter and covers the wiring harness that runs from the back of the car to the front. There's just enough things under there that I needed to take it out to pull some wires for the EFI conversion.
Sources
I basically followed some YouTube videos for how to remove the armrest. I'd recommend looking for those videos if you get stuck. I didn't find a good step by step guide, though, so I decided to make this one as well.
The First Screws
Inside the change bin there are two Philips screws that have to come out. There are also two more Philips screws near the bottom of the shifter plate. i don't have pictures of their locations, but they should be pretty easy to find.
Window and Defroster Switches
The three real switches and two dummy switches need to be removed and unplugged. Simply pull the switches up to unsnap them from the console, and then pull the plugs off the switches. Be sure to label which wires go to which switches. I did this with my label printer, but some people just use a marker. Tuck the wires back into the holes after you unplug them, and set the switches aside.
The labeled connectors after removing the switches. The two wires in the bottom switch are aftermarket modifications.
The Shifter
I have an automatic, so the first thing I had to get out of the way was the shifter. With the shifter pulled all the way back you can access the two small Philips screws that hold the handle together.
With the screws out, you can pull off the top of the shifter to reveal a nut that holds the shifter assembly in place. An 8mm socket will get that off. Go slowly, though -- there is a spring under the plate that the nut is keeping in place, and you don't want to lose it. The nut, plate and spring all come out together, followed by the lower body of the shifter.
You can now lift the shifter plate and pull outer rod through the plate, then off of the inner rod. I reassembled the shifter on a workbench to avoid losing any of the pieces.
The shifter plate is still connected to the car via the instrument cluster dimmer wires, the clock wire and the plate lamp. The lamp just pops out. You'll want to label the wires for the dimmer before removing them. The clock is a simple four pin barrel plug that is just pulls apart.
Using a small Philips screwdriver to remove the shifter handle.
An 8mm socket removes the nut holding the shifter together.
With the nut off, the plate, spring and lower shifter body can be pulled off.
Lifting the shifter plate to pull the outer rod off of the inner rod, so the the plate and the tube can be removed together.
Before moving the plate, the plate lamp has to be pulled out, as well as the instrument dimmer wires and the clock connector.
Hidden Nuts
With the other parts out of the way, you can now remove the previously-hidden nuts. There are two in front of the shifter, two behind the shifter and two under the change bin. These are all removed with a 10mm socket.
The armrest cover is also attached to the brackets on the kneepads. i didn't have to deal with these, as mine were already loose, but a 10mm socket will take them off as well.
Two nuts in the change bin.
Two nuts between the shifter plate and the cigarette lighter.
Two nuts forward of the shifter plate.
Lifting the Armrest
You can now lift the armrest, but not too far -- the wiring harness is in the way. The harness runs down both sides of the armrest, and sits in some "U" channel on the edges of the cover. You can pull them away from the channels towards the center of the car through the holes from the previously removed shifter plate, switches and change bin.
Once they are out of the way, there is one last thing to disconnect: the cigarette lighter. Mine had such weak wires that hey just broke off, so I'll have to solder them back on when I put everything back together again.
That's it -- the armrest is now completely disconnected and can be set aside.
The cigarette lighter (bottom) just needs too e disconnected. I also have a heated seat mod, which is what the other back cables with white connectors are for.
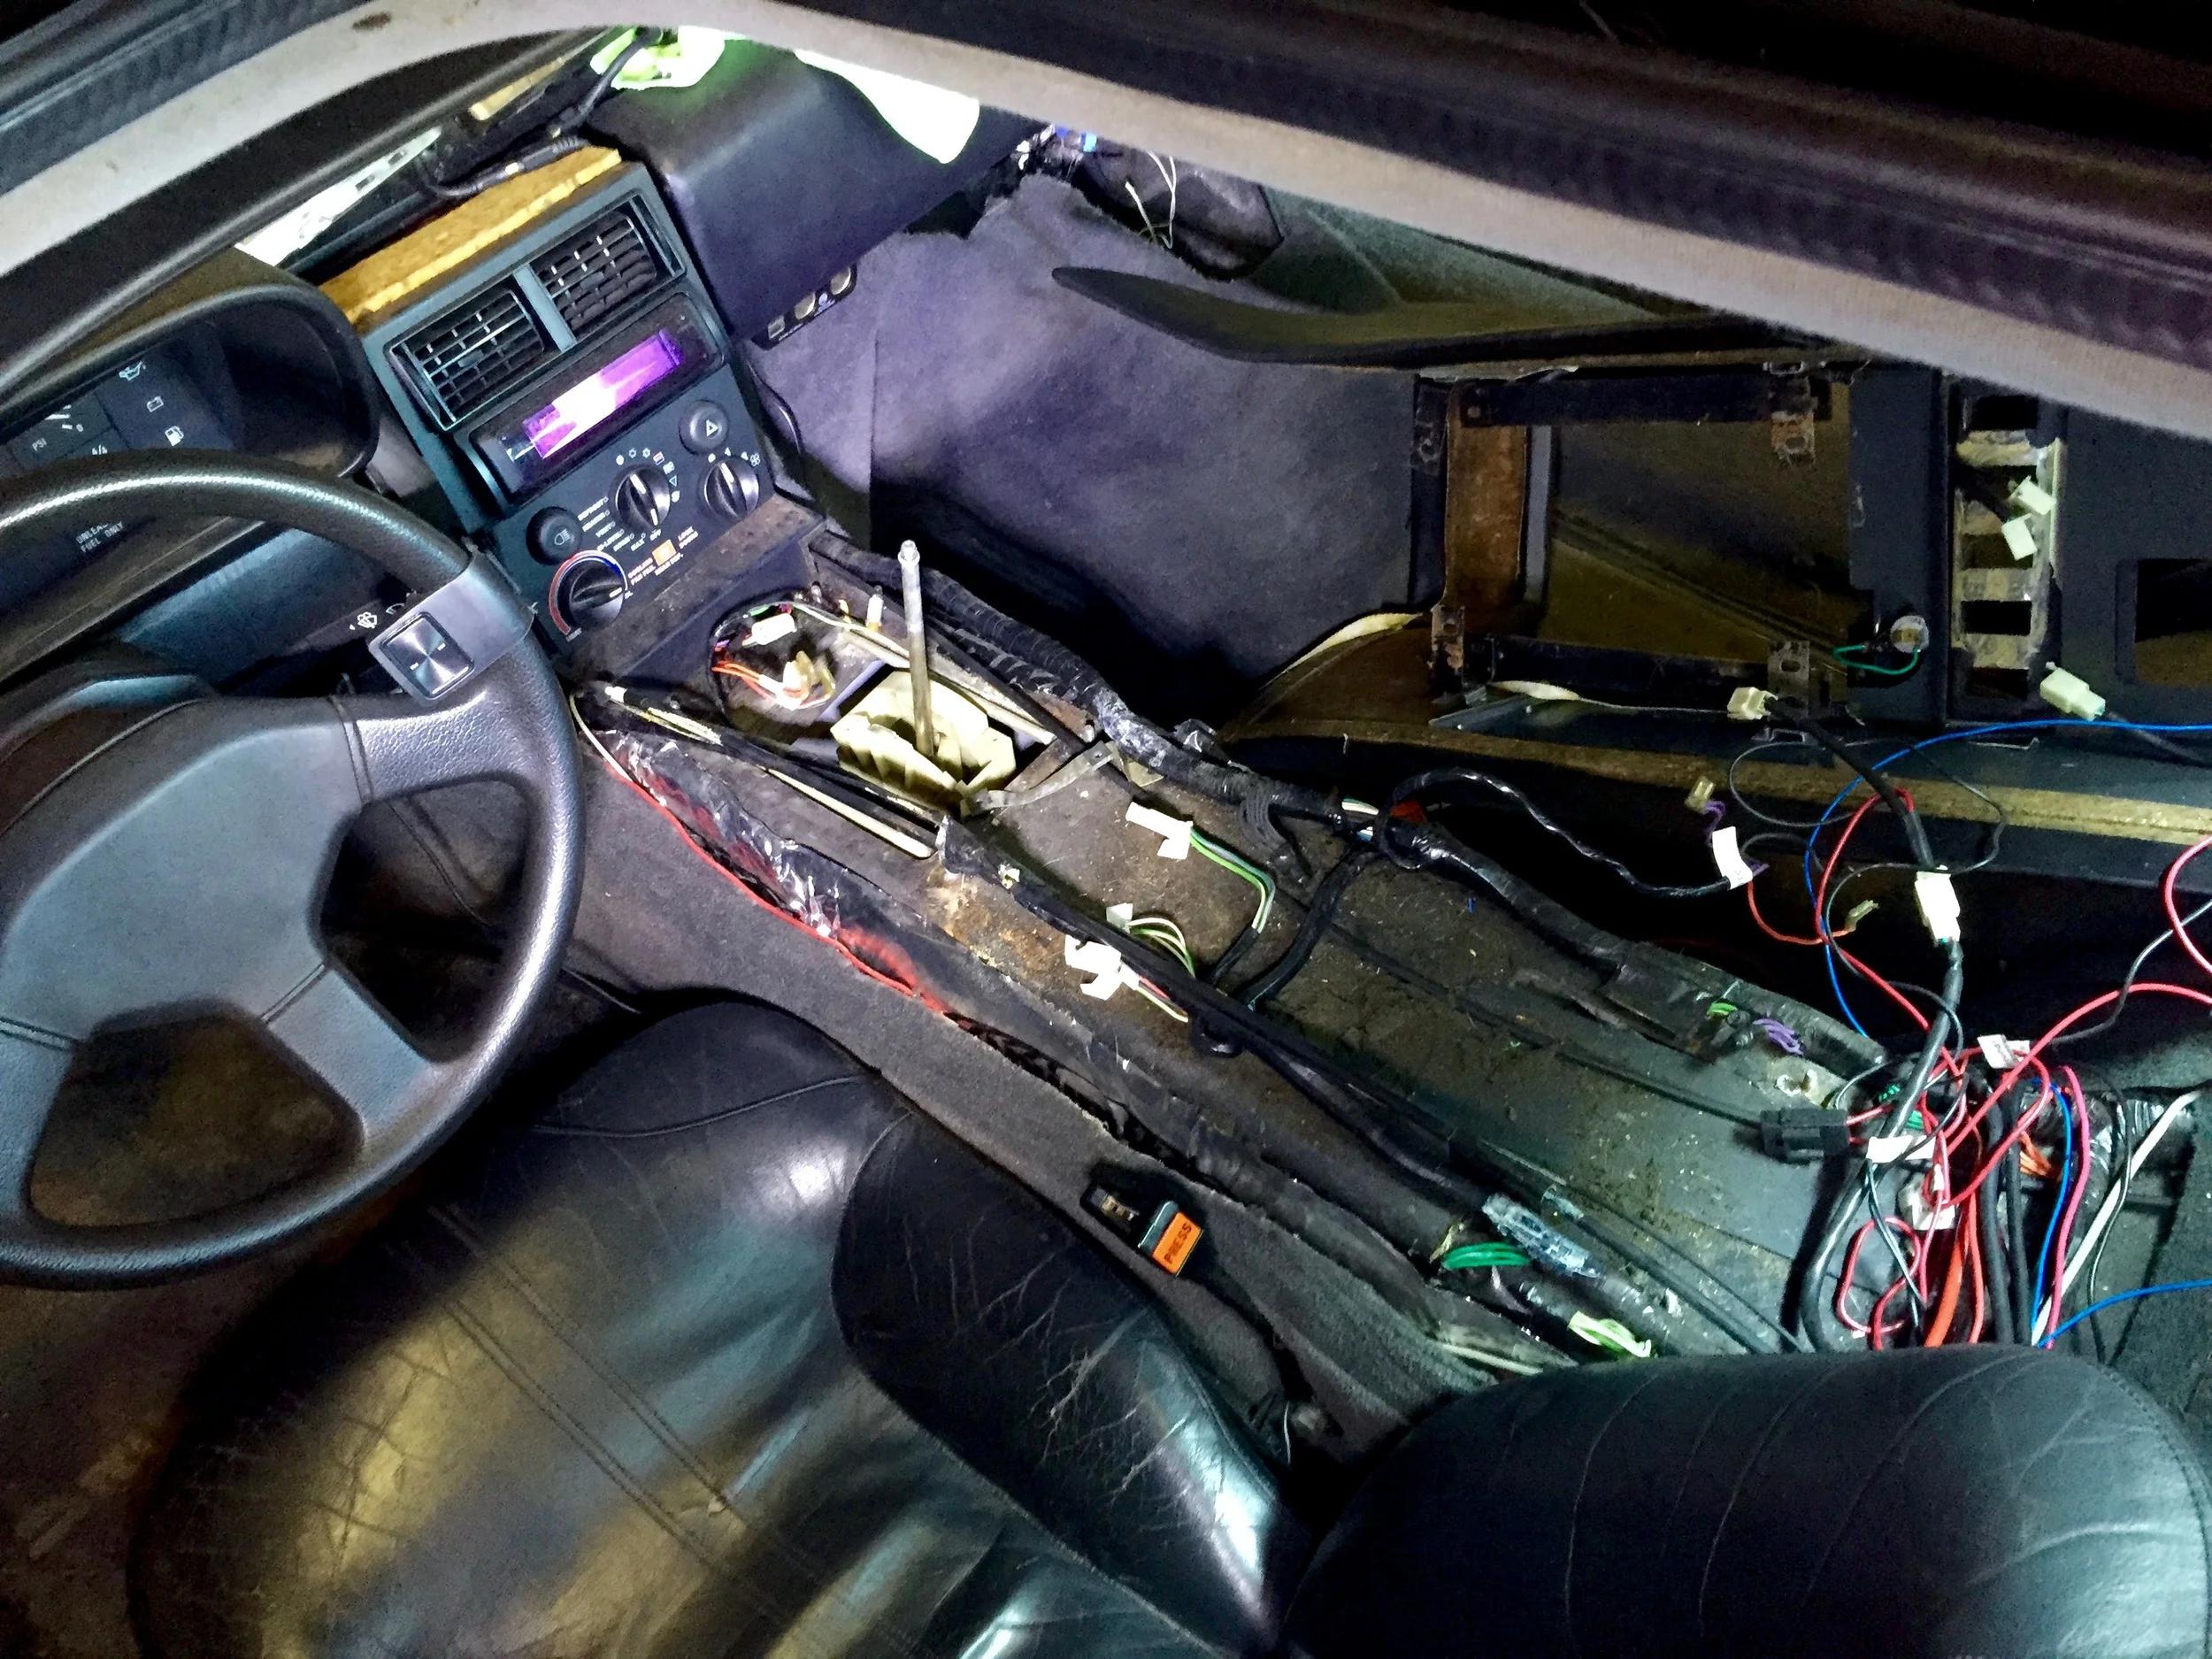
The center armrest completely removed from the car. You an clearly see where the wiring harnesses run on either side of the armrest.