
Relocating the Fuel Filter
Joe Angell
The DeLorean's fuel filter is located under the car, on the driver's side of the frame near the engine. It is somewhat inconvenient to get to, in no small part because you have to jack up and disconnect the likely rusted hardware while lying on your back.
I decided to follow Spittybug's lead and relocate the fuel filter to the engine bay. This was done as part of my EFI conversion. The process is the same for a 2.8L engine, but you'll probably want to use the original fuel line from the filter to the fuel distributor instead of making your own, unless you know how to build a line with a banjo bolt end.
Adaptors, Fittings and Hoses
For my EFI conversion I decided to use standard AN-style connectors, so I figured I'd use them here as well. I ordered three adaptors from JEGS to convert from the old metric connections to AN-6:
The fuel filter and adaptors. The smaller adaptor (left) goes into the top of the fuel filter (top), while the medium sized one (right) goes into the bottom. The largest one (bottom) connects to the hard line near the frame..\
- AN-6 Male to 12mm x 1.5 Male (799-670510). This screws into the top of the fuel filter, although you can skip this step if you're going to hook the filter up to the stock fuel distributor.
- AN-6 Male to 14mm x 1.5 Male (799-670520). This screws into the bottom of the fuel filter.
- AN-6 Male to 16mm x 1.5 Male (799-670530) . This screws onto the existing hard line near the frame.
I made my own AN-stlye fuel hoses using hose and ends from JEGS:
- Six (6) feet of pre-cut braided #6 stainless fuel hose (555-100911). This is enough to make all the rest of the fuel lines for the EFI conversion as well.
- Two (2) AN-6 Hose Ends (555-100001) .
- Two (2) AN-6 Hose Ends, 90 Degree Bend (555-100021) .
I had originally planned on using only straight hose ends, but in the end I found that one straight and one 90 degree bend on each hose worked best.
The straight end of one hose goes out the bottom of the fuel filter and into the hardline near the frame under the car. You need to use a bend here, or else the fuel line will have to wrap around the transaxle.
The straight end of the second hose connects to the fuel rails, while the bend attaches to the top of the fuel filter. The bend was needed to provide enough clearance for the engine cover.
Making Fuel Hoses
AN-style fuel hoses aren't that difficult to make, as long as you have the right tools. I found the hardest part to be cutting the hose. I found various suggestions online: first I tried using a Dremel with a cut-off wheel, but this just made a mess. I didn't have a chop saw to try. I finally ordered some cable cutters, which worked perfectly and gave me a nice clean cut. Once cut, it's just a matter of slipping on the fuel fittings.
- Cut off the end of the fuel hose with cable cutters to create a clean end.
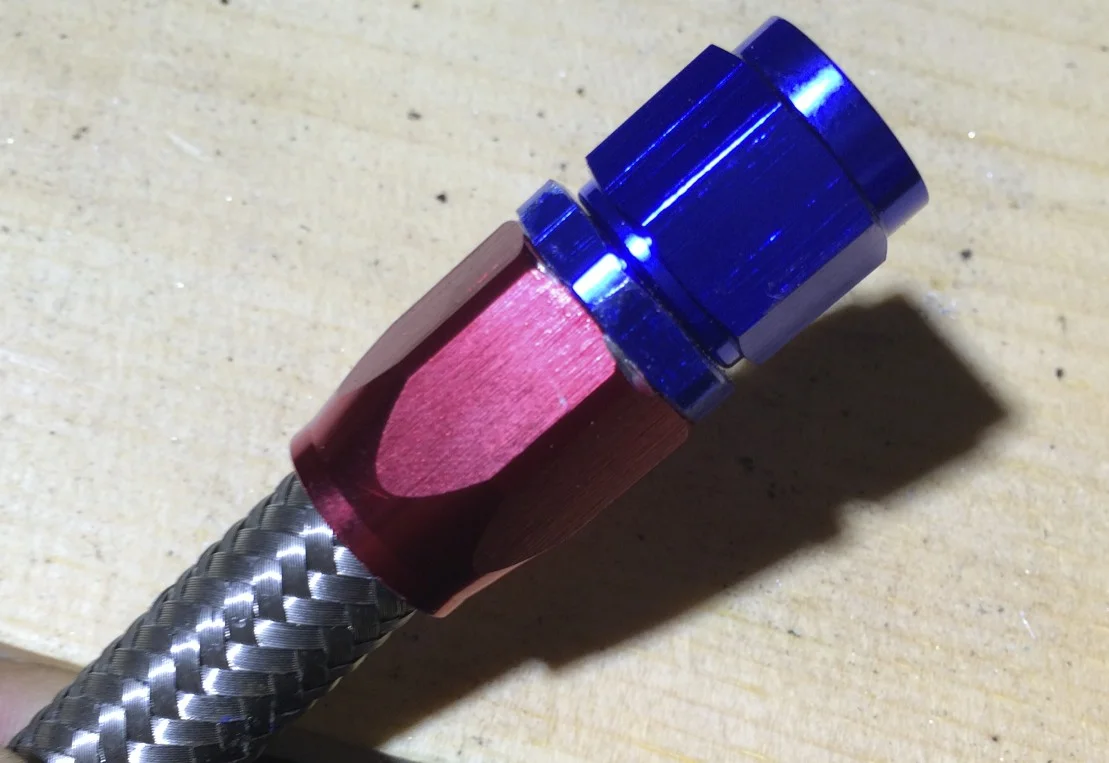
- Unscrew the AN fitting into its outer and inner components.
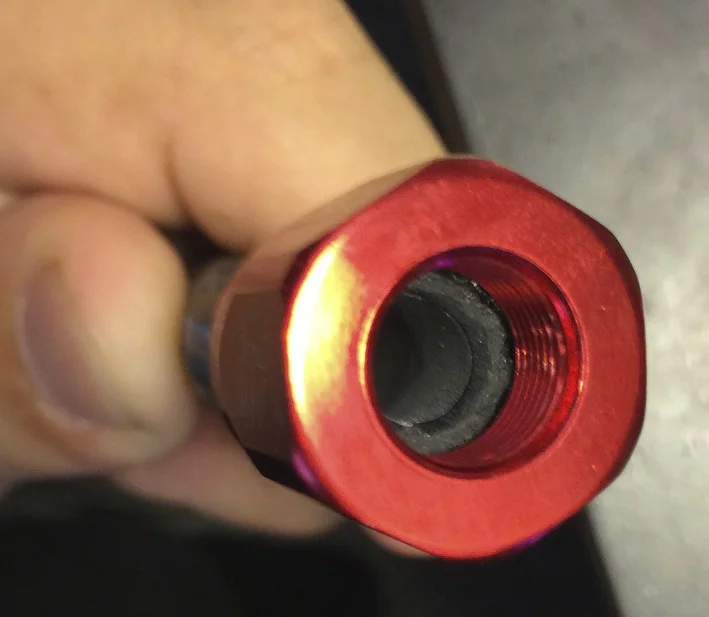
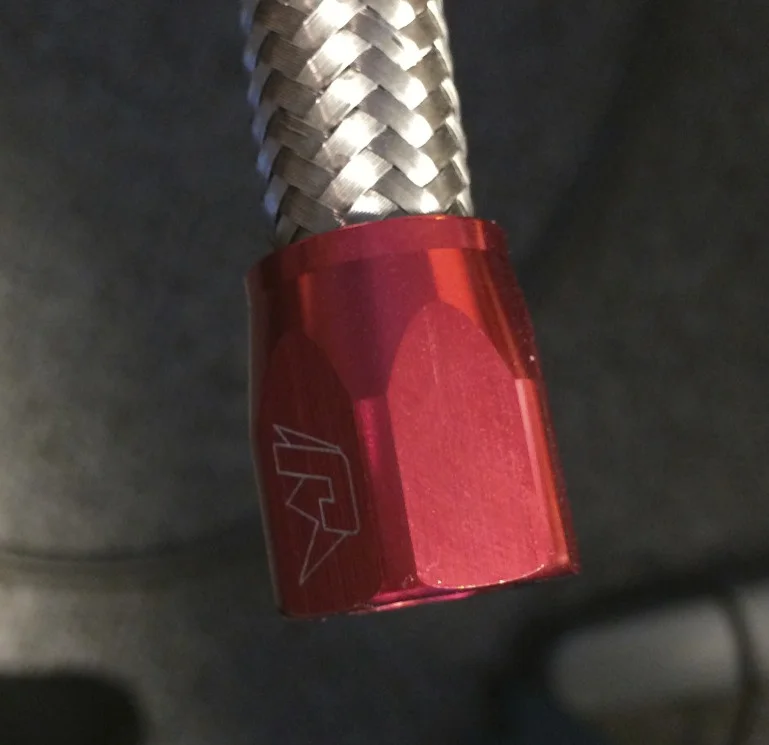
- Slide the outer piece (red part on the ones I bought) tightly over the end of the fuel hose. Some twisting helps, as does mounting the hose in a vice and tapping it with a soft mallet. The hardest part was getting all the bits of the metal sheath in. Make sure to push it down as far as it will go.
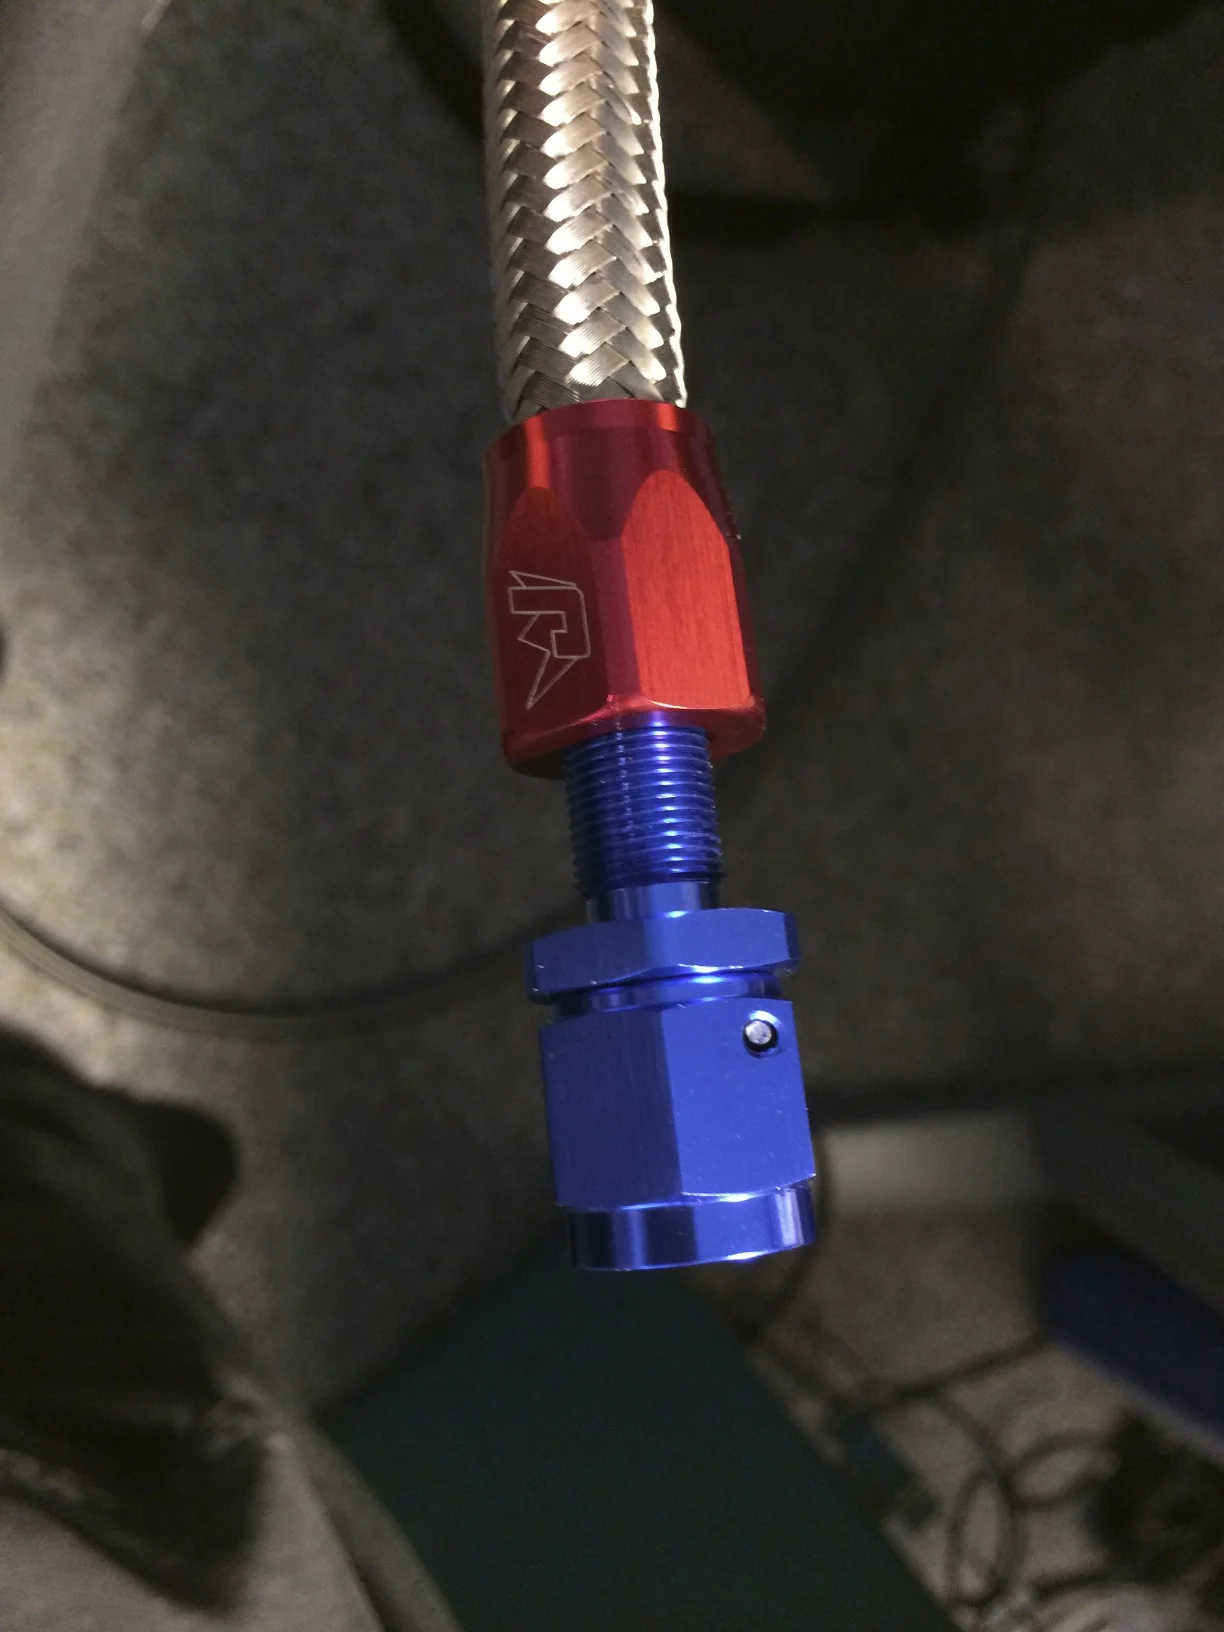
- Lightly coat the inner piece's threads (blue on mine) in oil or grease (I used some motor oil)
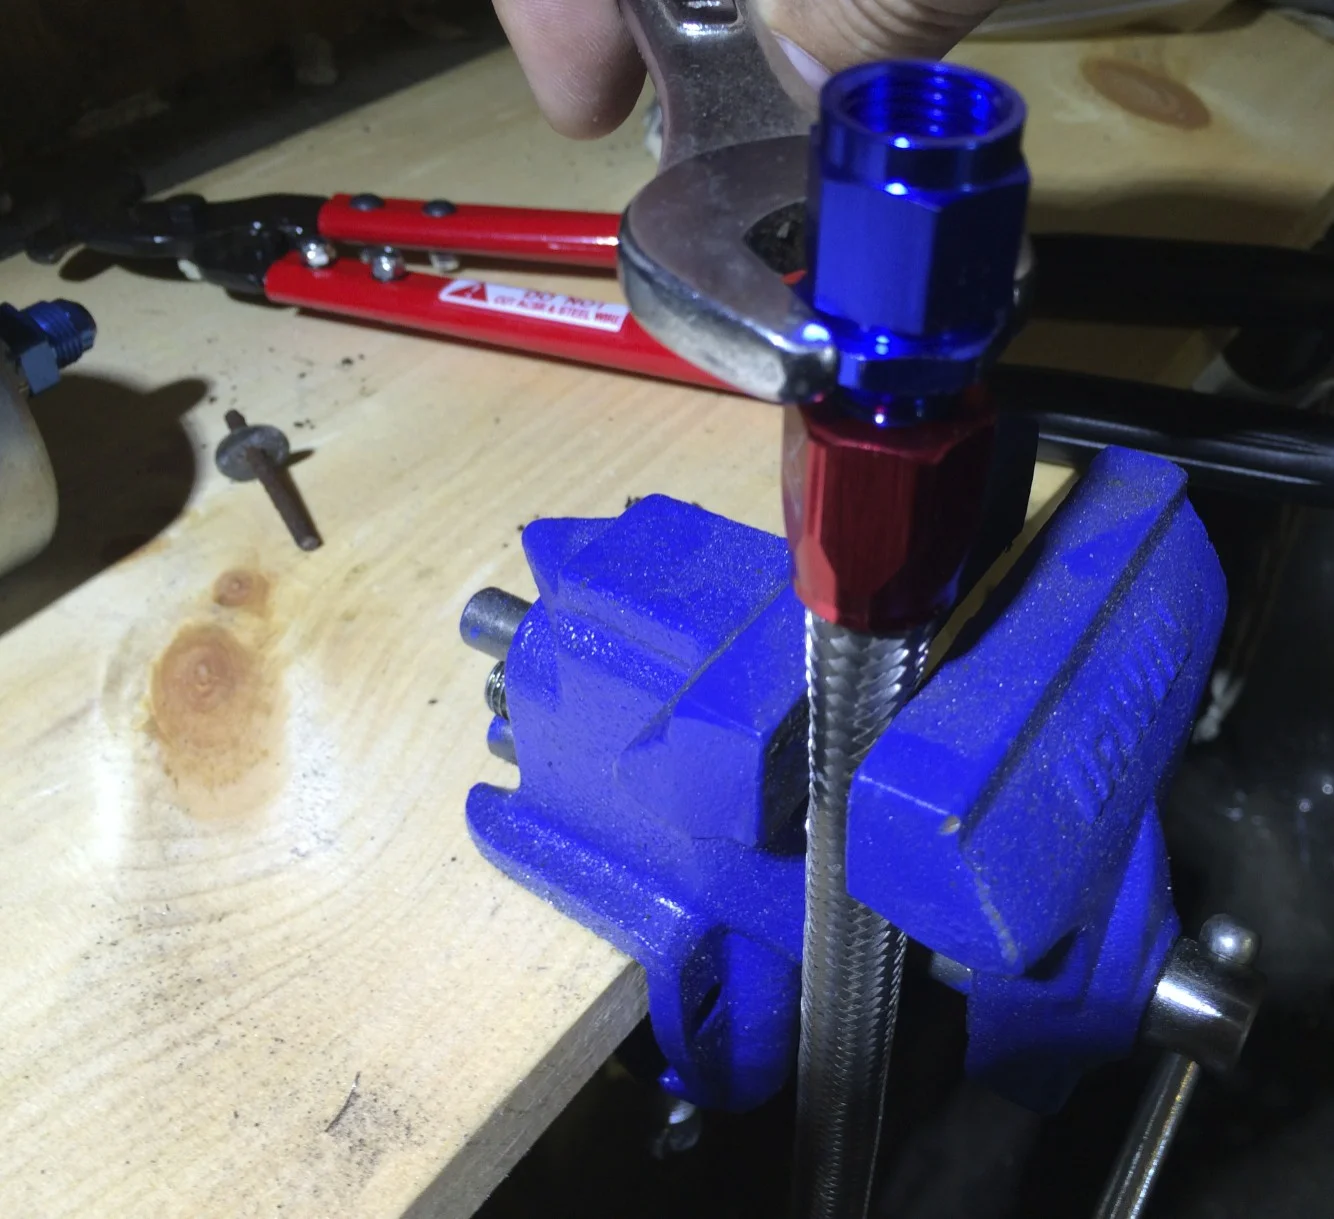
- Screw the inner piece into the outer piece. You can get it about half way down by hand, and after that you need mount it in a vice and use a wrench to finish.
The inner piece spreads the hose against the outer piece, creating a tight, leak-proof seal. These fittings are even reusable -- just unscrew the inner piece and you can install the fitting on a new hose.
Locating the Fuel Filter
My car had a fairly large open space on the driver's side of the engine bay. This was easily big enough to mount the filter, but I needed to decide how high it could sit. I tightened the 12mm and 14mm adaptors onto the filter, put an AN-6 adaptor on one end of my six foot fuel hose, and lightly attached it to the 14mm adaptor. I was then able to snake the fuel line down under the car and figure out how high I could position the fuel filter it while still clearing the engine cover. I marked the holes through the mounting bracket with a silver marker.
At this point I still had the fuel hose dangling under the car. I snaked it to where the hardline was to estimate how much hose I needed, added a bit more and marked it with electrical tape so that I knew where to cut.
Mounting
The fuel filter was to be mounted on the firewall between the engine and the cabin. I wasn't entirely sure where the holes would lead to, so I decided to find out. I removed the parcel shelf back piece by unscrewing the cargo net hooks and lifting it out of the car. Figuring that I'd need access to the back wall for nuts to hold the mounting bolts, I removed the foam soundproofing from the back wall as well, with the intention of eventually replacing it with Dynamat as I had done in much of the rest of the cabin.
Once I had the backing out, I noticed that the engine cover bracket was held into the fiberglass with some kind of fasteners that I wasn't familiar with. A quick check of the DeLorean Parts Manual revealed these to be rivnuts -- perfect for my application. I ordered a metric rivnut tool from Amazon and some aluminum M6 rivnuts from McMaster-Carr.
Rivnut installation is pretty straight-forward: You drill a hole in the surface, in this case with a 10mm drill bit. I started with a smaller bit to act as a pilot, and then moved up to the larger bits until the rivnut fit. You then screw a rivnut onto the end of the rivnut tool while the arms are open, and insert the mounted rivnut into the hole. To capture the rivnut in the hole, you just squeeze the handles of the tool together. This pulls threaded portion of the rivnut towards the soft unthreaded portion, squashing it against the surface. You can install these blind into various surfaces -- there's no need to remove the back of the parcel shelf like I did.
Drilling the holes for the fuel filter bracket.
M6 rivnut attached to the rivnut tool
Rivnut inserted into the firewall, ready to be installed by squeezing the handles together
After squeezing the handles together, the rivnut is firmly secured in the firewall and ready for a bolt.
With the rivnuts installed, it's now just a matter of attaching the fuel line to the top of the fuel filter and mounting it on the wall. I built a second AN-6 cable with a 90 degree bend to connect from the fuel filter to my 3.0L engine's fuel rails, and was good to go.
Final installation. The feed line extends from the top of the filter to 3.0L engine's fuel rail.
Looking up from under the car, the metal-sheathed fuel line (visible snaking up to the top right of the picture) connects to the hardline (bottom left) via a 90 degree bend to avoid the transaxle.
Parts
- AN-6 Male to 12mm x 1.5 Male (799-670510)
- AN-6 Male to 14mm x 1.5 Male (799-670520)
- AN-6 Male to 16mm x 1.5 Male (799-670530)
- Six (6) feet of pre-cut braided #6 stainless fuel hose (555-100911)
- Two (2) AN-6 Hose Ends (555-100001)
- Two (2) AN-6 Hose Ends, 90 Degree Bend (555-100021)
- Two (2) M6 bolts and washers
- Two (2) aluminum M6 rivnuts
- Dill bit for the rivnuts (10mm in my case)
Tools