
Desktop Speaker Stands
Building three desktop speaker stands with some steel stock and a welder.
June 2014
After getting a 50" UHD TV to use a computer monitor, I had to deal with not really having enough room for my desktop speakers. In the past I looked into speaker stands, but they were around $60 for a single stand. I needed to practice welding, so I decided to weld some up. I needed three stands; the fourth surround speaker and the center speaker were fine sitting on the desk.
When I got the UHD, I bought some metal to build a hinged monitor stand so that I can move it lower to the table and title it forward a bit. I wound up coming up with a different solution, but rather than returning the metal I decided to repurpose it for the stands. This consisted of about four feet of two sizes of square tubing, four feet of flat stock about an inch wide, and four feet of two inch wide angle iron, all about 1/8" thick.
Cutting the square stock with an angle grinder and a cutting disc.
Cutting the Parts
I used my cheap Harbor Freight angle grinder with a cutting disc to cut the parts. I wound up not only wearing my hearing protectors and safety goggles, but also my welding jacket and one of my welding gloves to keep the shards of flying metal from bouncing off my skin. I covered everything I didn't want to risk damage to from the sparks (like the DeLorean's rear fascia, which was sitting on a nearby shelf) with fiberglass welding blankets, just to be sure.
The metal was cut as follows:
- Flat stock into six (6) pieces for the feet of the stands. Each piece was around five inches long, with one end cut at a 45 degree angle and the other cut straight. Pairs of these would be joined at at their 45 degree angles to create the feet for the stands.
- Angle iron into six (6) five inch long segments. Pairs of these would be used to hold each speaker in a kind of cradle.
- Square tubing into three segments about twelve and a half inches long . These would be the spines of the stands.
Grinding down the rough edges on a piece of square tubing.
Cleaning Up the Rough Edges
To get rid of the sharp edges on the freshly-cut metal, I used an inexpensive bench grinder I picked up from Harbor Freight earlier that day. It was easy enough to clean them all so that they weren't sharp anymore by running each along the grinder for a few seconds. I also tried to make the square stock more square at this time. I may invest in a simple chop saw if I wind up doing enough of these kinds of projects, since it will give me cleaner, straighter cuts than an angle grinder and require less cleanup.
Welding
I used my oxyacetylene welding torch with RG45 welding rod to join the metal piece together. I started with the feet, which was easy enough -- butt joints like that are what I'd practiced previously, and weren't too hard to get decent. I did forget that I shouldn't weld directly onto the wooden table, and put a big burn mark on the surface. I quickly mounted the flat pieces on my welding magnets and had no problems, other than the passable quality of the welds. It takes a few minutes for each part to cool, so I did all three feet before moving on to the next piece.
The spine welded to the cradle, using a frame of magnets to keep everything together during welding.
While the feet cooled, I welded the cradle onto the top of the spine. This was more difficult than I anticipated, mostly to get all the pieces to stay put long enough to weld them. I wound up using my welding magnets to hold the two angle pieces and balancing the square tube spine on top of them, making sure to leave enough space between the angles for the speaker to fit. I was then able to tack the corners of the tube to the angles before welding everything together.
These welds sucked. They're plenty strong, but they're quite ugly. I had a lot of trouble welding the pieces perpendicular to each other, often melting one piece or the other but not both. I think part of the problem is that the edge of the tube was easy to get molten, but the center of the flat plate wasn't because of how much metal around it was diffusing the heat. I'd also sometimes rush and stick the filler rod in too early, creating metal globs that weren't holding anything. The square stock didn't sit quite flush to the angle stock, and this left gaps, which I soon got reasonably good at filling in with the filler rod, but not great at.
I had similarly poor welds when I welded the feet to the spine. The first trick was getting them level and perpendicular. I spent quite a bit of time carefully balancing the in-progress stand on another partially-constructed stand and some scrap to get everything lined up, after which I could tack and weld. Again I had trouble getting both pieces of metal consistently molten consistently so that I could weld everything.
My quite poor welds between the square tubing and the angle iron.
For one of the stands I welded a kind of shelf about half way up the spine. This was just two pieces of flat stock about five inches long welded onto either side of the spine, sticking out forward. This was just a place to rest the cable model above the two switches on my desk.
At one point during this process I dropped a stand I was welding on the ground. It fell onto a reusable grocery store bag that I carry some of my tools in and quickly melted a hole through it before I could grab it, but no real harm was done. At another point I poked myself with the still-somewhat-hot filler rod and burned a small hole in my shirt, but at least I managed to avoid burring myself in the process. Otherwise it was pretty uneventful.
Clean Up and Painting
I used a grinding disc on the angle grinder to clean up the welds some. They're still ugly, but they're at least flat now. There was quite a lot of black dust from the cutting and grinding on the table, which was easily swept away with a brush and dust pan. I briefly used a wire brush to clean up some of the surface rust on some of the metal bits, but it really wasn't necessary and I decided that paint would be sufficient.
I used a can of flat black spray paint to finish the stands. When I got home I realized I didn't quite cover everything as well as I could, but it was good enough with the limited lighting behind the monitors in my office.
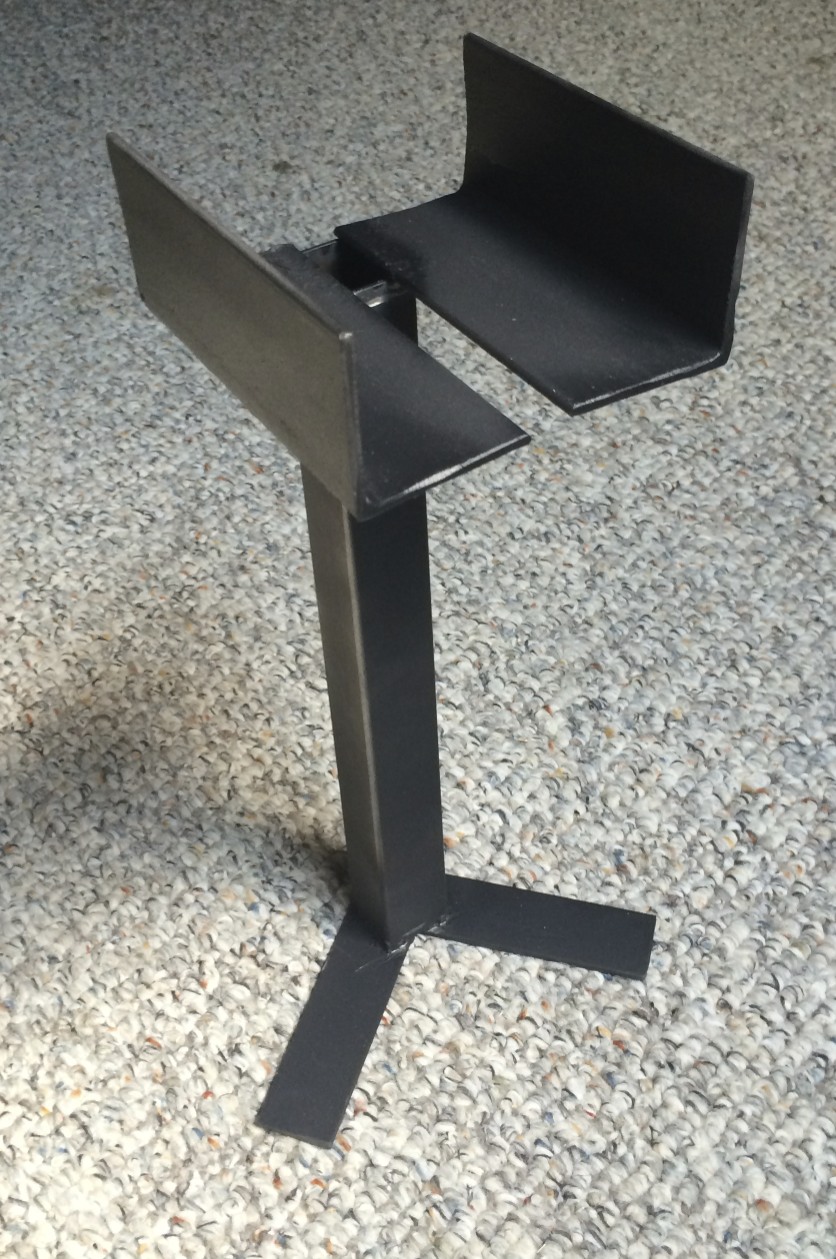
A final speaker stand from the front...
...and the side/back.
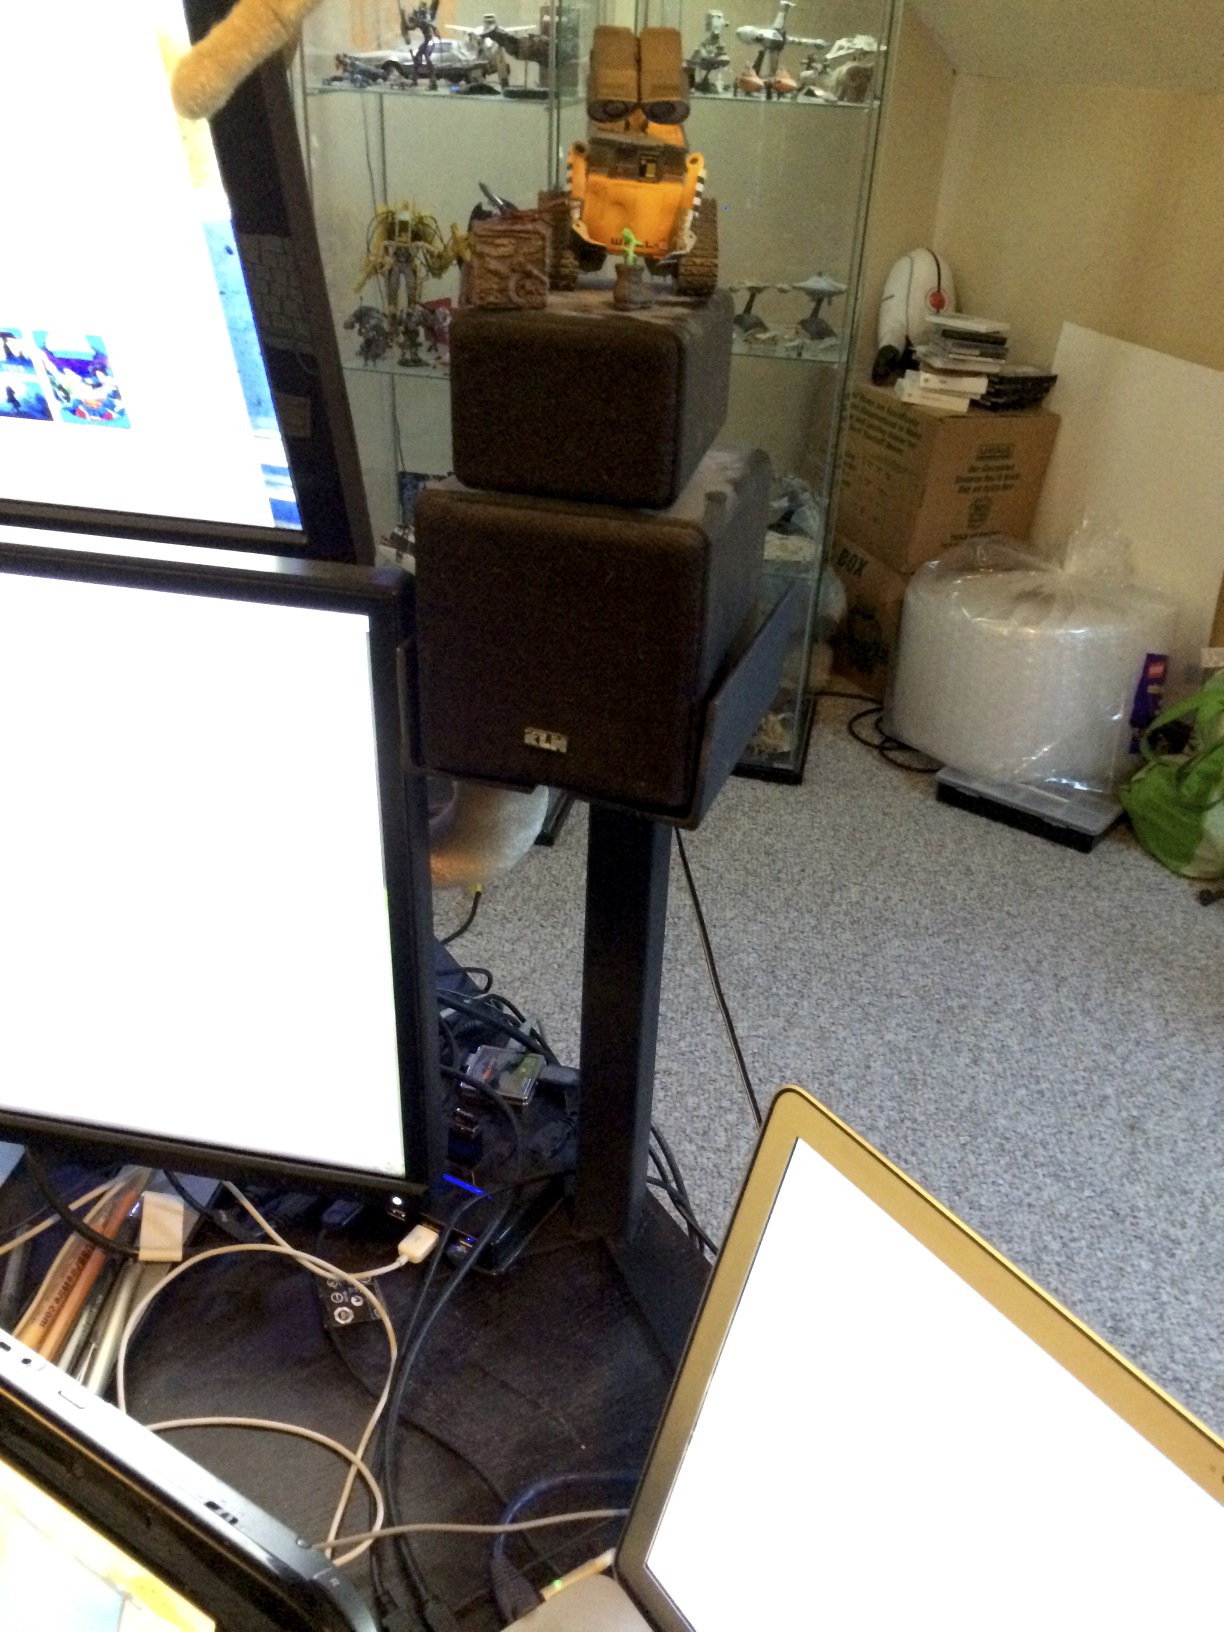
I set up the stands on my desk, and they worked exactly as I'd hoped, holding the speakers clear of the monitors and keeping them from being obscured too badly by the monitors. They're not the prettiest things, but they're fine for my purposes. The pictures below are arranged as they are on my desk, from left to right.
The rear left speaker stand sits behind my Windows laptop's monitor. The heigh tot the stands was chosen specifically to clear its display.

The left speaker stand sits between the 50" UHD and the stacked monitors, and holds the cable modem on its shelf while the switches sit on its feet.
The right speaker stand sits between the stacked monitors and my MacBook Pro.