50" UHD TV as a Desktop Computer Montior
Using a Seiki 50" UHD TV as a desktop computer monitor with Windows.
June 2014
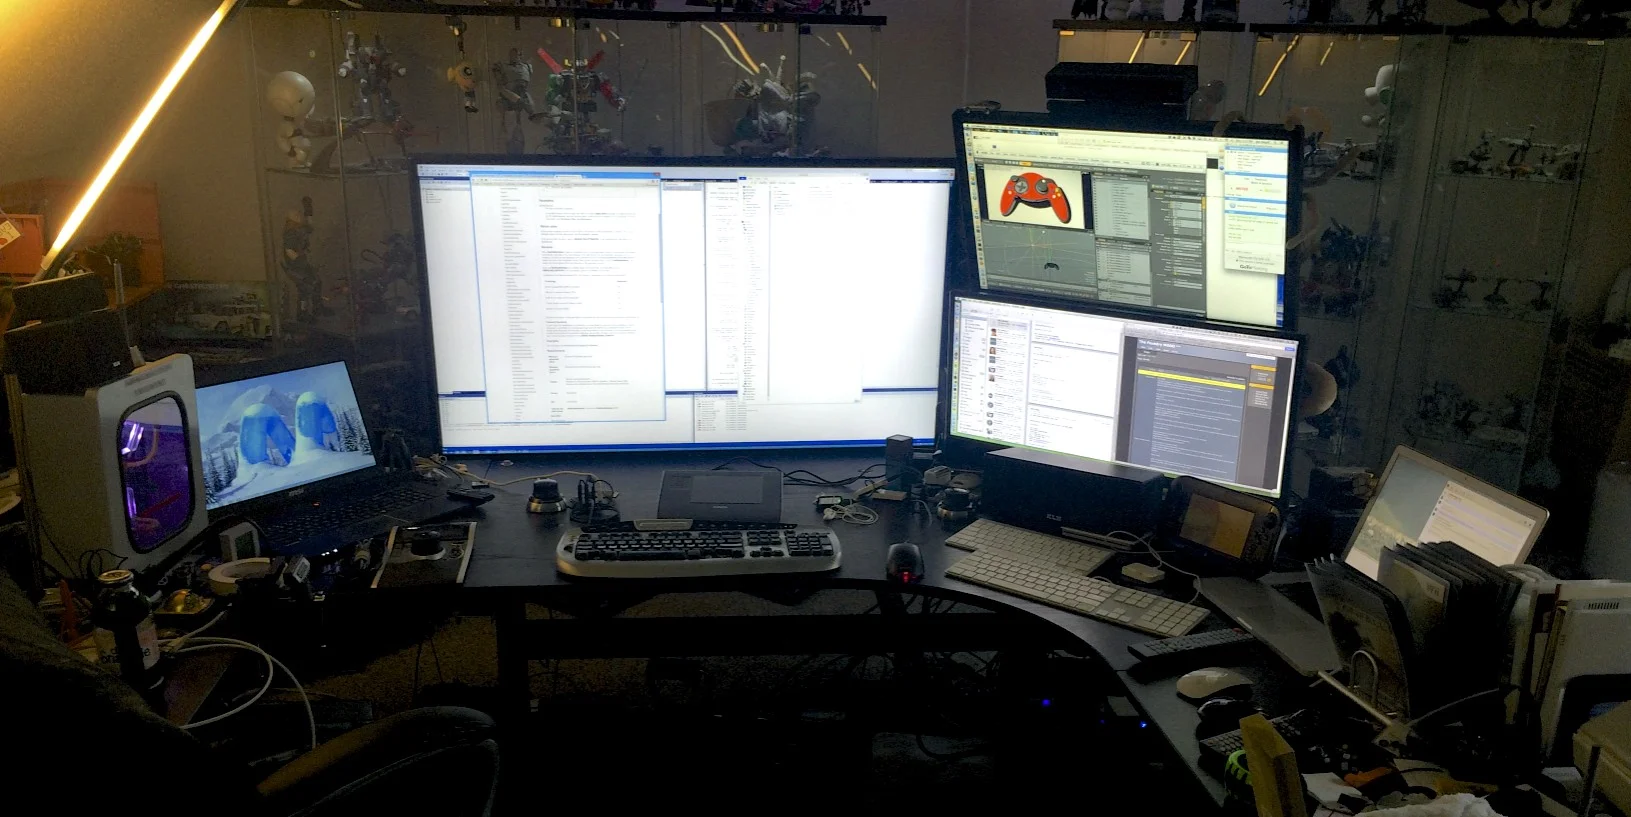
I like having high-resolution displays for work. My main display was a 30" 2560x1600 Dell monitor. This worked great for about 7 years. But then I heard about UHD, featuring 3840x2160 resolutions. While these were initially quite expensive (many thousands of dollars), Seiki released a 50" model in 2013 for around $1200 USD. By mid 2014, the price had dropped to $580, and I decided it was time to buy (of course, the price dropped another $150 three weeks later, but that's how things go).
Seiki TV Limitations
The Seiki UHD TVs are first generation products, in that ultra high definition is still pretty new. As with other first generation UHDs, they only support HDMI 1.4a, meaning that while they can run at 3840x2160, they can only do so at 30 Hz, which introduces a bit of input lag that most of us aren't used to these days. They can run at 120 Hz in 1080p mode, and many people play games in that mode while using the full resolution for their desktops. Meanwhile, HDMI 2.0 is required for 60 Hz UHD, and it's not clear if Seiki will issue an update for these displays, or if it's even possible (since it may be a hardware limitation; presumably, enabling 60 Hz UHD would also enable 240 Hz 1080p as well). Also, this TV does not have DisplayPort, which would support 60 Hz, although again it's not known if the hardware itself can handle that.
I'm using this display for programming, so the lower refresh rate isn't a big deal, but I did find the input lag from the mouse to be somewhat noticeable and slightly annoying. I'm not sure if that's due to the 30 Hz refresh rate, the response time or something else, but it is a common limitation reported by everyone with this display and it's 39" cousin.
The TV also doesn't support DPMS, which is what computers use to tell monitors to go to sleep without the computer thinking it's been disconnected, but it does seem to support a kind of sleep mode a few minutes after, automatically turning off the screen and turning it back on when the computer wakes. The problem is that the laptop thinks the cable was unplugged when the TV turns off or goes to sleep, causing all windows to move to the laptop's display. Luckily, this was possible to resolve with an HDMI Detective Plus, as described below.
Incidentally, I went with the 50" display because it is 88 PPI. The 39" display is around 113 PPI, while my older 30" monitor was 100 PPI. I was at the limits of reading the 30" display at three feet at its native resolution, so adding even more pixels in the same space was probably going to be too much. The ideal size to maintain 100 PPI would be 44", but no one has made such a monitor at this low a price yet. Instead, I thought I'd just push the 50" monitor back until the pixel size was roughly the same as the 30" display at three feet.
Driving the Monitor
My first problem was that my two year old 15" Dell couldn't handle the UHD resolution through its Intel or Nvidia graphics hardware. I solved this by buying an open-box 17" MSI gaming laptop from NewEgg with a newer Nvidia GTX 765M. Open box saved me a bit of cash, was much better specced then my Dell or any other similarly priced system I could find, and most importantly had enough graphics horsepower to run the display. I took the opportunity to up the RAM to 16 GB and get an SSD as part of the upgrade.
A nice bonus is that my Onkyo AV receiver has two HDMI outs, allowing it to drive two displays at once, at a resolution common to both displays The primary output is connected to a monitor that I use for my Mac mini server/video player and various game consoles. Plugging the second output into the Seiki worked great, and ran at 1080p at 60 Hz with no problems. Titanfall on a 50" screen at four feet away is quite impressive. The only problem is that my surround sound speakers are centered on the other monitor, so the sound comes from the side a bit, but that isn't a huge deal.
I also had no issues of any kind with overscan. I simply plugged it in and it worked as a standard computer monitor, with the image filling the entire screen and with nothing being cut off. I didn't even think about overscan until I saw a question about it on a forum.
Switching Sources
Input switching isn't too bad, either. On some TVs you have to keep hitting the Input button until you've cycled through all the inputs to get to the one you want -- and then doing it again when you inevitably overshoot the one you wanted. Some other TVs have dedicated buttons for most of the inputs on the remote, which is the best situation. This TV sits in the middle: there's a Source button that shows a list of inputs, from which you can use the directional pad to choose one and click the OK button on the remote. This means it takes three presses to go from HDMI 1 (my computer) to HDMI 2 (my receiver). Not as good as one press, but far better than cycling through all eight of them.
Configuring Windows
The next trick was getting Windows to cooperation. Windows 8.1 treats it as a HiDPI display, meaning that it runs it at 1080p. The "Modern" control panel only let you choose between Small, Medium and Large sizes, none of which worked here. It turns out you have to use the old-style Display Properties from the desktop, uncheck the Let me choose one scaling level for all my displays option, and then drag the slider all the way to the left to get the displays native resolution. It took me a while to find the right search terms on Google to find this information, but I finally had it running properly.
Finding the Mouse Pointer
The screen is such high resolution that I found that I was losing my mouse pointer much more often than before. Windows has a feature to help with this: under Control Panels, choose Mouse Properties and then the Pointer Options tab. You can then toggle Show location of pointer when I press the CTRL key. After that, tapping ctrl will briefly draw a ring shrinking towards the mouse pointer.
Monitor Settings
Some quick googling found some good default settings for PC use. Press the Menu button, select Picture and choose User. I tweaked mine to the following (the original results I found had lower color, brightness and contrast values, but I found this matched up best with the other monitor I had the AV receiver hooked up to):
- Contrast: 48
- Brightness: 55
- Color: 62
- Sharpness: 0
- Color Temp: Warm
- Blue Screen: Off
Sharpness is the big one, as otherwise you'll have white fringing around black text on grey backgrounds. The warm color temperature is the best match for the other monitors I have on my desk. I turned off Blue Screen so that the screen will be black instead of blue when there is no signal, although the text "No Signal" is still displayed for a few minutes before it automatically powers itself down.
Positioning the Monitor
My old 30" monitor had a PPI of about 100, and sat about three feet away from me on my desk. At that distance, the 50" display with about 88 PPI was enormous, so much so that you had to turn your head to see the edges of the screen. Furthermore, the backlight would darken noticeably at the edges, as TVs this size aren't meant to be used at such near distances. Finally, the stand meant that the bottom edge of the panel sat about six inches above the desktop, requiring you to look up all the time.
I thought about a few solutions to this problem. One was to weld up a custom monitor stand with tilt support so that I could get it closer to the tabletop, but I wanted something sooner than the weekend.
The simplest solution was to mount a new shelf under the back of the table. I bought a black 3' x 1' MDF shelf form Home Depot, and a second black 3' x 8" black shelf. This wound up being necessary as the first shelf wasn't deep enough, and I needed to raise and tilt the monitor slightly after it was positioned.
To secure the shelf to the table, I bought four six inch long, 3/8" diameter bolts, sixteen washers and twelve nuts. I drilled four holes into the larger shelf in a trapezoid, with two near one of the long edges and two about closer to the middle. This allowed the shelf to stick out from the back of the desk. I screwed the smaller shelf to back edge of the larger so that the back of the monitor stand would have something to rest on; the larger shelf was too narrow otherwise.
I placed the shelf assembly on my black IKEA GALANT desk and marked it through the holes in the shelf and drilled them out. I countersunk the front two holes with a larger bit, but left the rear ones as is, as I was concerned a bit about just how strong the table was with that much material removed.
To attach the shelf to the table, I put a washer on each bolt and ran them through the holes in the desk. I then put another wash on the bottom of each bolt and threaded a nut all the way up, securing the bolt firmly to the table with a wrench. I then threaded a second nut onto each bolt, running it up a couple inches to the height that the top of the shelf would be.
Next I placed washers on the holes on the board, and slipped them through the bolts up to the nuts I'd just threaded on. I put a final washer on each bolt and a nut on that.
The final arrangement is:
Bolt -> Washer -> Table -> Washer -> Nut -> Nut -> Washer -> Shelf -> Washer -> Nut
What's nice about this setup is that it's easy to adjust the height of the shelf -- you loosen the nut just above the shelf and spin it up to where the top of the shelf should be, and then tighten the nut under the shelf up until the shelf is tight against the first nut and washer. This made it simply to get the height, level and placement right. All of the bolts were tightened with wrenches to make sure they don't come loose on me. You can also do a little bit of tilt here, but you can't go too far without the washers being at an odd angle to the shelf and not seating firmly.
The back of the monitor stand sits on the smaller shelf, which rests about an inch off the surface off the larger shelf. This unfortunately tipped the monitor forward more than I wanted, so I found a piece of scrap wood that was about 3/4" thick and put that under the front of the stand. This tilted it just a little, and was just what I needed.
In the end, the monitor is now sitting about four feet away from me, and the top third of the monitor is roughly aligned with my eyes, thus keeping me from craning my neck all day. The backlight still fades a bit at the sides, but it's much more even than it was when it was three feet away, and it's not hard to look to the edges of the display.
The shelf sits under the table and sticks out behind it. This allows the monitor's panel to sit just above the top edge of the table, while also pushing the display far enough back for easy viewing.
Original position of the TV as it sat on the desk.
Final placement of the TV just beyond and below the back edge of the desk.
The Occluded IR Sensor
The infrared receiver on the TV is located to the left of the blue bar (it took me quite a while to actually find it, which I finally did by holding the remote against the face of the TV at a steep angle to the left while holding down a button and dragging the it to the right until the TV responded. The problem is that with the TV seated on the shelf, the receiver is now below the level of the desk, making it hard to hit with the remote. I had to hold my arm up in the air and aim down to turn the TV on. This wasn't a huge deal for just toggling the power, but it became annoying as I switched inputs to play console games or to adjust the colors.
To resolve this issue, I bought a cheap IR repeater for under $10 on Amazon. The repeater has a an IR receiver and a single IR transmitter, and is powered by USB. I mounted the receiver on the top of the bezel with the included adhesive backing, and the receiver over the IR sensor on the TV, and plugged it into the TV's USB port for power.
This revealed a detail I didn't think of -- the TV's USB port only has power when the TV is on. This of course makes perfect sense in hindsight. I had previously mounted a few USB ports on my desk, some of which aren't plugged into a computer and are only there to provide power devices, so I plugged the receiver into one of those instead. That worked quite well, and now I can more comfortably turn the TV on and off and switch inputs.
IR repeater as mounted on the TV. The IR sensor on the TV is just to the left of the blue light.
Handling the Lack of DPMS
All my other monitors support DPMS or are plugged into desktop computers. DPMS is the standard for computer displays that allows them to go into low-power mode when signaled by the computer, and to wake up with the computer. The Seiki TV (and most other TVs) does not support this. Worse, every time you turn the TV off, the computer acted as though the HDMI cable was pulled and moves all the window move to the laptop's 1080p laptop displays (this isn't an issue for desktops with only one monitor attached, since there's nowhere to move the windows to). Turning the TV back on causes all windows to moved to its screen, even those that were on the laptop, but now they've been resized and moved, so you have to move everything back again.
To solve this problem I got an HDMI Detective Plus from Gefen. It spoofs the EDID signal to the computer so that it thinks it's still connected even when it is unplugged or turned off. The unit was about $75 from Amazon at the time. It maxes out at 3840x2160 at 30 Hz, the same as the native resolution of the TV itself. Once installed and set up as per the instructions (meaning, I properly flipped DIP switch 4 instead of 1 to enable HDCP), I no longer had nay problems with my windows shuffling around when the TV is powered off.
Sleep Mode
The TV does appear to support turning itself off when the computer goes to sleep. It displays NO INPUT for a few minutes before finally powering down. This is a kind of sleep mode, though; when you wake the computer back up, the screen automatically turns itself back on. Combined with the HDMI Detective Plus, this makes it actual quite similarly to sleep mode with a computer monitor.
Power Up Time
Since this is a TV, it doesn't have a terribly quick power-up time. In fact, it takes a full ten seconds to go from hitting the power button on the remote control to an image showing up on the screen. The same delay is present when it wakes from sleep.
Turning off 4 Hour Auto Standby
For some unknown reason, the TV is configured to automatically turns itself off after four hours. The only way to disable this is from the service menu. I found the basic instructions on a forum from a Google search:
- Press Menu to go to the TV's normal menu.
- Press 0000 on remote. The service menu will appear on the left. Be careful in here; you can wreck your TV if you mess with the wrong settings.
- Scroll to Others and press OK
- Scroll all the way down, past the last entry in the menu. This will reveal three new options, including 4Hours Auto Standby. Set it to Off.
- Press Return to get out of the service menu.
You can also reduce your backlight level here if you like. This will save power and make the display less blinding when used up close.
Firmware Updates
Seiki has firmware updates available for their TVs. You just load the firmware not an empty USB flash drive and plug it into the TV, and it updates itself. There is only one update to the 50" model, and that was released in early 2013; my TV was made in early 2014, so there was no need for me to update it. While many are hoping for an HDMI 2.0 firmware to enable 60 Hz refresh rates, but it's not clear if the hardware can support the necessary data rate, but we'll see.