Rusted Front Frame Extension
Joe Angell
My front frame extension had seen better days. Years ago the passenger pontoon had snapped, and a shop had welded a box around it for me. Now it was the driver’s side’s turn. Luckily all the damage is forward of any critical systems like the steering and suspension.
The correct fix for this is to replace the entire extension, but they’re $2000 and I didn’t want to take apart the entire front of the car. The damage wasn’t that bad, so I decided to just patch it myself. That said, my extension has been beaten on just enough that the a new radiator bracket wouldn’t line up with the mounting holes — only the original, similarly-bent one would actually fit. Still less trouble than replacing the entire extension. If it was a real safety issue I’d do it, but we’r enot there yet.
Rust on the the driver’s side of the extension, after I cut out the most rusted bit.
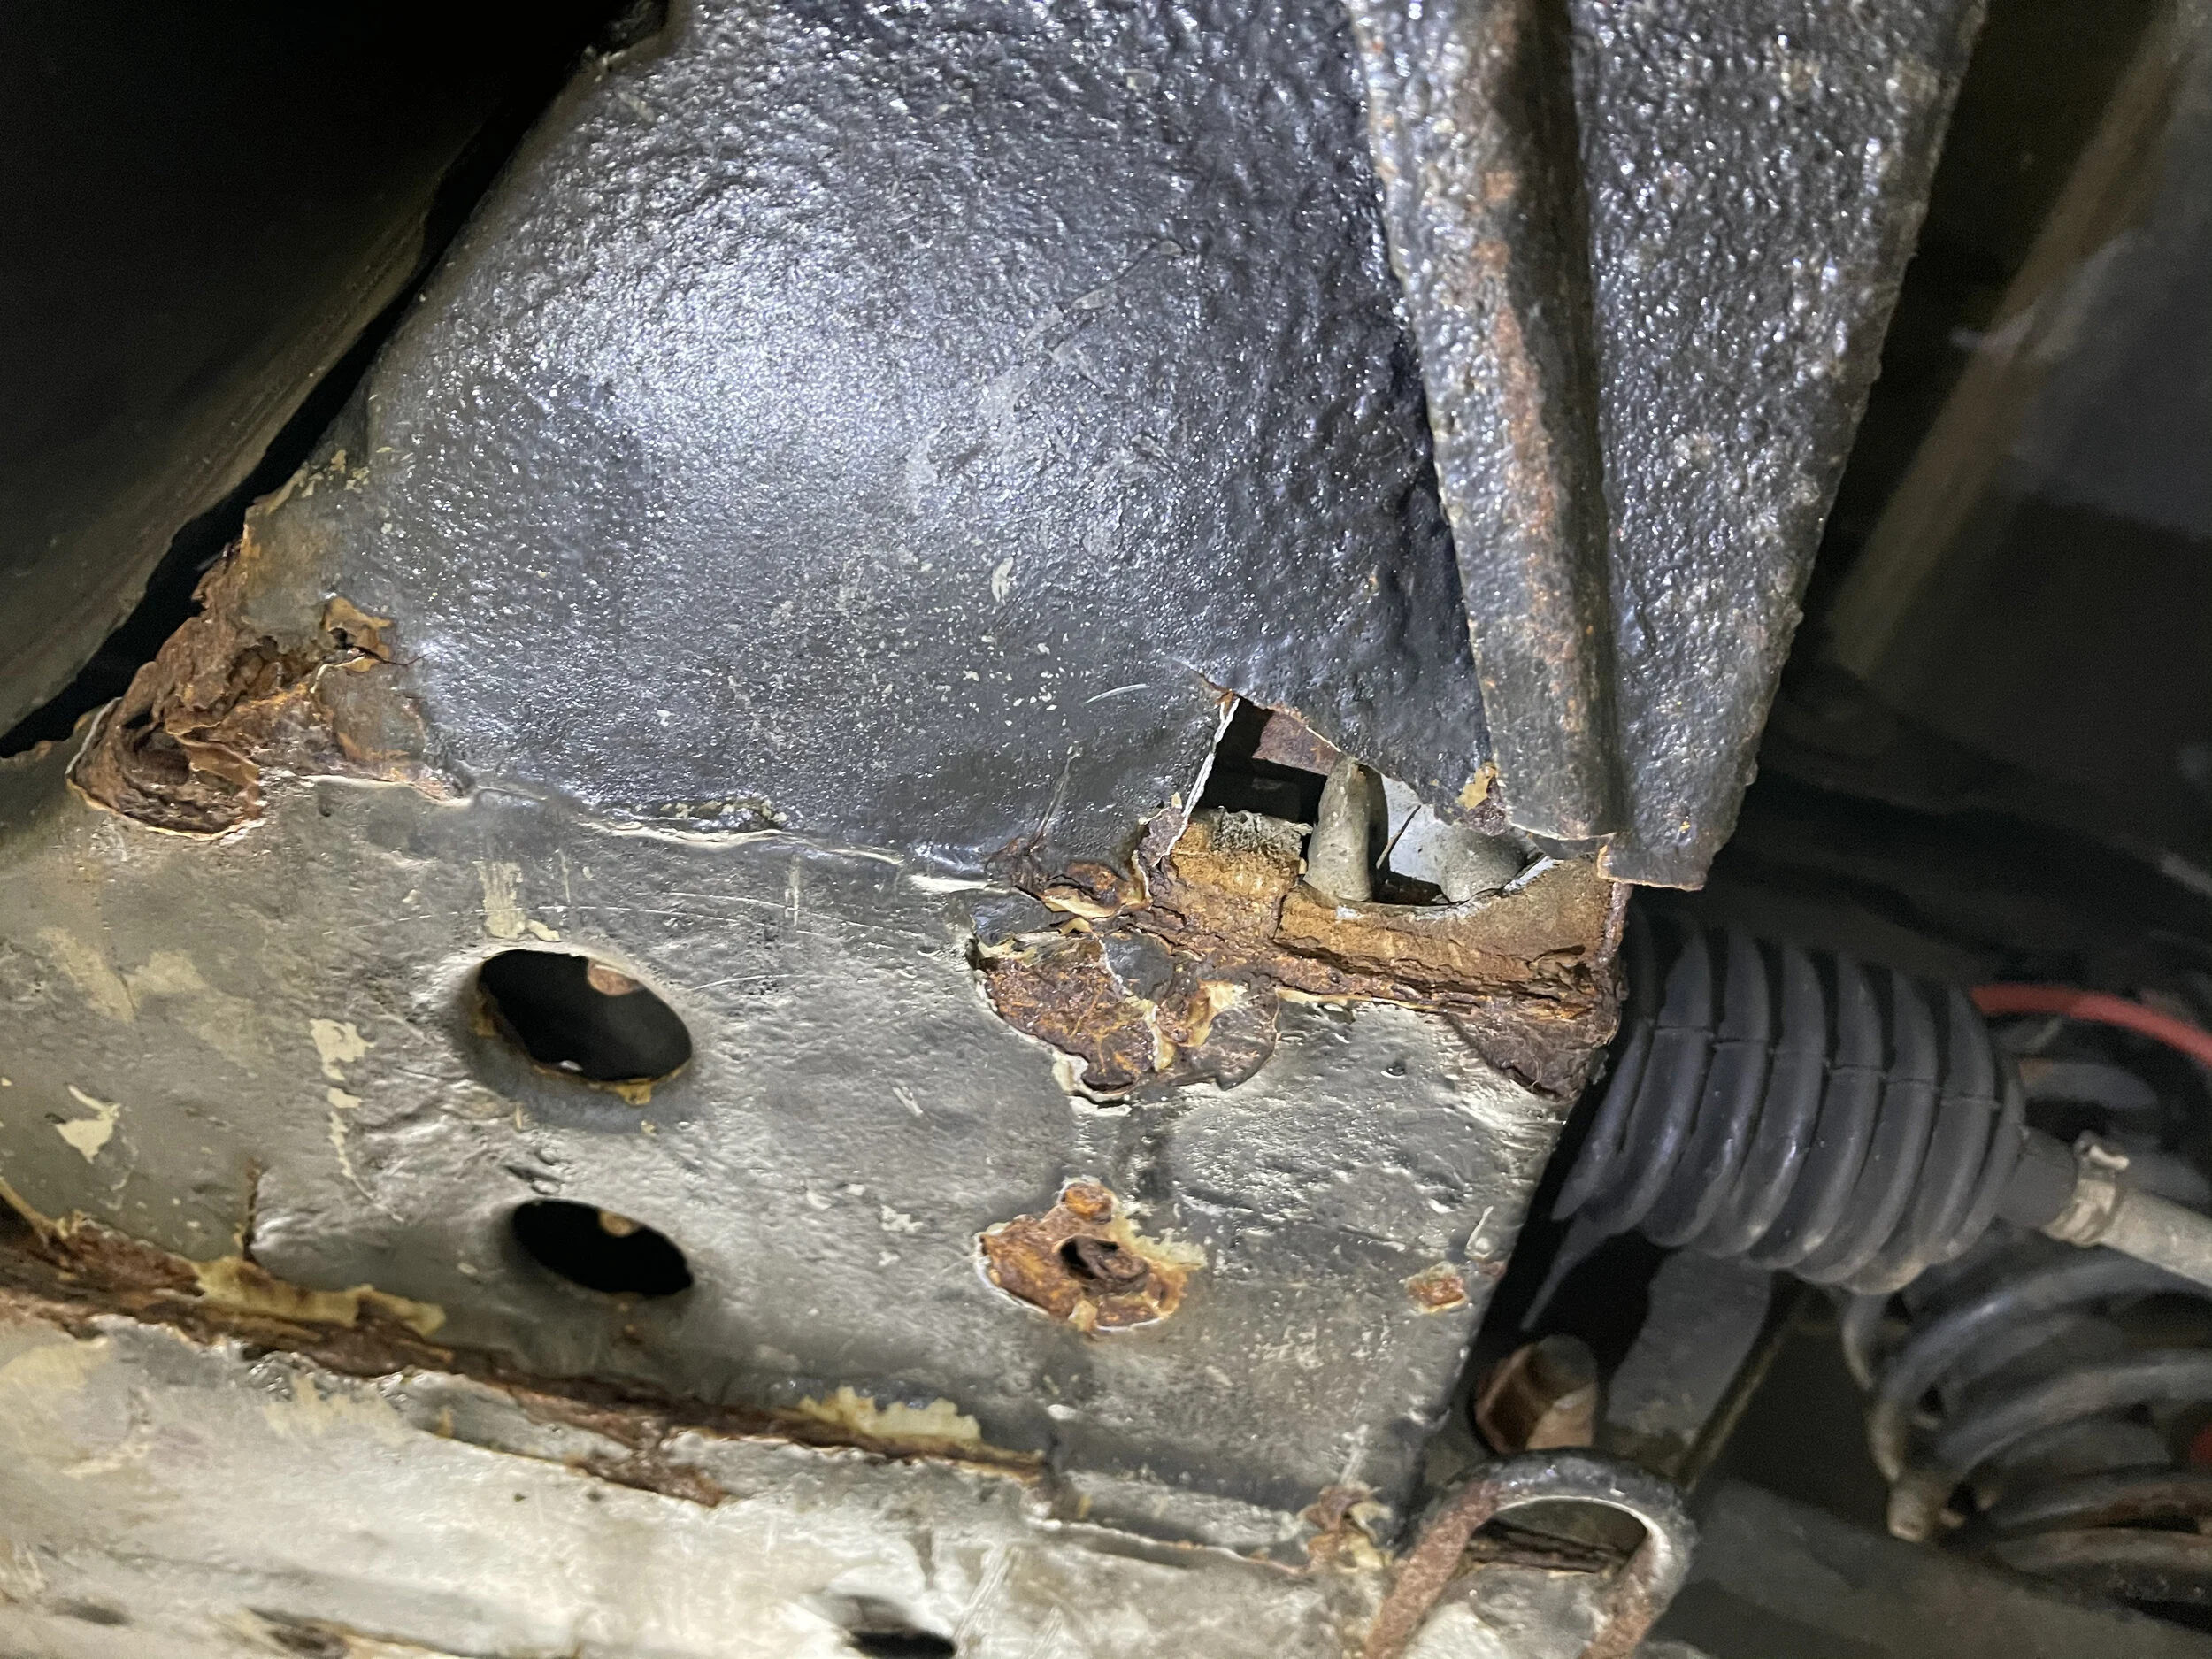
A view of the rust under the driver’s side of the extension.
Rust under the passenger side of the extension.
Rust under the driver’s side of the extension.
Welding a Patch
I had recently bought a basic MIG-style electrical welding setup (no shielding gas; this machine is just for welding steel). I had my old oxyacetylene gear, but that throws a lot of water heat around, and there are a number of hoses and wires near that part of the frame.
After a little practice welding on some scrap, I ground down the damaged parts of the frame and cut out a larger clearly rusted piece of metal from one side., I made cardboard templates for each patch, then cut the real patches from 16 gauge patches steel. There were a total of four patches including one with a bend to go around a corner.
To do the repair I had to remove the sway bar from its mounts, the driver’s side sway bar mount itself, and the driver’s side horn, and zip-tie some hoses out of the way. I ground away all the rust, paint and epoxy from anywhere near that I was going to weld to ensure that the welds took. Getting the mount back on was a pain, as the top holes didn’t want to line up properly. I finally used a punch through one hole to pull them into alignment while putting the bolt through the other hole.
My welds aren’t that great, but they’re strong enough to securely hold the patches to the car and appear to be adequately strong. And I can always cut them off and re-weld them in the future if need be.
My cardboard template from which I cut the 16 gauge patch.
The driver' side patch crudely welded into place.
The second patch on the other side of the driver’s side of the extension.
Another view of the welded patches.
A patch on the bottom of the passenger side of the extension.
Sway Bar Mount Repair
While I was doing this repair, I found that one of the bolt holes for the sway bar bracket had failed. Well, I actually found this a couple days later. The bracket was bent and the sway bar was free on the driver’s side. I put it back on the left and used a Helicoil to repair the threads, and bent the bracket back into place. The sway bar has been secure ever since.
New Toys
This project also let me try out my new electric ratchet, which has a handy 90 degree angled head like a socket wrench. I often use a power drill or electric screwdriver with a socket attachment, but that doesn’t work in tight spaces. The inexpensive electric ratchet I have can only exert 40 ft lbs, but that’s fine once you break bolts free with a normal wrench, which you also used to torque them back down properly. It also has a bit of an impact wrench behavior to it, which helps break bolts free without as much of a risk of snapping off the head that a true impact wrench might do.
Finishing Up
After welding, I painted with two coats of POR-15, let it dry overnight, and everything was good to go. I didn’t bother top coating it, since it’s under the car and won’t be getting hit by much UV.
The new welds have held up quite well for a few months now. I’m fairly confident that I have quite a long time before I have to replace the extension itself.
The driver’s side patch after POR-15 has been applied.
A better view of the entire painted extension.
The passenger side after painting with POR-15.
A punch through one of the holes on the bracket (red arrow) helped line up the holes enough that I could install the first bolt (yellow arrow).
Final installation with everything reattached to the car.