Installing the 3.0L Timing and Valve Covers
Joe Angell
Installation of the 3.0L timing and valve covers is pretty much identical to the 2.8L ones. I again used the instructions posted on DMCTalk.org as a reference.
Timing Cover
The timing cover must be installed first, as the valve covers overlap it. I used grey (aka "import"; it's the same as the black other than the color) Permatex Right Stuff in a 10.1 oz caulk-like tube and a small caulk gun to seal the cover.
First Attempt: Without Gasket
As per the aforementioned instructions, my first attempt involved using quite a lot of Right Stuff, and without a gasket. After mounting the cover, though, I found that it was oozing into the engine cavity, and I didn't want strips of it coming off and gumming up the works. I removed the cover and found that there was enough force applied after torquing down the cover bolts that there was no Right Stuff on the mating surfaces anymore, just along the edges. I'm not quite sure if this meant that the mating surfaces were remarkably flat and flush, but it seemed odd. I decided that I should use the gasket.
Also, I had tried to tap the front main seal into the cover just a little bit more, but wound up tapping it so hard that I bent it. I was able to remove the seal without removing the cover, but I decided to take the cover off anyway to ensure that I could get the seal in correctly. For anyone else wondering, the seal seals against the main pulley, not against crank surface itself; this confused me for a bit until I placed the pulley on the crankshaft as a test.
Applying Right Stuff to the timing cover's mating surface
Right Stuff applied to the entire making surface.
The installed cover, before inserting the bolts.
Re-installing the Front Main Seal
I removed the damaged front main seal while the cover was still on the engine, using a screwdriver as a level to pry it out. It's easier to just use a larger socket to take it out on the bench, though.
Once it was removed, I cleaned out the hole in the timing cover with a scrubbing pad to remove anything that might be left from the old seal. I then applied a thin coat of Right Stuff along the edges of the new seal by rolling it around on the end of the Right Stuff's tube. Since I didn't have a press, I installed it by tapping it in with a rubber mallet until it was flush with the cover. Most of the right stuff oozed out, but what is left should fill any slight gaps that may be there.
The tip about using Right Stuff in this way came from the DMCTalk.org instructions linked above. The workshop manual suggests using a light coiling of oil to make it easier to insert instead of Right Stuff.
The front main seal I'd previously installed not quite deep enough. This seal came as part of DeLorean Performance Industries 3.0L gasket kit.
The installed timing cover with the front main seal removed. The seal seals against the main pulley, not against the crank itself.
The damage I did to the seal trying to tap it into the cover just a little bit further.
New front main seal from DeLorean.com, with a thin layer of Right Stuff before seating into the timing cover.
Seating the new seal with a rubber mallet.
The fully installed front seal sitting flush with the cover.
Second Attempt: With Gasket
For my second try I did use the gasket. I applied Right Stuff along the timing cover itself, and then pressed the gasket against the cover to let the extra ooze out. I cleaned up anything that fell inside the cover. I probably used too much Right Stuff here; it was a pretty thick bead.
I applied a second bead along the engine block, towards the outside of the mating surface. The goal here was to ensure that any Right Stuff that oozed out would do so towards the outside of the engine, if at all possible. I tried to wipe away anything that would ooze too much towards the inside of the engine.
I then carefully placed the gasket/cover assembly onto the engine block and started inserting the bolts. I reused the stainless hardware I'd previously purchased for my 2.8L engine, but the 3.0L cover has a few more bolts, three of which are longer than those in the 2.8L, so I used them where needed. Which length goes in which holes is mostly obvious by looking at the thickness of the cover at those points, but I referenced my notes just the same.
As per the DMCTalk.org instructions, I applied Right Stuff to the threads of the bolts along the bottom of the cover and two holes up from that to reduce the chance of leaks there. All of the bolts are installed with an 11mm socket. I torqued them to the DeLorean spec of 11 ft/lbs, although the Premier/Monaco manual says that 9 ft lbs is the proper amount of torque.
On this attempt I still had some Right Stuff oozing into the engine cavity, but it wasn't as much as before. I'm pretty sure it won't cause any problems.
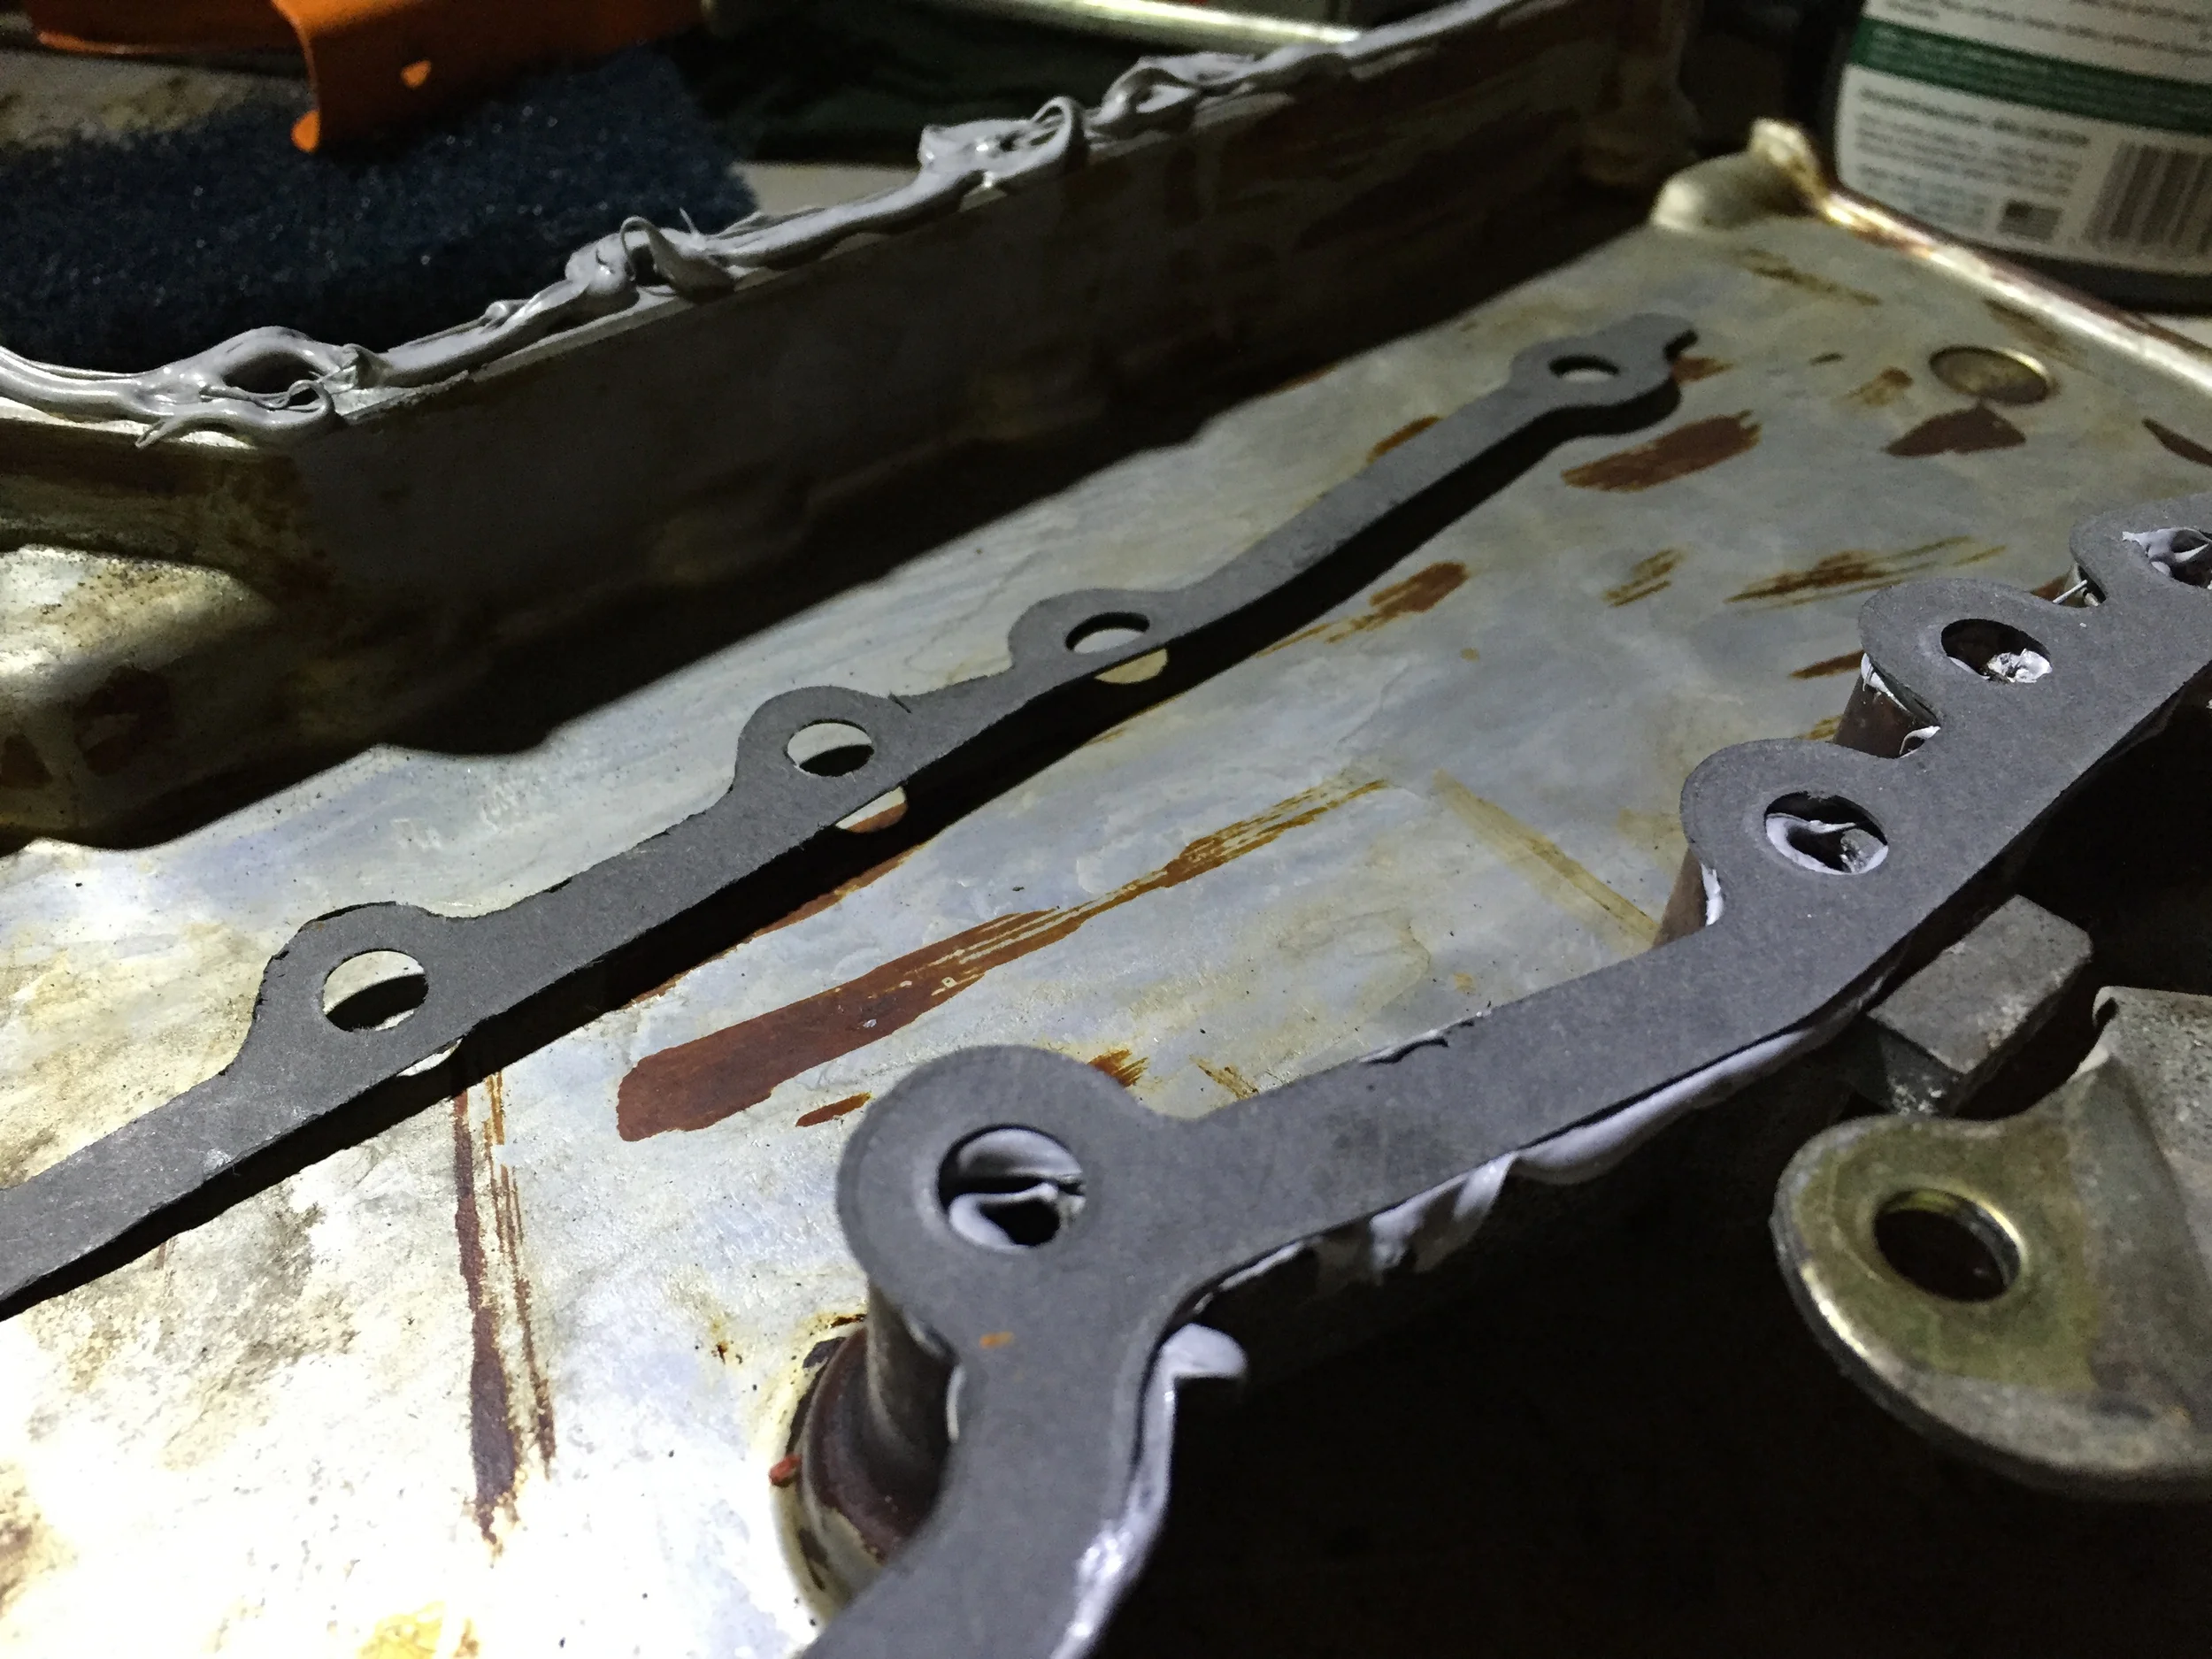
Liberal amounts of Right Stuff applied to install the upper timing cover gasket. The lower gasket is already mounted on the cover.
Another view of the amount of Right Stuff I used for the gasket. Probably a bit too much, but since it wasn't on the block yet I could wipe up the excess before installing it.
Right Stuff applied to the mating surface on the block, before installing the gasket/cover assembly.
Installed timing cover, after torquing down the bolts.
Some extra Right Stuff did ooze into the engine cavity, but less than my first attempt. I'm pretty sure it will be fine.
Valve Covers
The valve covers both went on pretty easily. First I had to cut off the tabs sticking off the ends of the timing cover gaskets with a shark razor blade. After that I had to I figure out which gasket when on which head, as they are a bit different and only go on one way. I then applied Right Stuff directly to the mating surfaces on the cylinder heads, gently aligned the gasket and pressed it down, wiping up any excess sealant.
I applied another bead of Right Stuff to the valve covers themselves, then laid them onto the gaskets. I found that running a bolt through one of the holes as I mounted it helped keep everything lined up properly, although I did have to wiggle some bolts around to get them through the gasket holes.
While the DeLorean manual doesn't say what to torque the valve cover bolts to, I later found that the Monaco/Premiere manual says to use 11 ft/lbs. I initially tightened them to 11 ft/lbs, then went through again and gave them a bit more torque for good measure. I'm also fairly certain I cross-threaded two of the bolts on the passenger valve cover. After a few attempts at failing to get it on straight, I decided to just leave it as is; I'll TimeCert/Helicoil it when I next take the covers off if it comes to that.
Cutting off one of the tabs on the end of the lower timing cover gasket before installing the valve cover gasket.
The new gasket installed on the head with a bead of Right Stuff, with another bead on the cover itself before mounting.
All of the covers installed on the block.
Oil Filler Cap and Oil Vapor Seperator
I decided to install a new oil cap on the driver's side valve cover while I was at it. The cap is a simple plastic plug with a rubber seal under it. I picked one up from RockAuto for a couple bucks. It installed very easily, and the black color is a little nicer than the aged yellow that was originally there.
The passenger side valve cover has what looks like the DeLorean's oil filler, but it is actually a Oil Vapor Separator, according to the Monaco/Premiere manual. On the DeLoran it serves double duty as an oil filler as well, but on the Monaco/Premiere they are separate systems. I accidentally crushed my separator with a ratchet strap when transporting the engine. I had some trouble finding a replacement for this. At worst, my plan is to just reuse the DeLorean's here, since it should be basically the same thing.
The new oil filler cap and its rubber seal.

Oil vapor separator diagram from the Monaco/Premiere Service Manual, Page 0-12.
Oil Dipstick Tube
I figured this was also a good time to install the dipstick tube. At first I through it didn't fit for some reason, until I realized I was trying to install it in the wrong hole on the lower crankcase. It pretty easily slips into the fill hole, although I'm wondering if I should put some kind of sealant on it so it doesn't leak.
I used the 2.8L engine's dipstick; the 3.0L is notably taller, and while it probably wouldn't interfere with the engine cover, I wasn't totally sure. The top of the 2.8L dipstick tube has a crimped-on mount for attaching it to the some part of the car, although I forget exactly where at the moment. I'm sure it will be obvious once it's all back in the car.

The engine dipstick reinstalled in the lower crankcase.