A Few Weeks of Driving, Small Issues To Fix
Joe Angell
As one might expect after putting a car back on the road after more than five years, there were a number of smaller issues that needed to be fixed. These are just the ones from the first two weeks.
Back to the garage for some fixes.
Driver’s Side Door Strut
The driver’s side door was starting to sag, so I replaced the door strut. This was easier than the passenger side, as the holes for the retaining pins are upward and easily visible, while they are hidden underneath the strut on the passenger side. This took about five minutes to do.
Fuel Light Not Working
I thought the fuel gauge wasn’t reading full, but it turns out I simply didn’t fill the tank all the way. I forgot that many gas pumps don’t work that well with the DeLorean and cut off too early. My second refill showed a completely full tank.
The low fuel light didn’t work, though. I decided to check that at the sender. This meant removing the front stabilizer bar, the carpet, the spare tire, and the fuel pump access cover, then unplugging the three pin connector and applying ground to the light green/orange wire. The light didn’t go on, which implied the bulb was dead, but that the sender worked fine.
I put everything back together, then found that the fuel gauge was pointing straight up. I took it all apart again, pushed the connector together a bit more, and the gauge worked properly again. The moral is to test your gauges before re-assembling the covers over your senders.
To replace the bulb, I’d need to take off the binnacle, but I was short on time and would have to leave that for another day.
Transmission Slipping
I can never read the transmission fluid dipstick properly. The transmission was slipping a bit in first, so I added another half quart of fluid in total, trying to make sure the level was right. One day after a highway trip I checked the level, and it was actually good — but the fluid smelled burnt.
That weekend I replaced the fluid. I jacked the car up the back of the car and used the 8mm square drive socket to remove the drain plug. Make sure to remove the pan drain plug, not the final drive one, and to do this while the transmission is warm. I removed a total of around three and a half quarts of transmission fluid, lowering the car to level the pan and get as much out as possible. The fluid was brown — clearly burned. It’s worth noting that you can’t get all the fluid out of an automatic from the pan, as the torque converter holds about two quarts, but you can get most of it out.
I replaced the plug after slipping on a new crush washer, and I added another three and a half quarts of fresh fluid, then turned the engine on and moved through the gears to make sure everything was lubricated. I also checked the level after a drive. A bit overfull, and it still smells burned (likely due to the fluid I couldn’t get out), but good. I’ll replace it again the next time I need to do some work, which should be in a few weeks.
The square 8mm socket needed to remove the transmission plug (and the stock oil plug). Use a new crush washer when re-installing the plug.
Draining the fluid.
Lowering the rear of the car to drain the last bit out of the pan.
The rather brown looking fluid removed from the transmission. There was a coating of oil in this pan, so it’s probably not that brown, but still. It smelled burned, though.
Poured into a one gallon bottle, revealing that I got between 3.25 and 3.5 quarts out of the transmission. I put the same amount back in.
Oil Leak
A small pool of oil under the rear right of the car made it clear that I had a leak. I quickly tracked it down to the distributor cap cover that I had installed. I used the same plug used for the cap on the driver’s side of the 2.8L engine, but the hole and bolt placement is slightly different on the 3.0L, and relying on the rubber O-ring wasn’t enough to seal it. I fixed it by adding some red RTV and torquing the bolts down again, and no more leaks.
Loosing the bolt on the distributor cap cover to get at the oil leak.
The cap was sealed with a simple O-ring, which worked on the 2.8L but not on the 3.0L. The elongated hole on one side is to deal with the different hole placement on the 3.0L engine.
Engine Cover Hinge
The drivers side hinge for the engine cover had come loose, making a loud vibrating sound when the engine was running. Basically, the nuts had fallen off their studs and behind the parcel shelf backing.
Fixing this was simple enough: remove the carpet and electronics covers on the parcel shelf, then the parcel shelf back, and then the top trim piece. The studs stick through just behind the rear window. I used new 6mm nylocks to ensure that I wouldn’t have to replace them again.
The engine cover hinge is clearly no longer bolted down.
The two engine hinge studs sticking down through the top of the rear firewall, just behind the rear glass.
New unlocks snugged onto the hinge studs.
Windshield Wipers
They were old, so they needed to be replaced too. The driver’s side is 24”, while the passenger is 20”, but Advanced Auto lists 20” for both sides for some reason. I’m not sure if they’re wrong, or if I just put a longer wiper on the driver’s side in the past and forgot about it. These use a standard J-hook, and are easy to source and install.
Exhaust Silencers
The exhaust had a bit of a buzzing to it that I found annoying at cruising speeds, so Installed a set of Car Chemistry three-disc silencers into the pipes after the muffler. I welded the cap with the hole to the inlet end only, and did not add any steel wool between the discs. As before, I had to grind down the edges of the silencers to remove the paint and a little metal so that they’d fit in the pipes.
The passenger side pipe came off easily, but the driver’s side required dropping the fascia in order to pull the pipe out of the muffler, but I finally got it done. Both silencers wedged into the pipes so tightly that I didn’t even bother to rivet them in place, and the bend at the end of the pipe meant that there was no way for them to eject themselves from the exhaust anyway. I even had to hammer the passenger side one in with a rubber mallet just to get it far enough into the pipe.
This did seem to work, but the effect was subtle. I think the car is slightly quieter, and the buzzing seems to be gone, replaced with a slightly lower pitched and notably less annoying sound. Unfortunately, I forgot to take decibel readings before installing the silencers, so I don’t have quantitative data from how they changed the tone, but it did seem to work, and makes the car more enjoyable to drive. I may install my second set of silencers between the cats and muffler at a later point, probably once it warms up a bit.
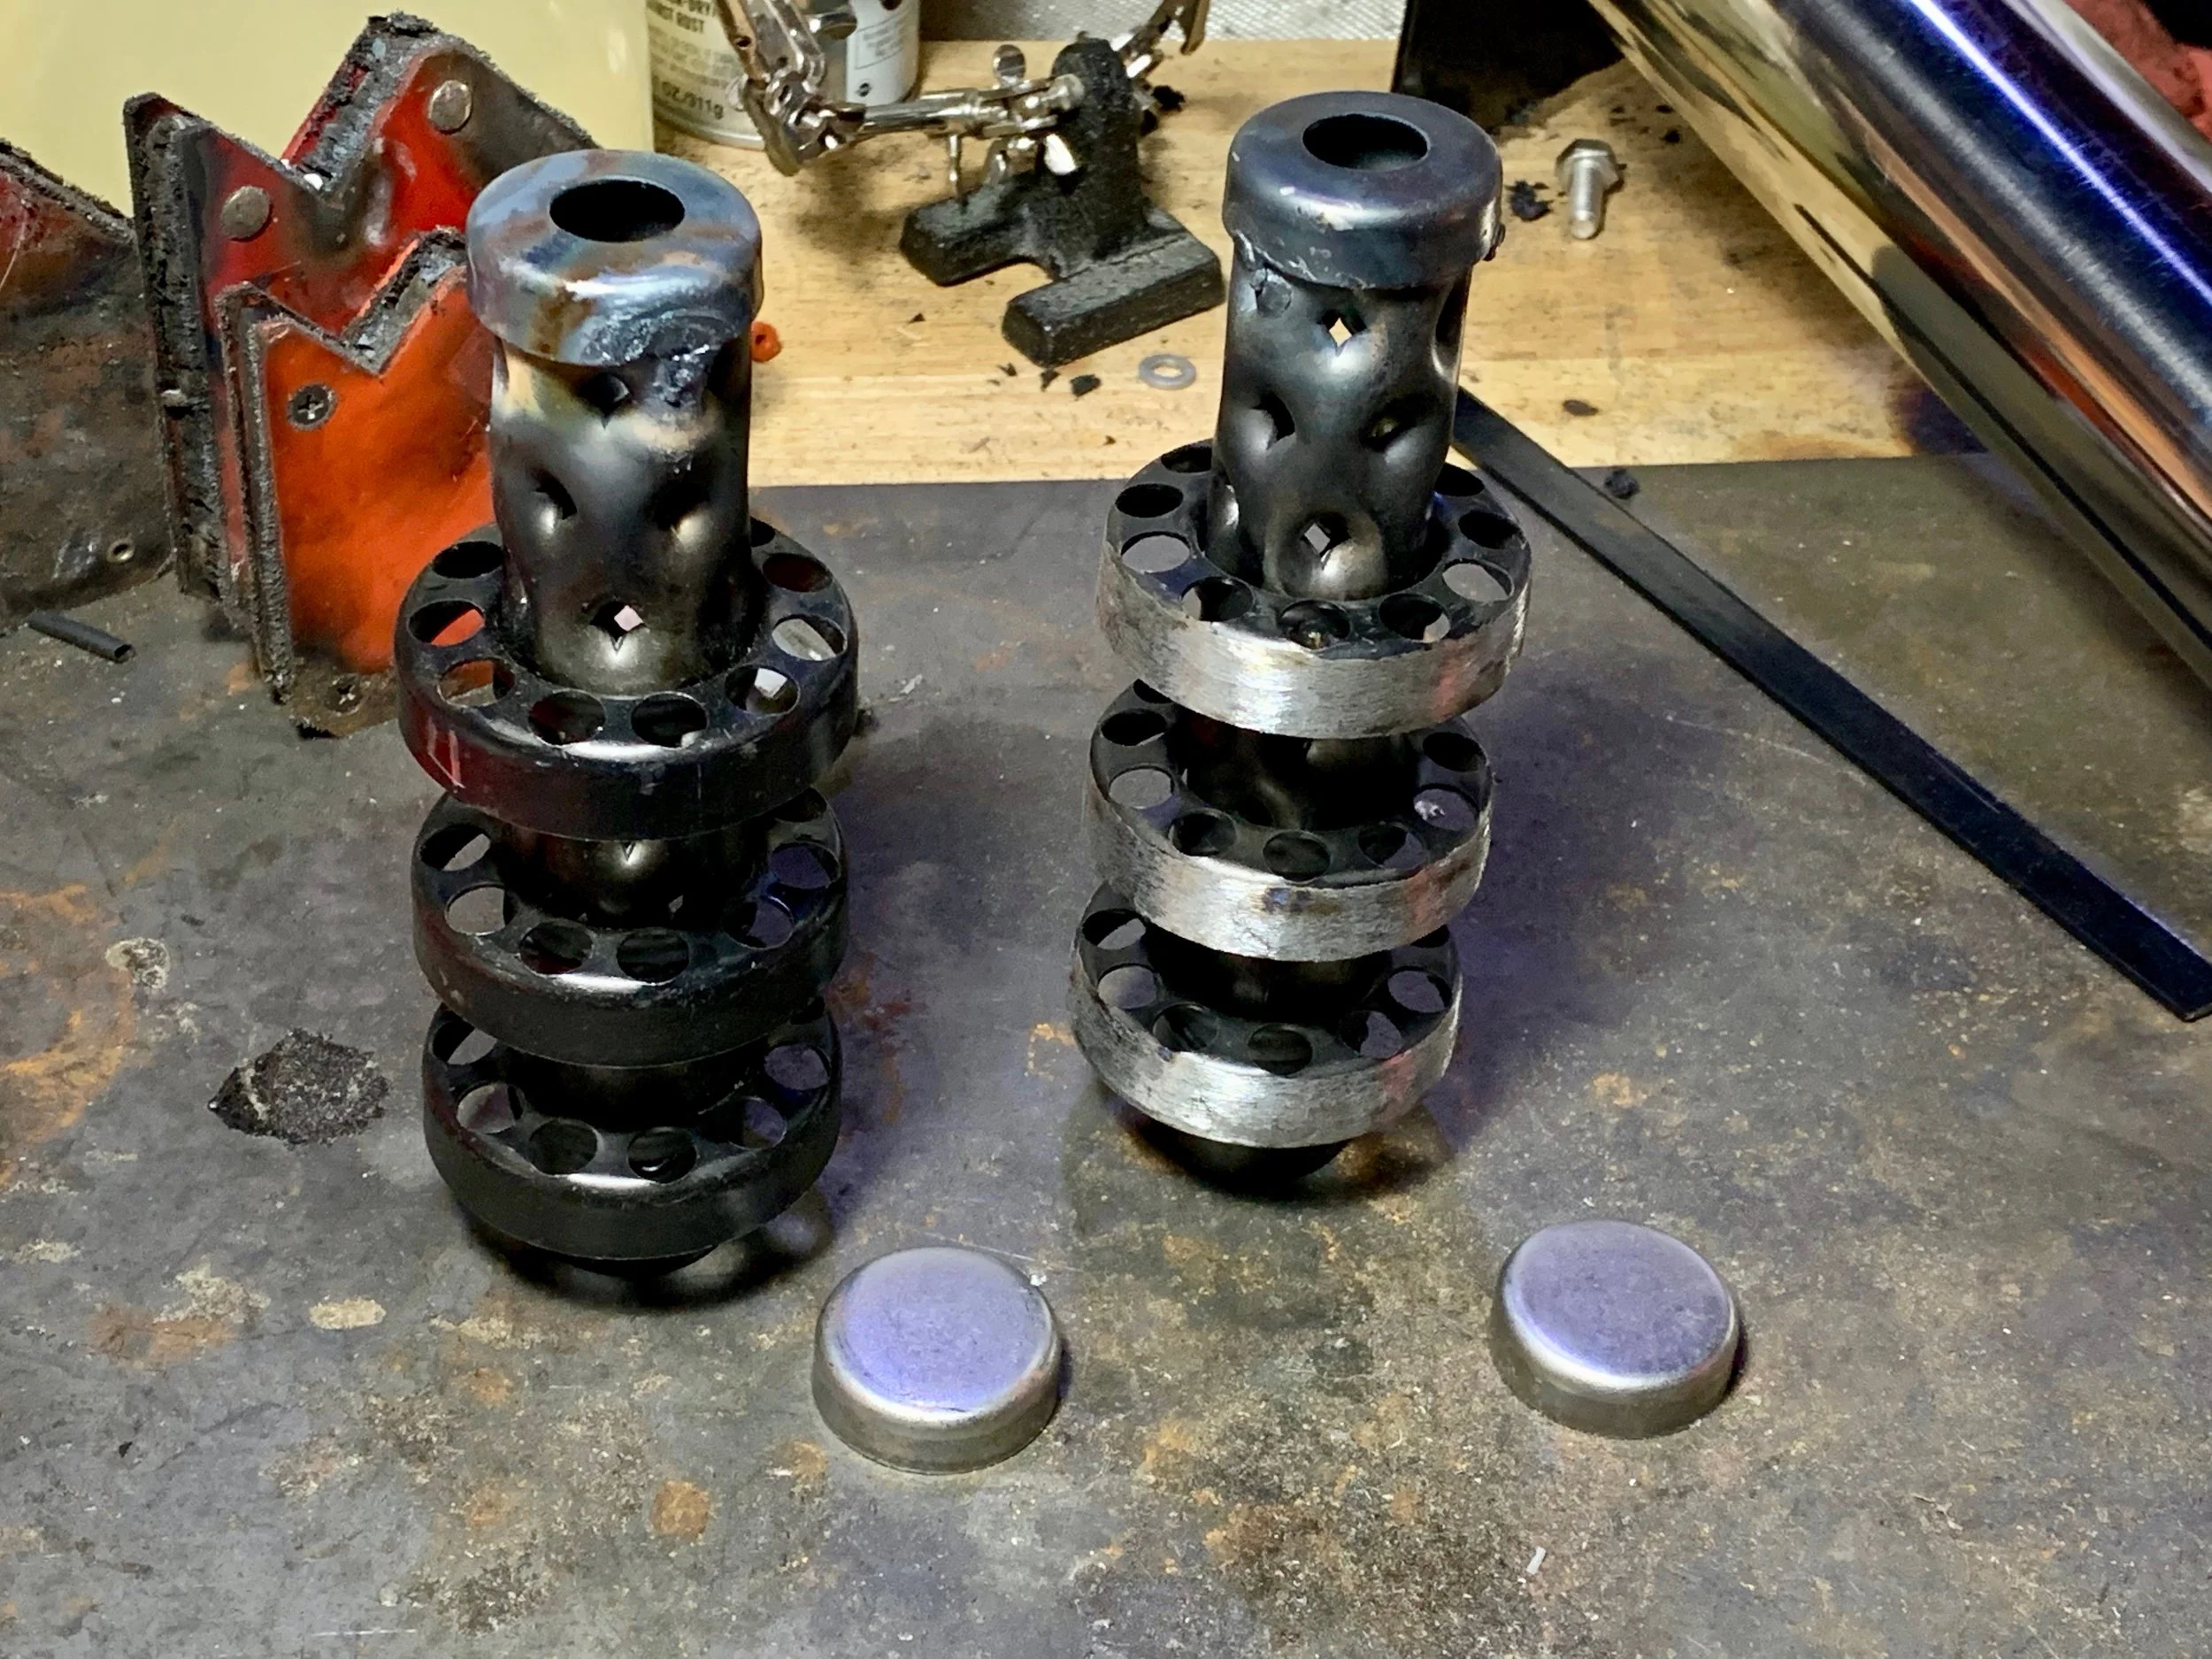
The silencers with their caps welded on the intake side. The one on the right has had its paint and some metal ground down so that it would fit in the pipes, while the one on the left sill needs to be ground.
A couple of wrenches were needed to drop the passenger side pipe, but the driver’s side required removing the fascia due to the unusual configuration I have.
One of the silencers mostly installed in the exhaust pipe.
12v Energized Relay Compartment Electronics Tray
The circuit breaker that is likely energizing the entire tray. The door lock wire is unplugged here.
This is a weird one. While tinkering in the relay compartment, I saw a spark between the electronics tray and the metal surface of the Dynamat I’d lined the interior in. My PowerProbe revealed that the tray had 12v, which made no sense.
After about ten minutes I tracked it down to the brown wire feeding the door lock thermal trip/circuit breaker. Removing that returned the tray to neutral, at nether ground nor positive. Plugging it back in mode it 12v again. I tested the downstream wiring on that circuit and couldn’t find any problems, leading me to believe it was something with the breaker.
Later that day, I plugged the brown wire back in, and everything worked fine — the tray was neutral as it should be. I have no idea what was causing this, but I’ll have to keep an eye on it.
Just in case, I’ll be ordering a new circuit breaker. I’m pretty sure mine is original, so updating it wouldn’t hurt.
Engine Vibration
The engine seems to vibrate more than it should. It seems to be stronger when cold. This was particularly bad when the engine hinge was loose, but it persisted to a lesser degree after I fixed that. I still haven’t figured out quite what is wrong. The engine mounts seem fine, and all the cylinders appear to be firing, so I’m not sure what’s wrong.
Power Inverter
The old MacBook Pro I’m using for tuning works well, but the battery only lasts so long. I dug out my old 12v to 120v power inverter and hooked it up to the battery with clamps. This isn’t a great permanent solution, but it’s good for now. In the future I plan on hooking it up to a 200 A relay and switching it with the ignition so that I don’t forget to turn it off and drain my battery.
Parasitic Drain Test
I thought I had a large parasitic drain, given that my battery was only around 12v the morning after a drive. The way to test this is to just disconnect the positive terminal of the battery and connect a high-amperage (3A or more) multimeter between the positive terminal and the positive wire. It sound be under 50 mA of draw. I read only 20 mA, which was likely just the power for the stereo memory.
I came to the conclusion that my fairly new red top Optima battery just liked to drop to 12v after siting for a bit for no particular reason. The car cranks a bit slowly, but it does crank, and it stats without a problem, so I wasn’t going to worry about it. Still, I’m keeping an old yellow top battery in the trunk, just in case.

A nice, low 20 mA drain from from the radio. Everything working as expected.
Stalled and Wouldn’t Start
At one point I left my driveway and the car simply stalled. I could not get it to start — it would crank, but that was it. I finally realized that TunerStudio and MegaSquirt had crashed while communicating: TunerStudio was completely locked up, and I think MegaSquirt was blocked while waiting for communication from TunerStudio. What fixed it was turning the key completely off and back on again (I had been trying to start from the “run” position, which wasn’t working), thus power-cycling and rebooting MegaSquirt, and then killing and restarting TunerStudio on my laptop. After that, the car started just fine.
The point is, make sure you turn the key all the way off if it won’t start after a stall; if you just try cranking from “run”, you won’t reboot MegaSquirt and may not be able to get it to start.
Tuning
This is just more of the same, for the most part, but I learned a few new things:.
Lambda Delay Table
First was the value of a Lambda Delay table when using auto-tune. This indicates how long it takes for a change in fuel injector pulse width to manifest as an AFR change at th oxygen sensor. The default table isn’t very good, and when it doesn’t match your car it will use auto-tune to set the wrong cells. You need to build a table specific to your car.
Without a lambda delay table, I still was able to do some auto-tuning by setting an RPMdot filter so that there needed to be less than a 100 RPM change per second. That reduces the chance of autotune adjusting the wrong cells. This worked decently well at getting me a halfway reasonable table, and the car ran better with more power once set up this way.
Acceleration Enrichment
I’m still working on this one. I tried reducing the MAPdot Threshold to 60 or 70, but this did not go well — massive loss of power and stalls because the car thought I was accelerating all the time. I had to set it to 100 kPa/second to get it to work properly.
I still had some issues withe the engine stopping for an instance when transitioning from idle. The harder I pushed the pedal the more likely I was to hit this. I haven’t eliminated it, but I have reduced it. I sat off the side of the road and rev’ed the car in park, as well as in drive with my foot on the gas. I then tinkered with Accel Time, Accel Taper Time and End Pulsewidth until I got it mostly under control. Wile TunerStudio suggests setting some of these to zero, I found values up to or exceed 1.0 helped quite a bit. It will still blip from idle a bit, but it’s not as bad as before.
I’m going to have to spend some real time working on this once I have the VE table tuned properly, but at least I don’t have to worry about stalling and blocking traffic.
Lost Two Cylinders
I did a long range test drive from my house in Massachusetts to me dad’s house on the other side of Connecticut, which is about a two and a half hours drive spanning around 160 miles.
This went pretty well, up until I left 495 for 90. The car was acting like a couple of cylinders were missing. Luckily there was a rest area only a mile away, and I was able to pull over and diagnose the problem.
With the engine running, started pulling wires off the coil pack. Banks A and B caused the engine to stumble when their wires were removed, but there was no change on Bank B. This implied a problem with the ignition system.
I unplugged the coil pack and tested the Bank C wire with a PowerProbe while cranking the engine, and it showed it connecting briefly to ground as the crank turned, suggesting that it was working properly. Upon plugging it back in and restarting the engine the car started and idle with no problem. I think the connector was just very slightly loose, and plugging it back in fixed the problem. I got lucky that that was all that was wrong.
The rest of the drive was uneventful. The car handled the drive at high highway speeds with no other issues.
Otterstat Failure
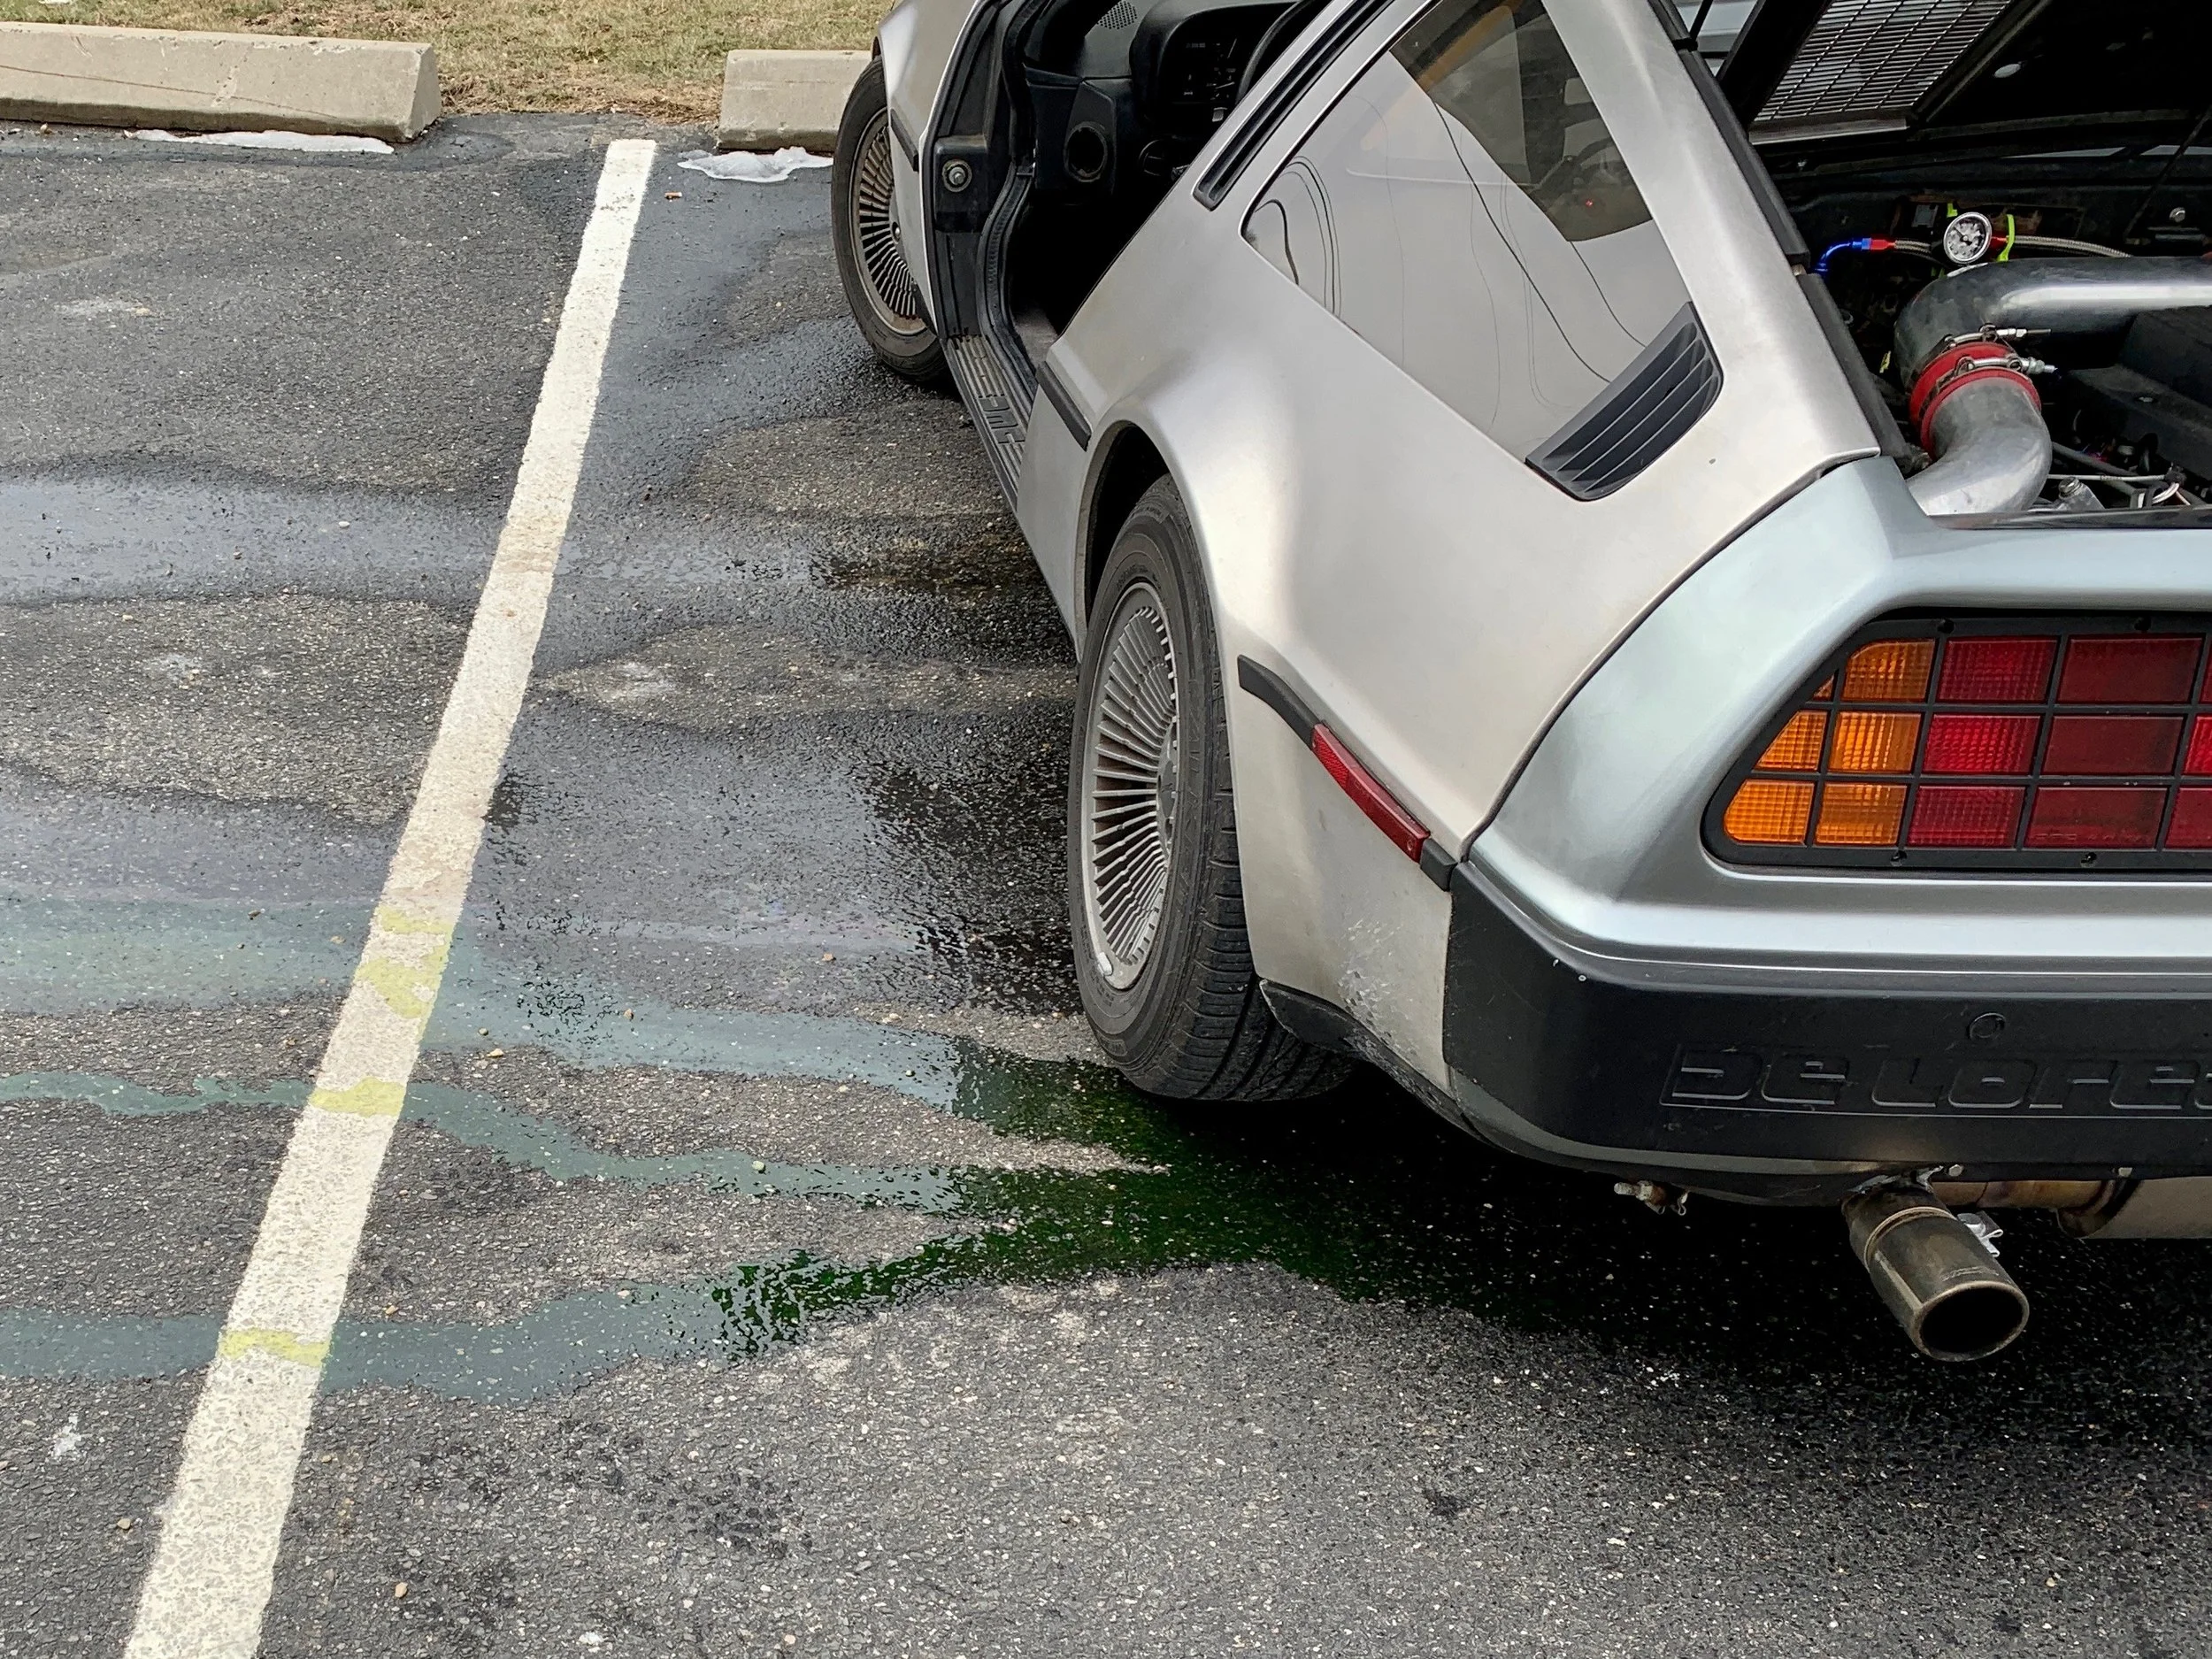
The way home from the long-range test drive included a stop at a friends house after thirty minutes on the highway. Almost as soon as I got off the highway, I saw a cloud of steam rising from the back of the car. I quickly got off to a parking lot. Luckily, the engine temperature still read around 190, so I must have caught it right after it started.
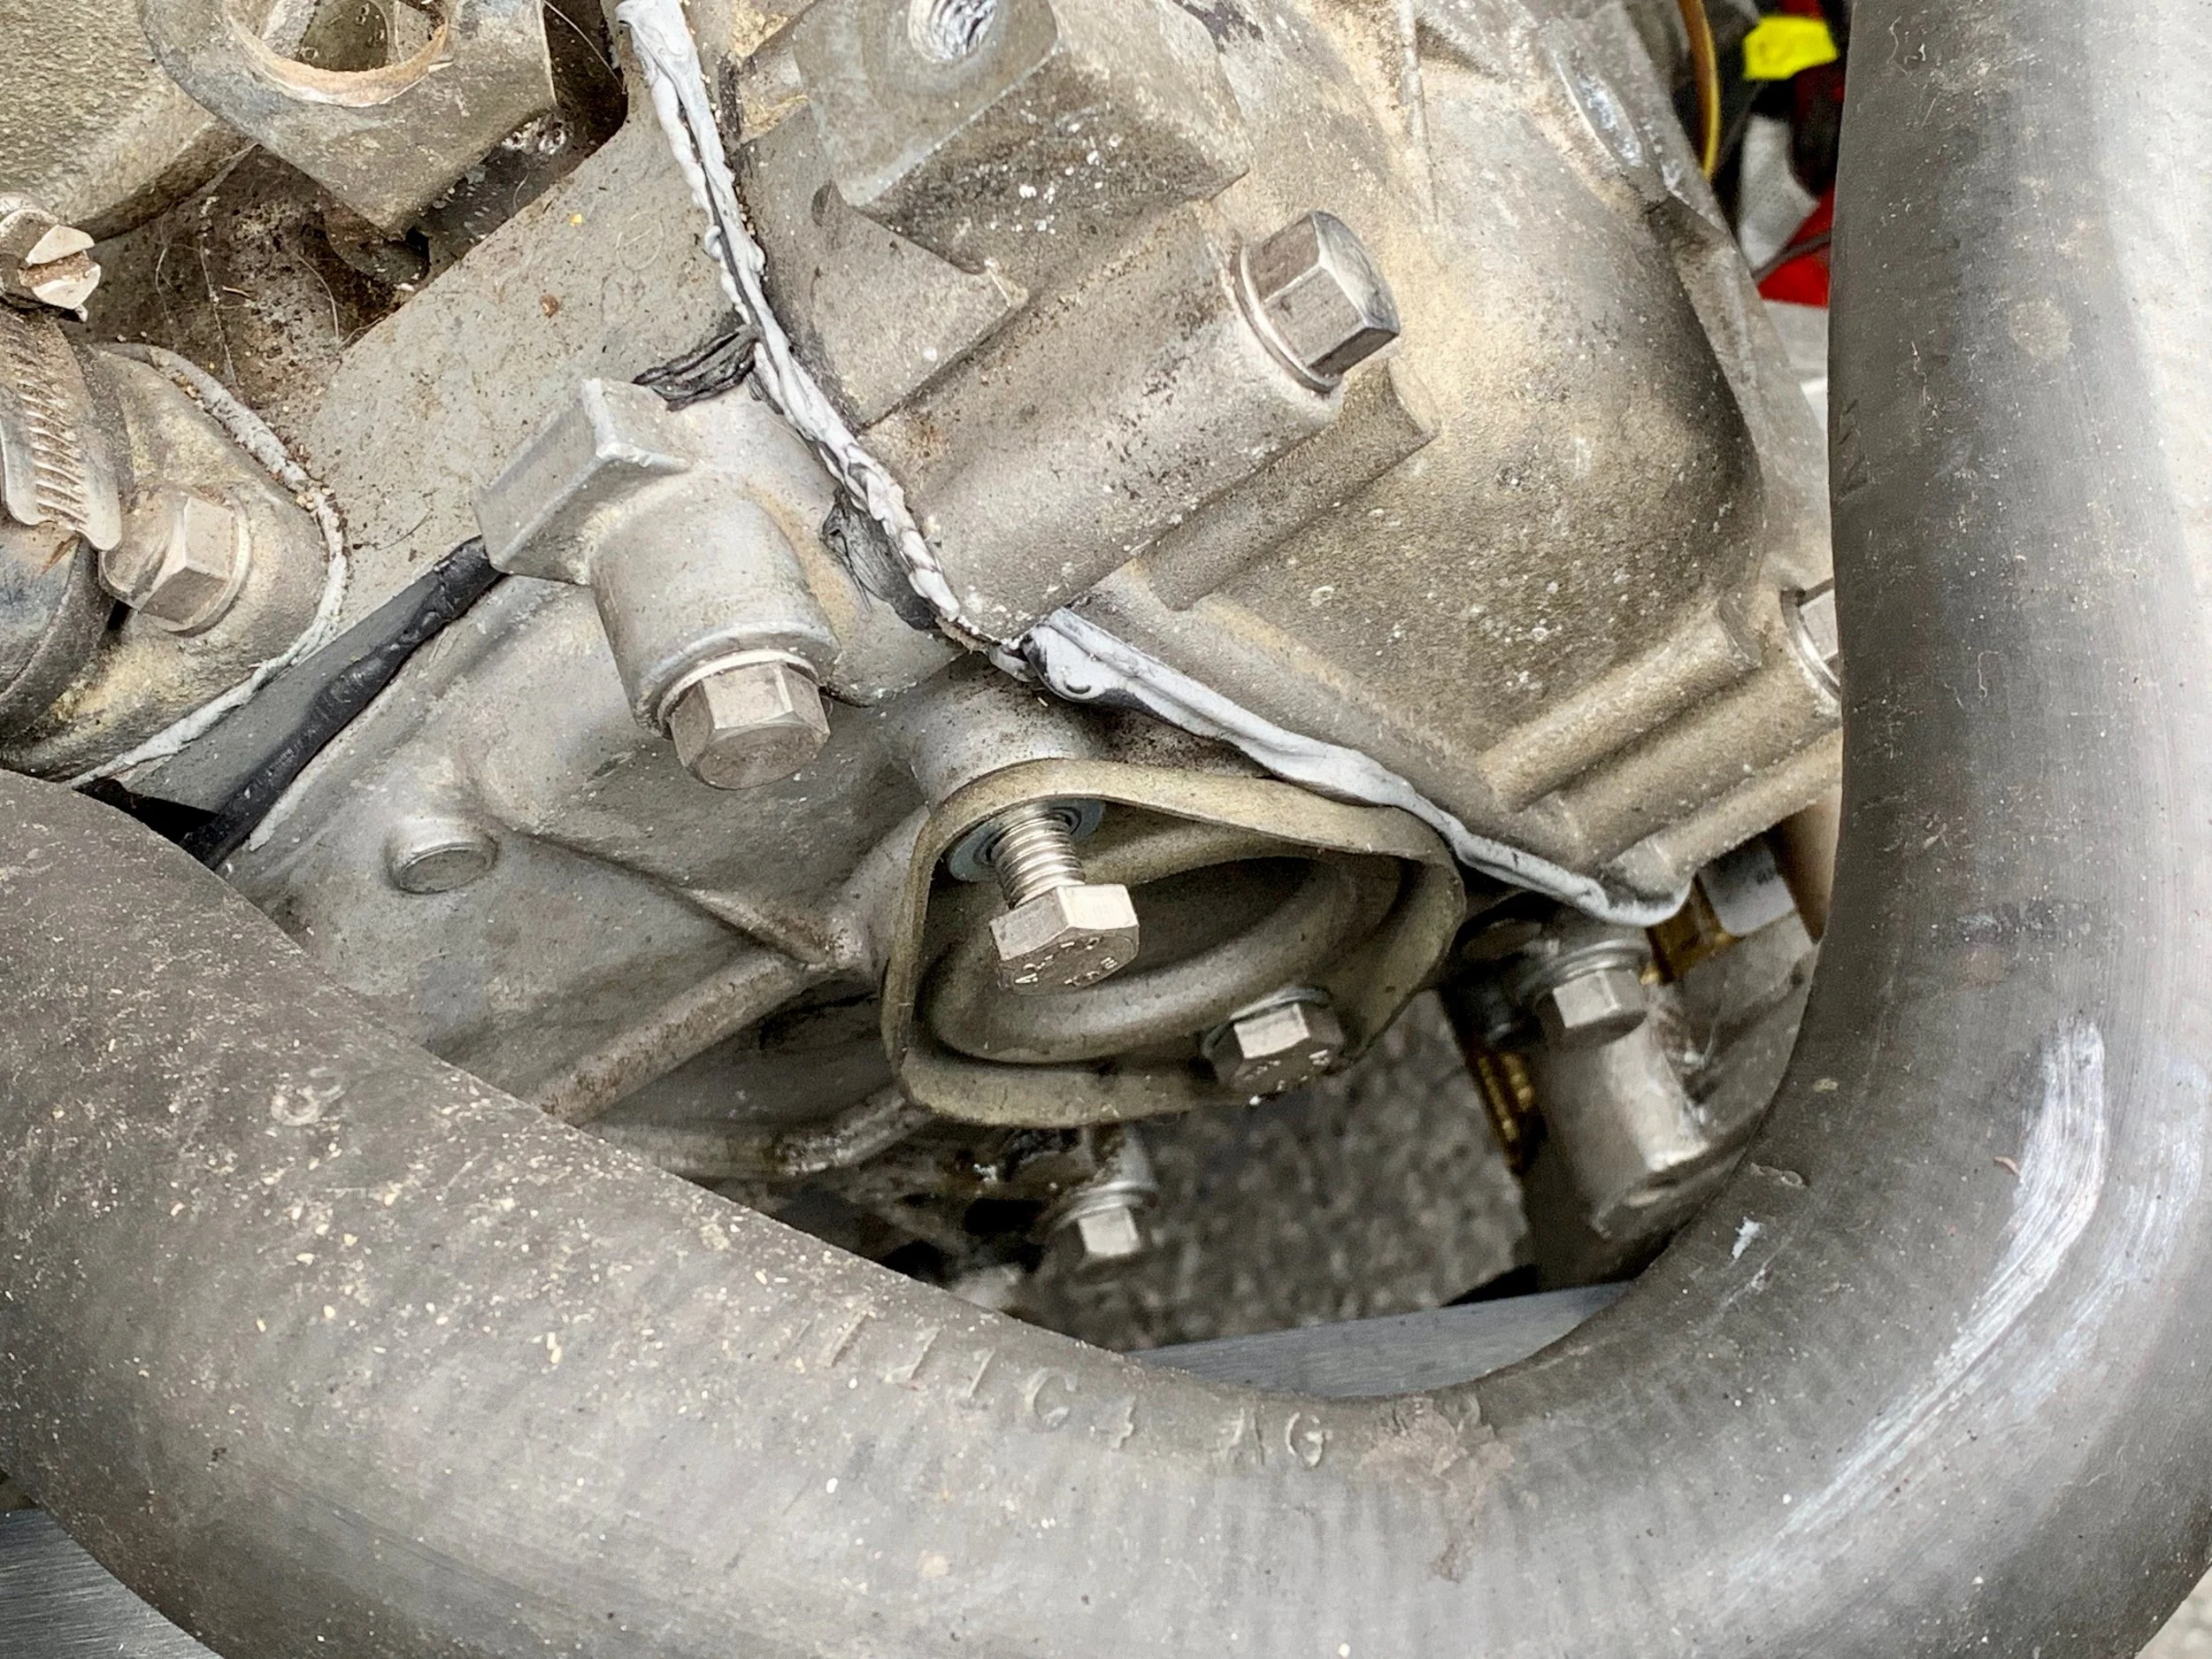
It was immediately obvious that the otterstat seal had failed. It was spraying two streams of fluid onto the exhaust headers, creating the cloud of steam. Quite a lot of coolant was leaking out of the car, far too much to limp home. There was no good way to seal the otterstat, either. In the end, I had it towed to my dad’s and took his car home until I could do a repair.
My car doesn’t even use the otterstat — my cooling fans are controlled by MegaSquirt, and the otterstat is now just a plug keeping the coolant in the pipe. In the end, I gave a friend the pipe to simply weld the otterstat bung closed, but he instead showed up with a new straight pipe complete with beads to on the ends to hold the hoses on. Without the bead, the hoses would eventually (and most likely sooner than later) slip off and spray coolant everywhere. With the newly repaired pipe, I made it back home without a problem.
Two streams of coolant shooting out the side of the otterstat and down the headers.
The green pool of coolant draining out from under the car. The rest is just water from the wet parking lot.
Getting towed back home.
The coolant pipe removed from the car.
The failed seal that was likely the source of the coolant leak.
The nice new pipe installed on the line, complete with brand new hose clamps.