Removing the Lower Crankcase from the 2.8L Engine
Joe Angell
The 3.0L Dodge Monaco/Eagle Premier engine is the closest drop-in replacement for the stock 2.8L DeLorean engine that can be found. That doesn't mean it's trivial; it's just easier than the other options out there.
One of the things that makes it easier are the similarities between the two. Still, the engine mounts are in the wrong place on the 3.0L to easily fit the DeLorean's existing engine mounts. Since both engines are PRVs, it is possible to swap the lower crankcase from the 2.8L to the 3.0L, thus ensuring that the engine can mount properly in the DeLorean.
Josh on DMCTalk.org gave me a quick rundown of what needs to be swapped. For more detailed instructions how how to disassemble the engine, I used the Premiere/Monaco 3.0L Engine Overhaul Student Reference Book, which I got on eBay for $15. While aimed at the 3.0L, the 2.8L is similar enough that it was more than sufficient for instructing how to take apart the old engine -- especially after I failed to find instructions in the two Volvo B28F (the official name of the 2.8L) Reconditioning and Repair manuals I had.
Flipping the Engine
Flipping the engine, and all the oil and coolant that leaked out onto the floor.
I had previously removed the engine from the car, mounted it on a stand, and removed the main pulley, valve covers and timing cover. With top done, it was time to start on the bottom. Conceptually, this is pretty easy: pull the pin from the stand's handle, turn the engine over, and put the pin back. I put a pan directly under the engine to catch an oil that might leak out, just in case.
Practically, this made a huge mess. I had to twist the stand's handle a bit to release the pressure on the pin before I could pull it out. Once removed, it still takes a fair bit of force to turn the engine over -- you don't have to worry about loosing control and it slipping around freely, or at least I didn't. I rotated it clockwise as facing the engine from the handle. At about 90 degrees, a good amount of oil and coolant poured out of the engine. Unfortunately, I failed to take into account that the fluids would come from the top of the engine. The oil and coolant poured out onto the ground, well to the side of the oil pan. One location that it drained from was the cylinder head cooling jacket; another was the where the oil dipstick would be. All together they were spaced too far apart to catch everything in the pan.
I let it drain for a bit while I ran to Advanced Auto to get a forty pound bag of absorbent material (basically clay), which I liberally poured over the expanding puddle on the floor. I continued rotating the engine, trying to move the pan to stay under the liquids as I went. This worked well enough until the driver's side cylinder head passed below the engine, at which point all the coolant in the jacket at the engine's rear poured out onto the floor. This was close enough to the back of the stand that I couldn't put the pan under it, so I just threw down more absorbent material so I could clean it up later. Even with all that mess, I still collected about a gallon of coolant and oil from in the pan.
Once the engine was completely upside down, I put the pin back into the stand and got to work taking the engine apart. At this point you should plug the exhaust ports in the cylinder head with rags. I didn't, and wound up dropping a bunch of debris into them as got further along.
Removing the Oil Pan
The oil pan is held onto the engine with twenty two (22) bolts, which can be removed with an 11mm socket. I used a socket wrench to loosen the bolts, and a socket adaptor on a power screwdriver to remove them completely.
At this point the pan should just come off. Mine did not; it was stuck on there pretty good. I placed a 2x4 against the corner of the pan and whacked it with a hammer, but it still wouldn't budge.
After some web searches, I decided to try prying it off. If you look at where the pan meets the case you'll notice the black oil pan gasket, probably about a millimeter thick. This was about the thickness of a flathead screwdriver I had. I used a hammer to carefully tap the screwdriver into the gasket, and wiggled it around until the pan popped off. After that it was easy to simply lift off the engine.
The bottom of the pan was filled with sludge, which I'll have to clean before I re-assemble it onto the 3.0L. Otherwise everything looked goo.


Removing the Oil Pump Inlet Tube
The oil pump inlet tube sits at the bottom of the engine, and is how oil gets from the oil pan to everywhere else. It is held in place with three (3) bolts, which are removed with a 11mm socket.
One of the bolts has a spacer under it, while the other two bolts fit into an oblong piece with a tube in it. This piece also has an O-ring seal, which the 3.0L manual says should be replaced before re-assembly.
Since everything was covered with oil, I wrapped the inlet in shop rags before setting it aside.

The oil inlet tub as mounted on the engine, and as removed. The O-ring on the oblong tube should be replaced before reassembly.
Removing the Oil Baffle
The oil baffle is just a large plate between the oil pan and the lower crankcase. Ten (10) of the bolts come out with a 13mm socket, while the last bolt is removed with an 11mm socket.
As I lifted the baffle, I heard the clank of a loose piece of metal falling onto the crankcase. I soon found a two inch chunk of aluminum, smooth on one side but rough and broken on the other. It looks like this piece came from the block. I have no idea how long it has been there, but I'm amazed it didn't damage any of the moving parts.
I cleaned as much oil off the baffle as I could, wrapped it shop rags and set it aside before moving on to the next task.
The green dots mark the bolts removed with a 13mm socket, while the blue one uses an 11mm socket.

A chunk of aluminum that was found lying in the bottom of the engine. It appears to have come from the block itself.
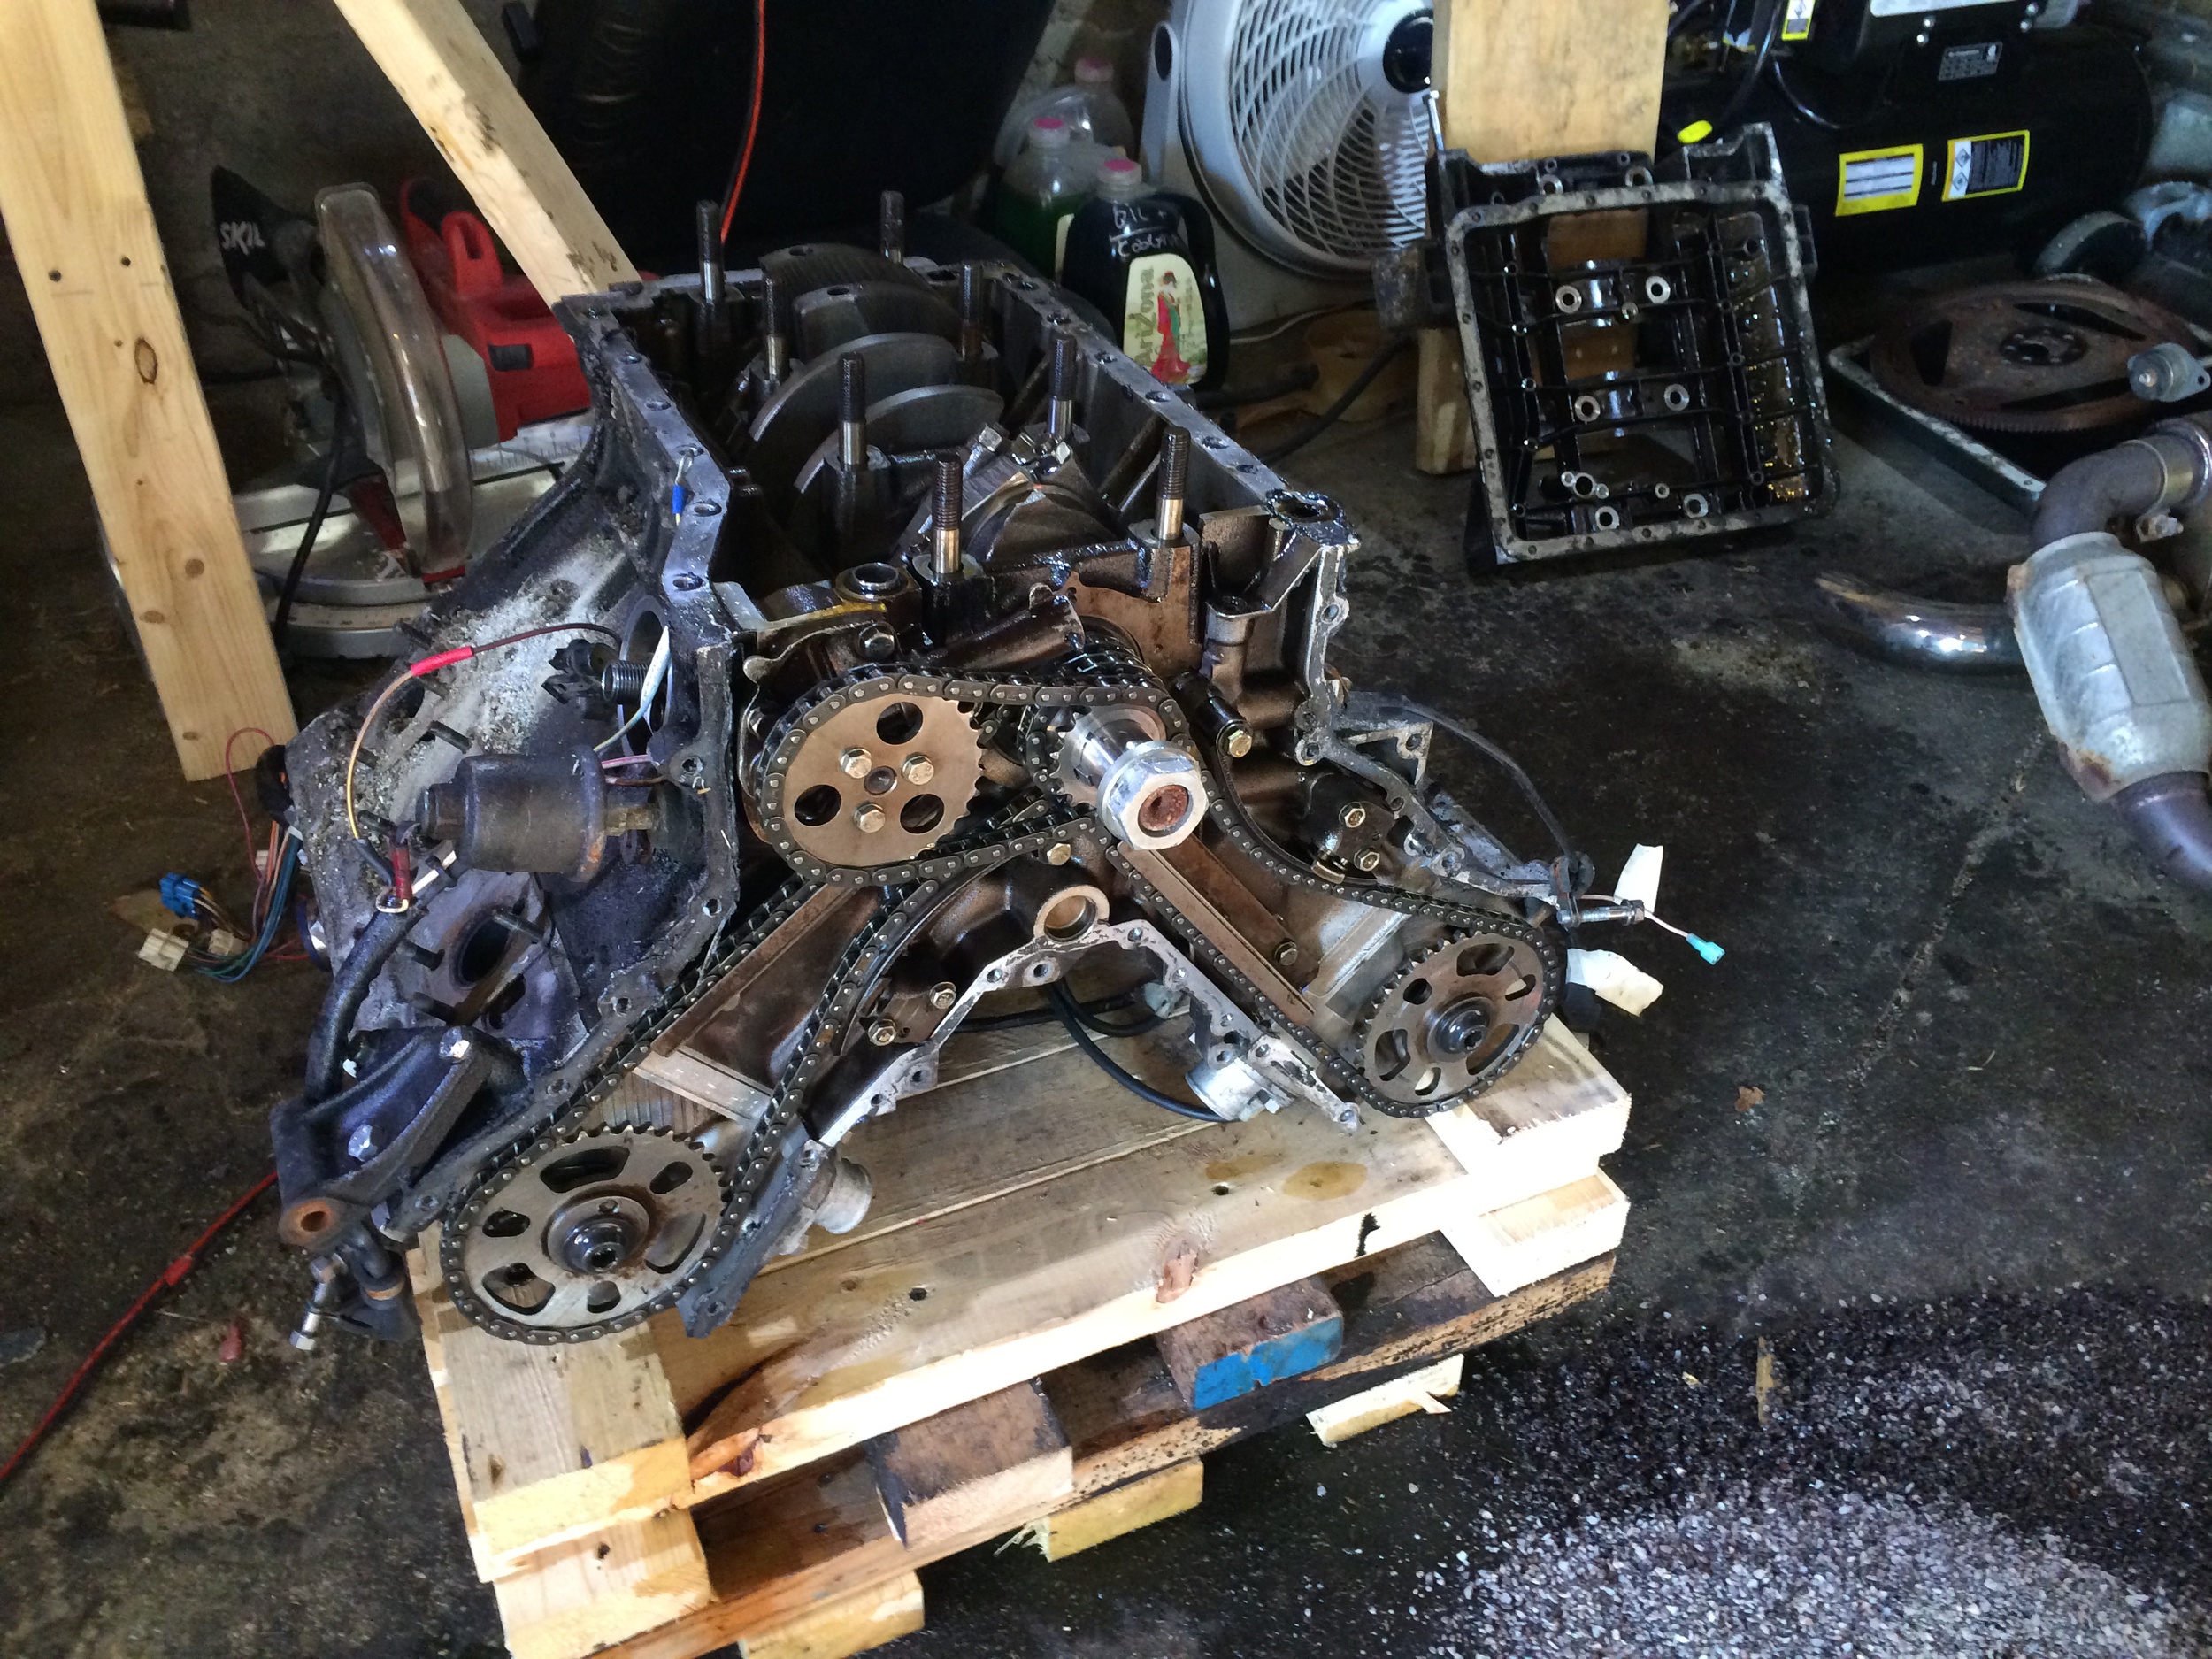
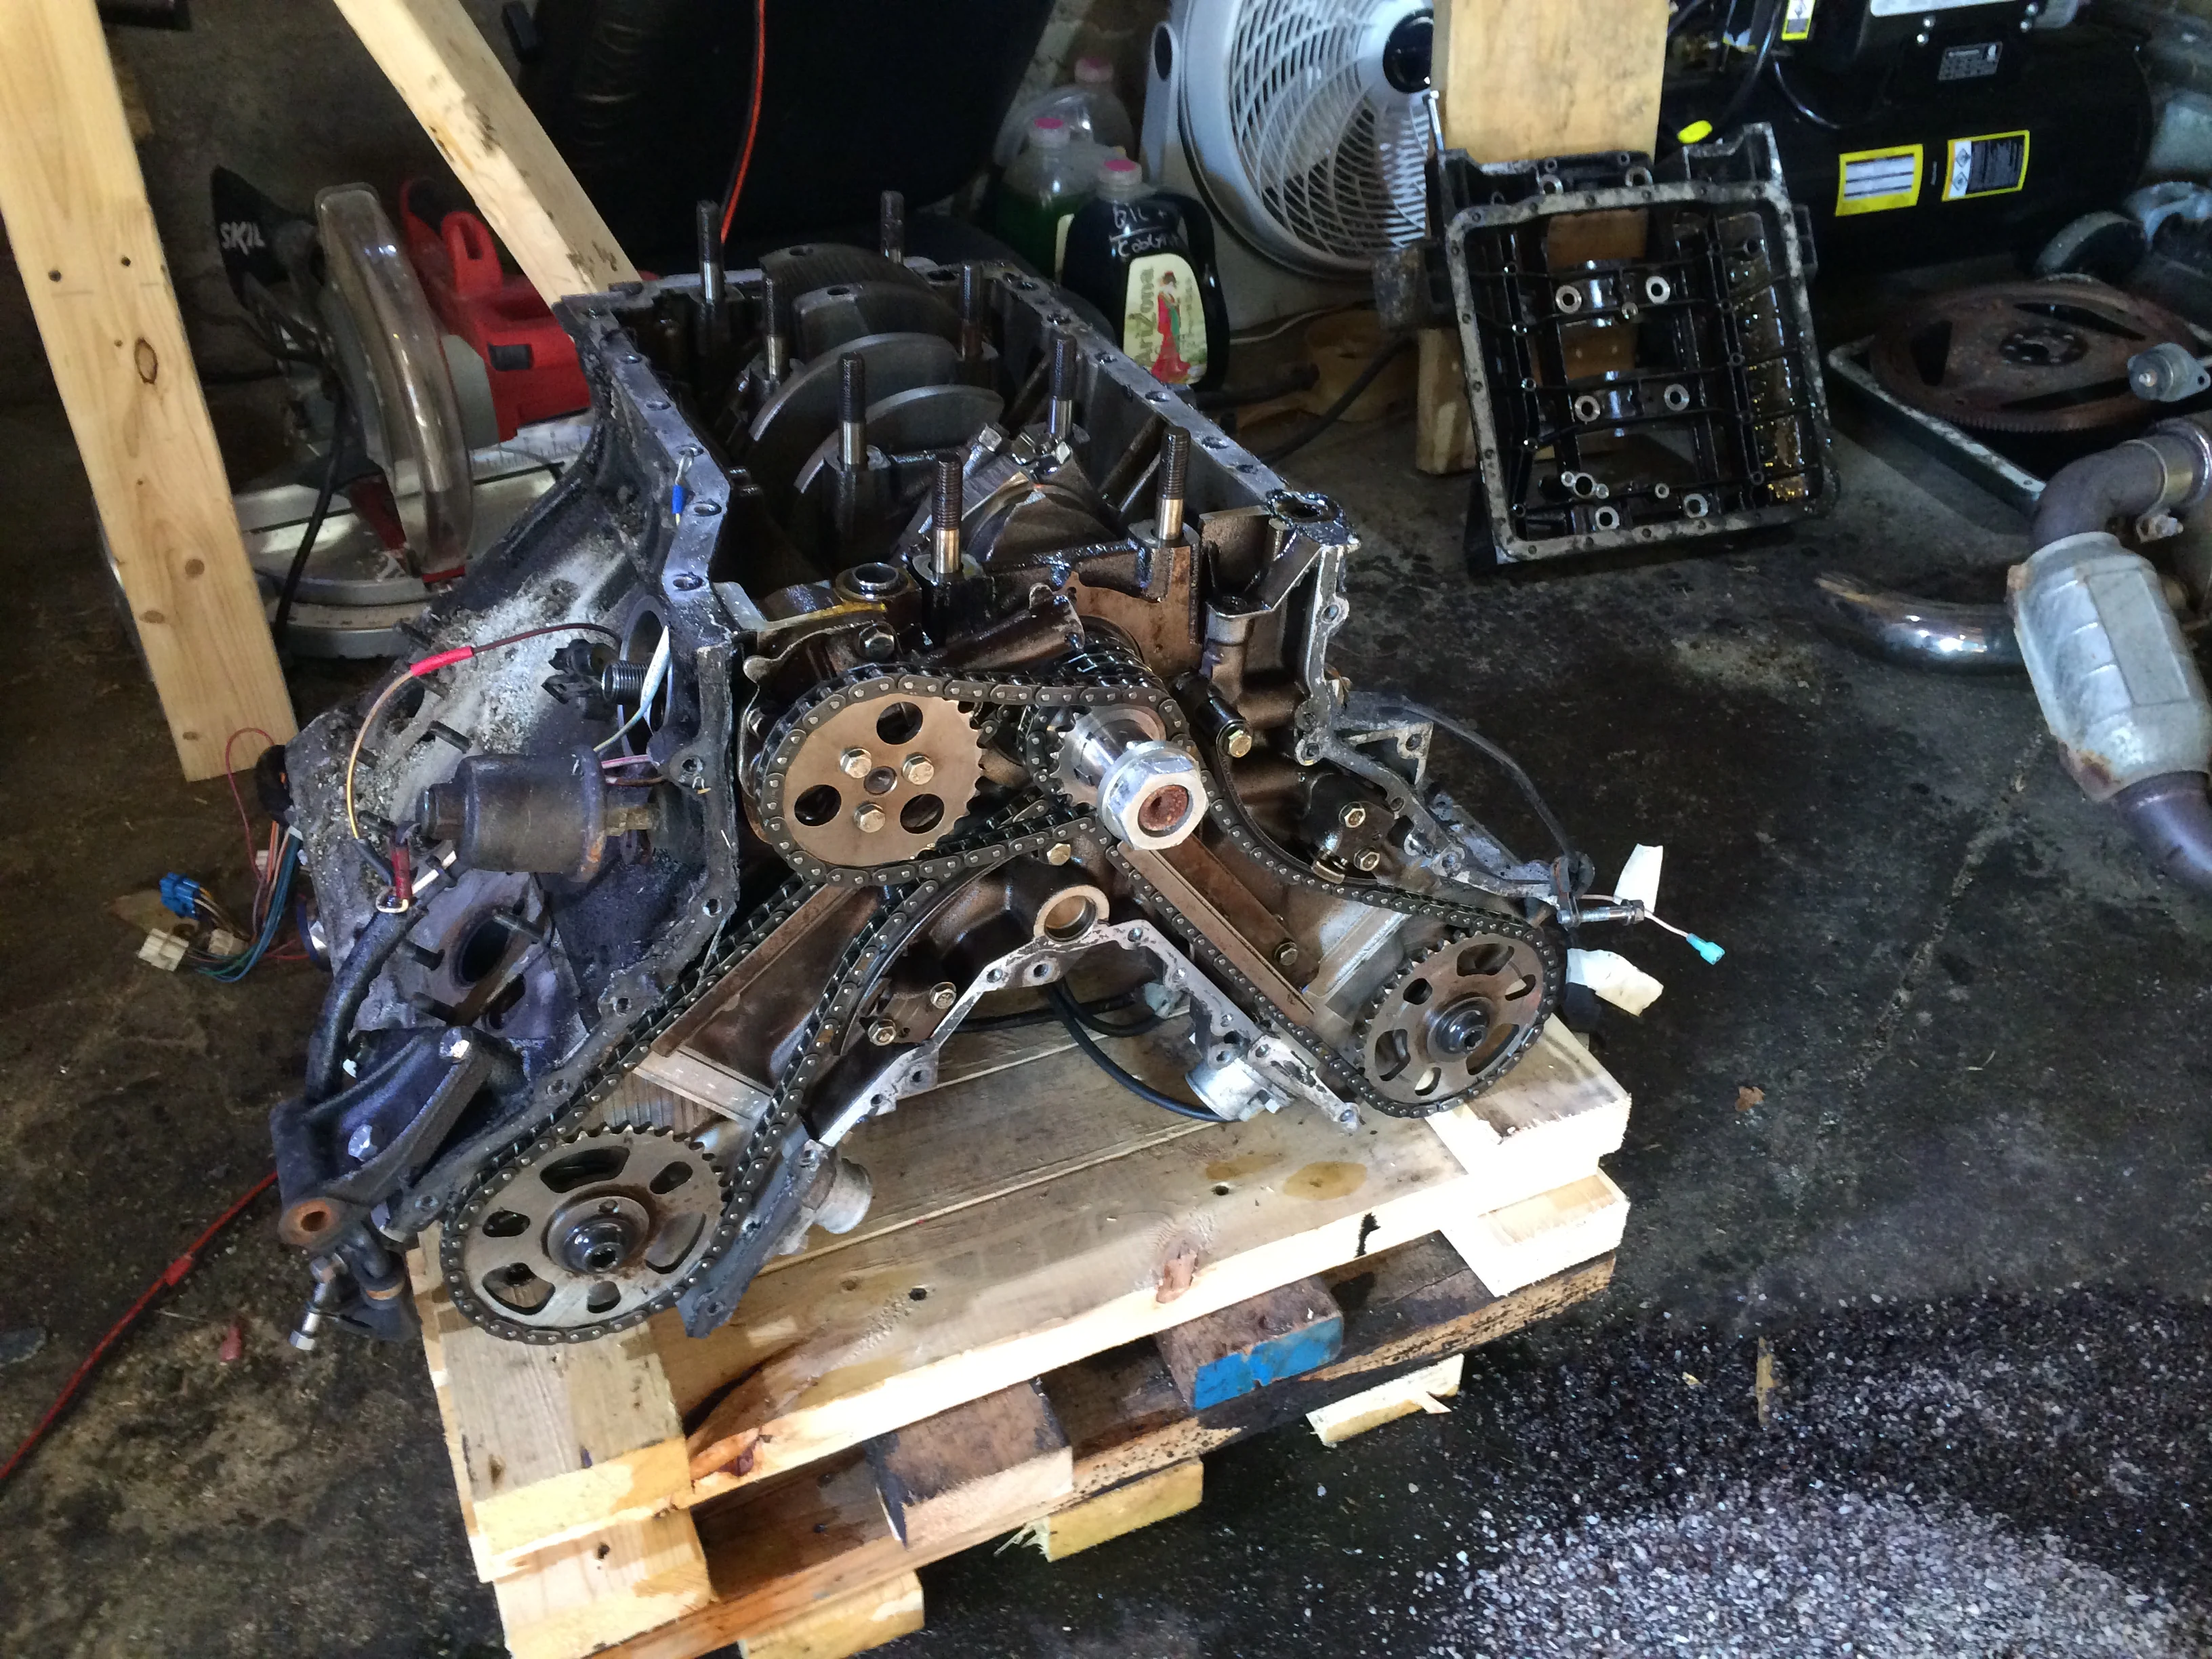
Lowering the Engine
I needed to remove the flex plate to transfer it to the 3.0L engine at some point. I also wasn't sure if I'd need to remove the rear main seal part of the engine to get the lower crankcase apart, in which case I expected the flywheel would have to come off first. Since the flywheel is blocked by the stand, I decided I should put the engine on the ground before going any further.
I couldn't use the standard lift points with the engine upside down. Instead, I ran a bolt through the driver's side engine mount, and another through the alternator bracket, and hooked chains onto them. This worked surprisingly well, and the engine remained level as I lifted it off the stand and lowered it onto one of the pallets I use to support the car while I work on it.
Unfortunately, I wasn't as careful as I should have been, and put the engine down on the distributor cap, snapping it into two halves. Luckily those are easy to get, and I wouldn't be needing it anyway. I later lifted the engine to move it away from the center of the garage, and more carefully positioned it on lowering so that the distributor stuck over the end of the pallet.


Removing the Flex Plate
17mm socket used to remove the six (6) bolts holding the flex plate to the engine. A transmission mounting bolt was used to keep the engine from turning.
The flex plate (or flywheel, if you have a manual transmission) is held onto the engine with six (6) bolts. As with the main pulley nut, turning these bolts will turn the engine, so the flywheel needs to be locked first. I didn't have a proper locking too, so I slid one of the transmission mounting bolts through one of the torque converter bolt holes and so that it would stop against the engine. I had no problem turning any of the bolts; they were a bit tight, but none were rusted in place or anything like that.
On either side of the flex plate are thin metal rings that the bolts go through. I removed both of these and stored them with the flex plate so that I wouldn't lose them.
Removing the Lower Crankcase

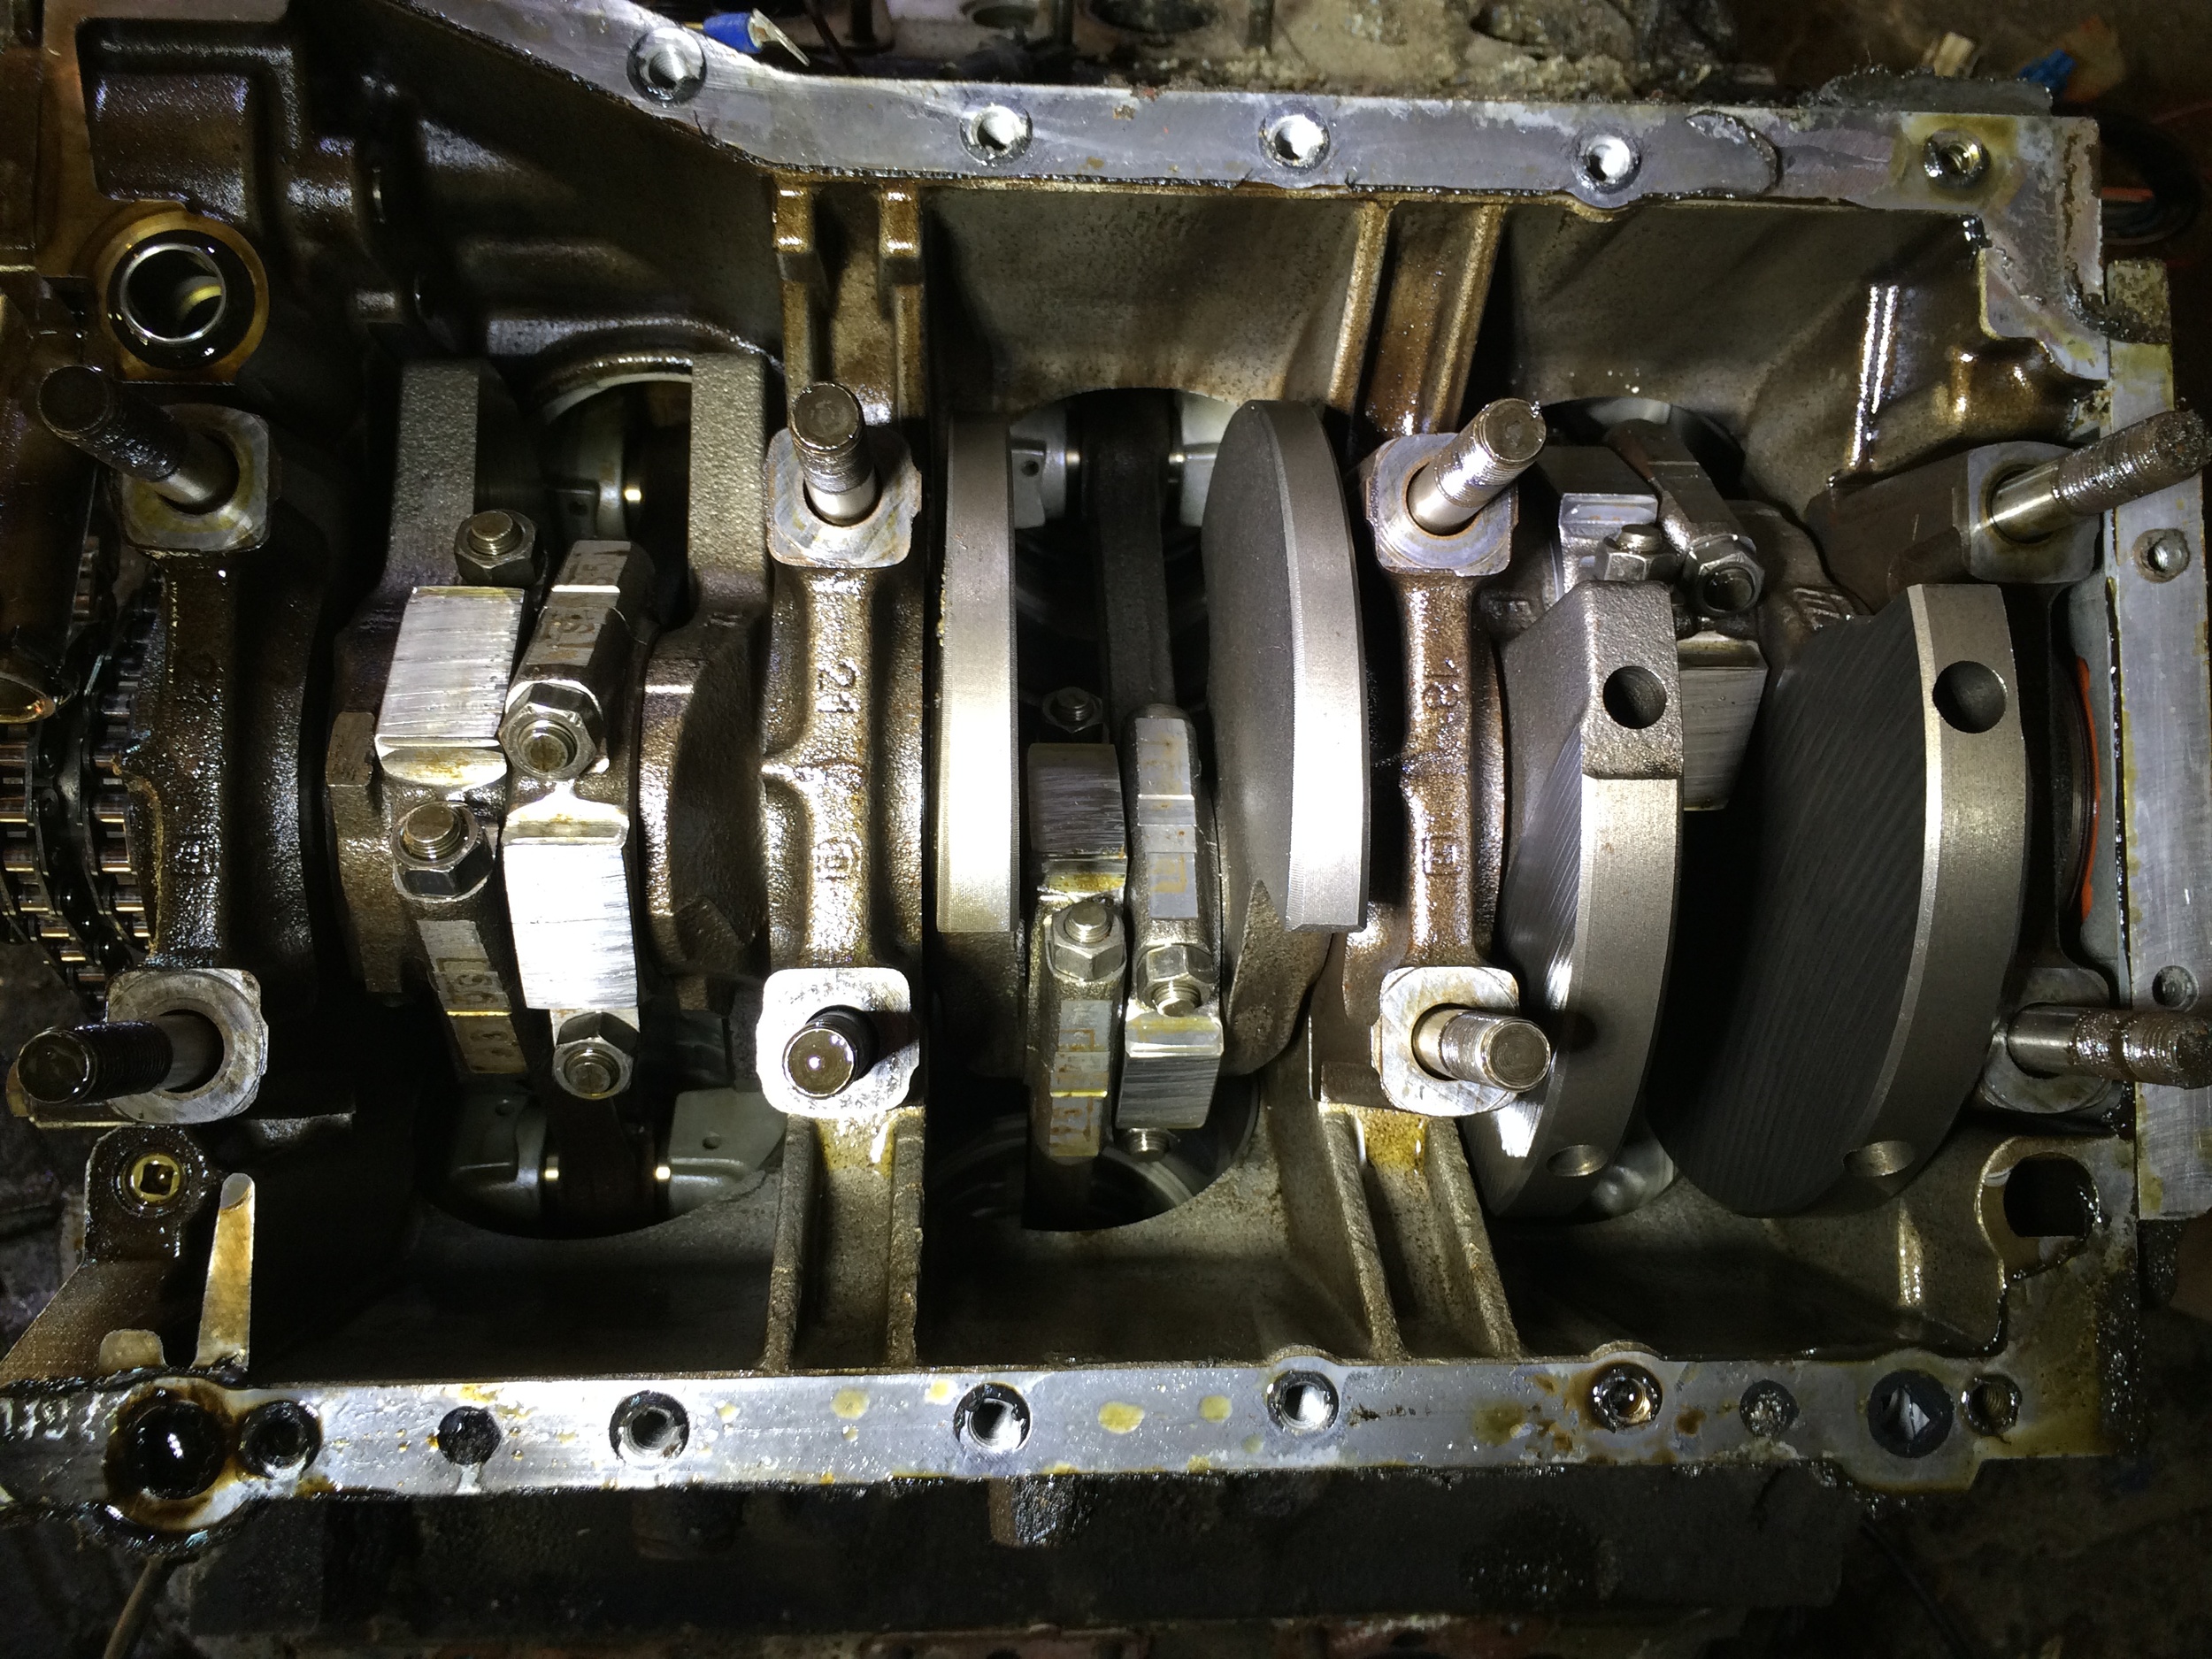
The eight (8) large nuts (green) are removed with a 22mm socket, while the four (4) smaller bolts (blue) are removed with an 11mm socket.
The lower crankcase is held in place by eight (8) large nuts and four (4) smaller bolts.
The bolts are in a rough line along the flywheel side of the engine, and are removed with an 11mm socket. Two bolts are used to secure the rear main seal assembly under the flywheel, while two longer ones are towards the outer edge of the block.
The eight nuts require a 22mm socket to remove. My socket sets only went up to 19mm, so I had to run to the nearby NAPA to pick up one. Finding the right socket at the store was made easier by the fact that one of the nuts wasn't actually attached to its stud -- it and its washer was lying loose in the lower crankcase. These nuts are like head bolts -- you torque them down to a specific number of newtons, and then turn them another specific number of degrees with an angle torquer. There is no way a nut should just by lying loose in the engine.
After removing the other seven nuts, I followed the tip in the 3.0L manual and placed a block of wood under the engine mount and hammered upward to break the lower crankcase free of the block (this is also how I found out about the two longer bolts, which I'd not noticed previously). The crankcase popped right off. Since I hadn't plugged the exhaust ports in the cylinder heads, debris that had collected in the engine mounts rained down into the holes. I suppose I'll have to clean that out at some point.
That's pretty much all that needs to be done with the 2.8L engine. Everything still needs to be cleaned up, the old gaskets removed, and so on, but the disassembly itself is complete.