Desk Mounted Shelf
Joe Angell
Late 2014
For some time I'd been trying to find a glass shelf that I could mount on the back of my desk to hold a few more toys. What little I could find either took up too much space or was far too expensive. I decided that this would be another good welding project to try.
Design
The basic design is pretty simple, and would consist of two brackets. Each would have a C-shaped piece of metal that would hook over the edge of the desk. A piece of square tubing would extend up about a foot to raise the shelf above my laptop's screen. A flat piece of stock a bit longer than the width of the shelf would stick off of the top of that. To keep the shelf from sliding forwards and backwards, two small pieces welded on top of the ends to create a lip.
Materials
The first step was to get a shelf. I found an 8" wide one at Home Depot for about $25. It was about two feet long and a quarter inch thick.
I was able to reuse a lot of the leftover] flat and square stock from my last welding project, but I did buy a bit more just in case.
A piece of square stock and two C mounts cut from it.
Cutting
The C mounts are short pieces of ~1" thick square stock cut down to ~3" pieces. To turn them into "C" shapes, I removed] one of the edges of the box with an angle grinder with a cutting wheel, then ground down until the edges were flush, and with a desktop grinder to remove any rough edges.
The spines were cut from slightly smaller square tubing to 12" long, making sure that both were the same length. The flat pieces that the shelf rested onwere similarly cut to about 9" long, about an inch longer than the shelf is wide. I then cut four small pieces of metal from the flat stock to create the lips that would keep the shelf from sliding off. All of the pieces were ground down except the lips, as they were too small to do it.
A lip just after welding onto the flat piece of the shelf mount, still glowing red.
Welding
I've gotten a bit better at welding since my speaker stands, as they are generally strong even though they still don't look that great.
First I welded the C mounts to the spines, then the spines to the flat pieces that the shelf would rest on. Easy enough corner joints. I wound up burning my wooden table a bit, but that became less of an issue once I put down some sheet metal to deflect the heat.
The lips were very small, which made them slightly tricky to weld. The solution was to clamp the spin in my vice, and then simply rest one of my magnets on flat piece. This made the entire piece temporarily magnetic, causing the lips to stick to the flats and stay put well enough to weld them. Filler rod was a must here to build the material back up, as the small piece of metal melted away while welding.
Mounting Screw
The C mount on the base wasn't enough to secure the mount to the desk; I needed to screw it into place. I could have drilled a hole and threaded it with a tap and die set, but I decided to use my new rivnut tool instead.
I'd bought the rivnut tool for another project, and had some aluminum M6 rivnuts for that purpose that I could reuse here. The tool works very simply: you thread the rivnut through the end of the tool, insert the rivnut into the hole in the material, and squeeze the handles. This pulls the threaded portion of the rivnut towards the material, compressing the aluminum against it and locking it into place. Remove the tool, and you now have a threaded hole in your work.
First, I need a hole to fit the rivnut in. The M6 rivnut requires a roughly 1/4" hole to be inserted in. I first tried using drill bits, but that's a slow process through steel. I decided that using the oxyacetylene welding torch with extra oxygen would make a quick hole for me. I made the hole a touch too small, then used a drill bit to widen it. The melted metal from the torch was a little sloppy, but it worked much faster than drilling.
Problems
One of the welds on the C clamp wasn't very good -- when I tried to drill a hole through it for the rivnut, the welds failed and it snapped off. I did a better job the second time.
I also wound up cutting one of the flats a bit too short, such that it wasn't long enough to fit the shelf. This was probably due to too much grinding when removing the rough edges. The was to cut off another short piece of flat stock and weld it to the end, using a magnet to keep it secure while I welded. Even after all that, one of the lips was still a touch too short. It wound up not mattering, though, and I was able to adequately rest the shelf on it.
For whatever reason, I had trouble removing the tool from the rivnut when I was done. I wound up having to take the shaft out of the tool and use vice grips to spin it out. I'm guessing I just overtightened it.
Grinding and Painting
I did some grinding on the joints to clean them up a bit, but did't hit them too hard. I shaped the lips with an angle grinder to make up for how it was deformed by by the torch. After grinding, spray painted the brackets a matte black. Two coats of paint were needed for full coverage.
Mounting to the Desk
It turns out the C mounts were a tiny bit too narrow with the rivnuts sticking through them, but this was solved by bending the C slightly wider. An M6 screw made sure that the mounts didn't shift once attached to the desk.
I was not smart enough to use my house-shaped magnets to ensure that the brackets were square, but this wound up not mattering at all -- the shelf was quite level when attached to the desk. The shelf rest on top of it without a problem, and stayed firmly in place without wobbling at all. All I had to do after that was load it up with toys.
The mounts attached to the desk with the shelf resting on it.
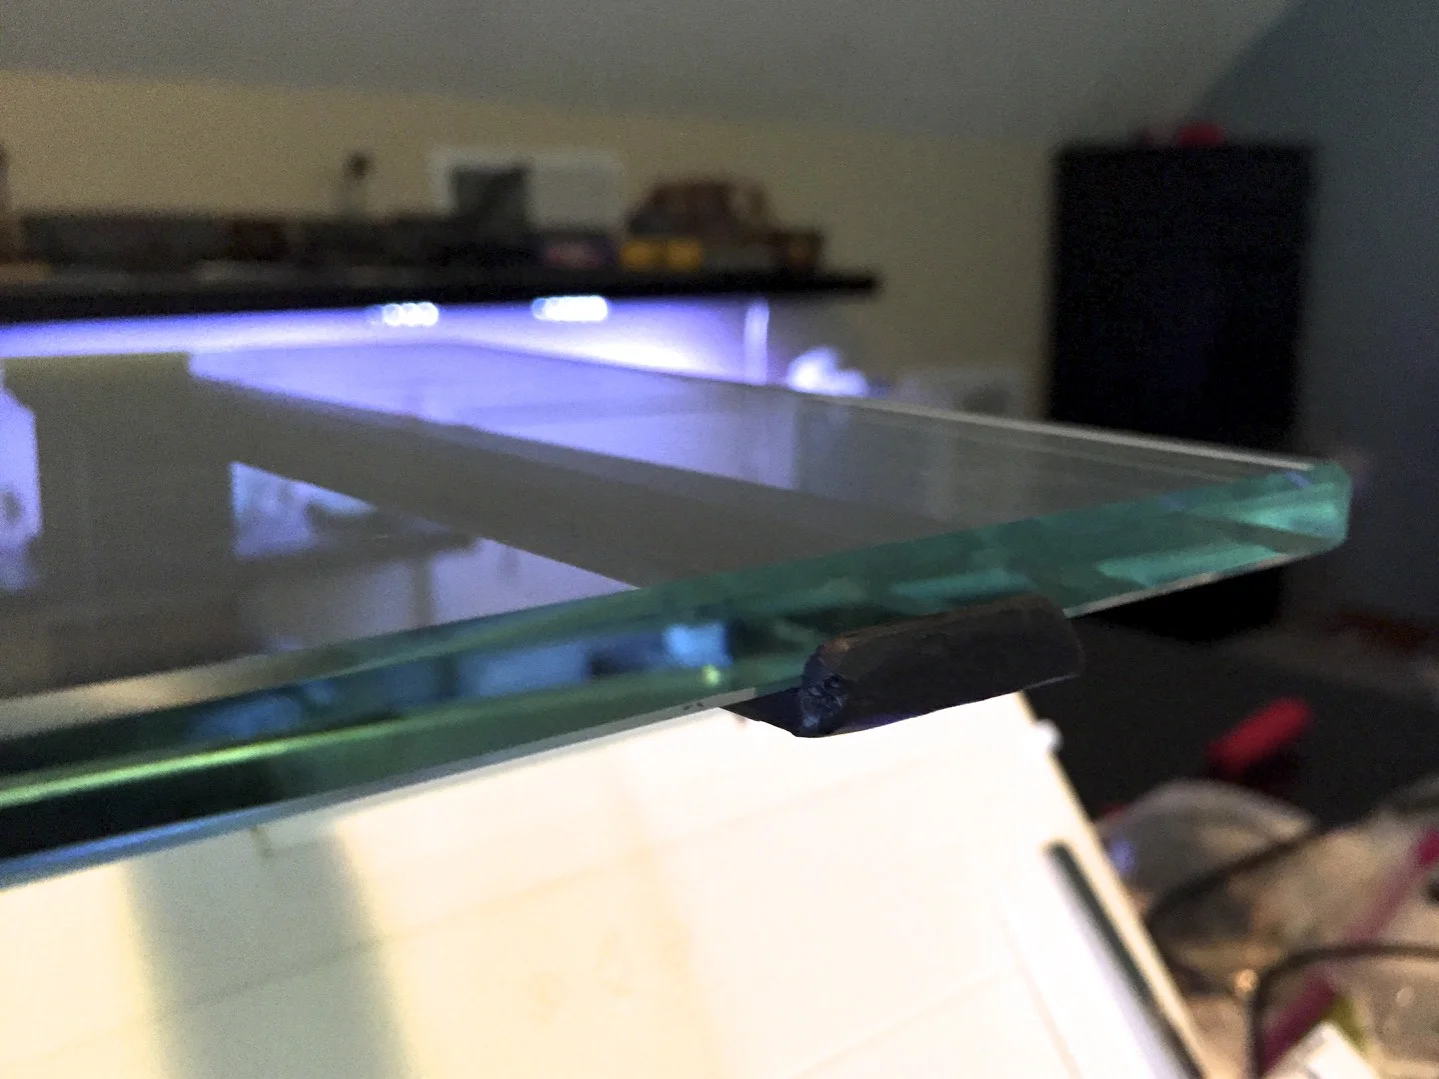
One of the lips that keeps the shelf from slipping.
One of the mounts extending over my document scanner. The screw can be seen poking out under the mount, holding it to the desk.
The shelf clears my laptop's screen easily.