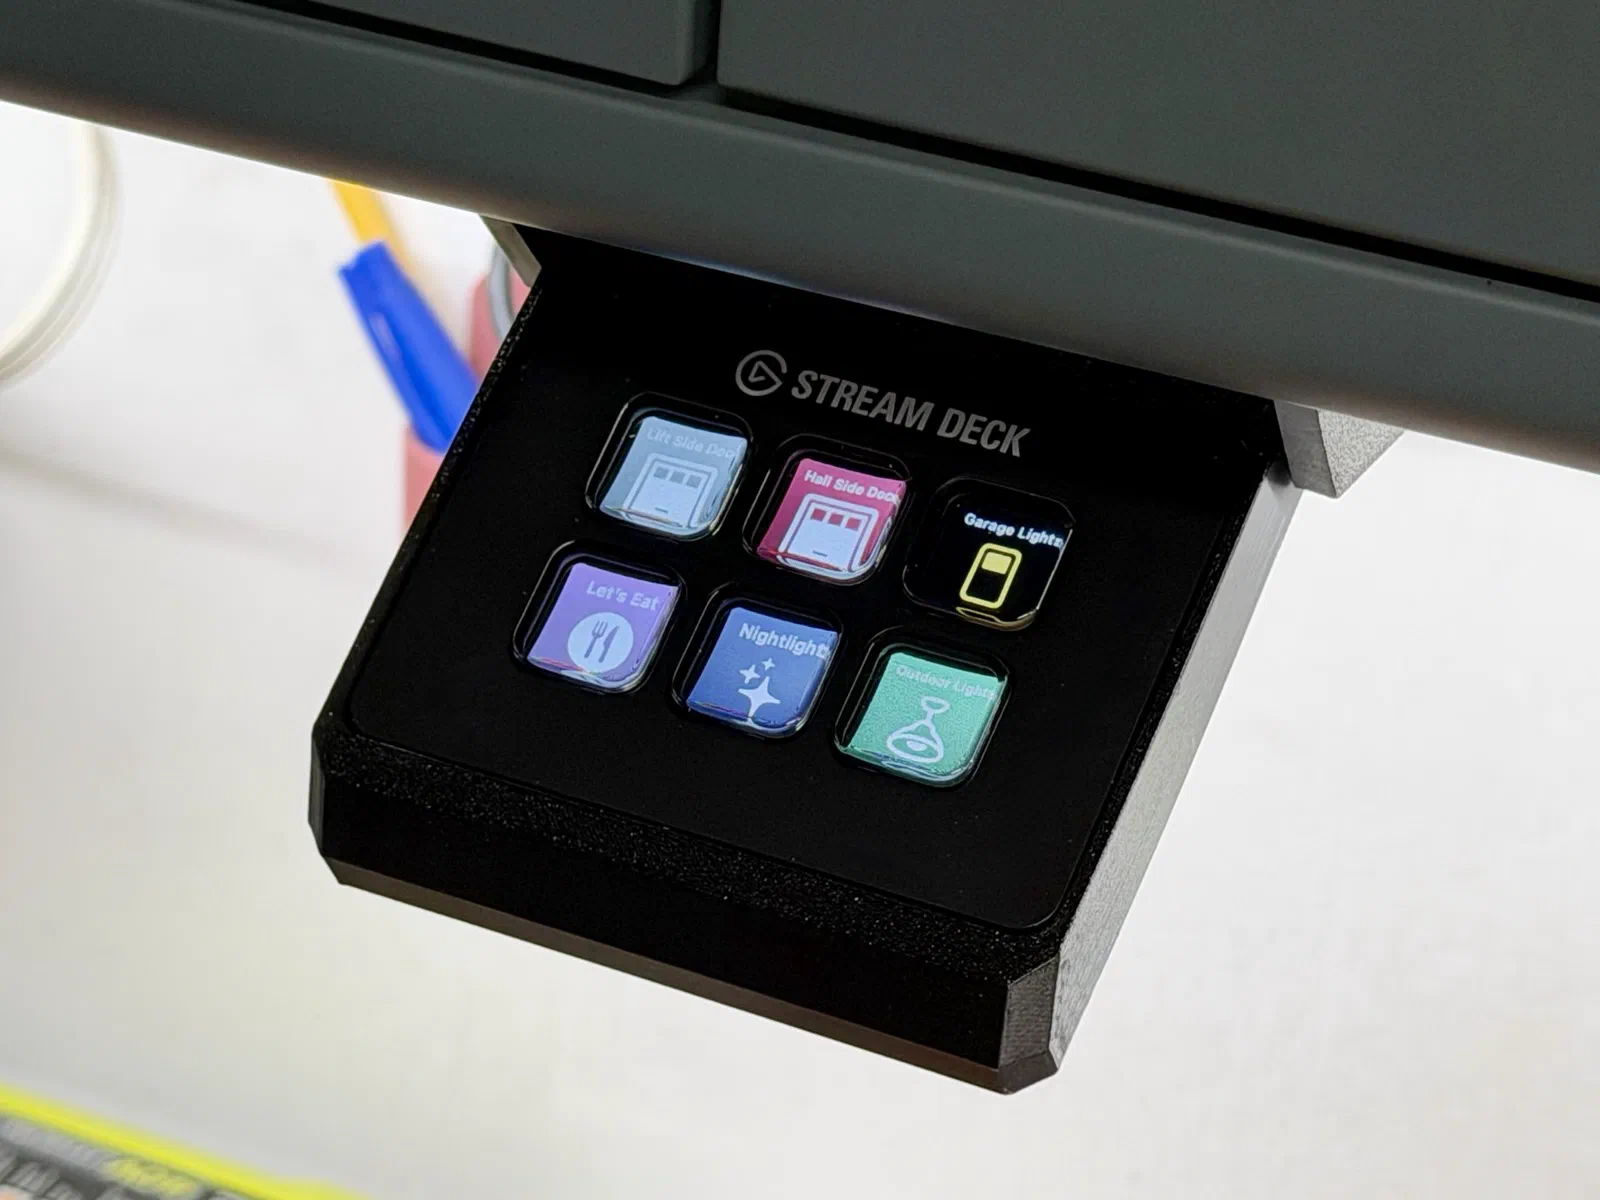
ESPDeck turns an Elgato Stream Deck into a HomeKit control panel that you can put anywhere in the house. It started as a way to do something useful with a spare Stream Deck Mini I had lying around, and quickly evolved into a polished tool for anyone with a spare Stream Deck and a few readily available support parts.
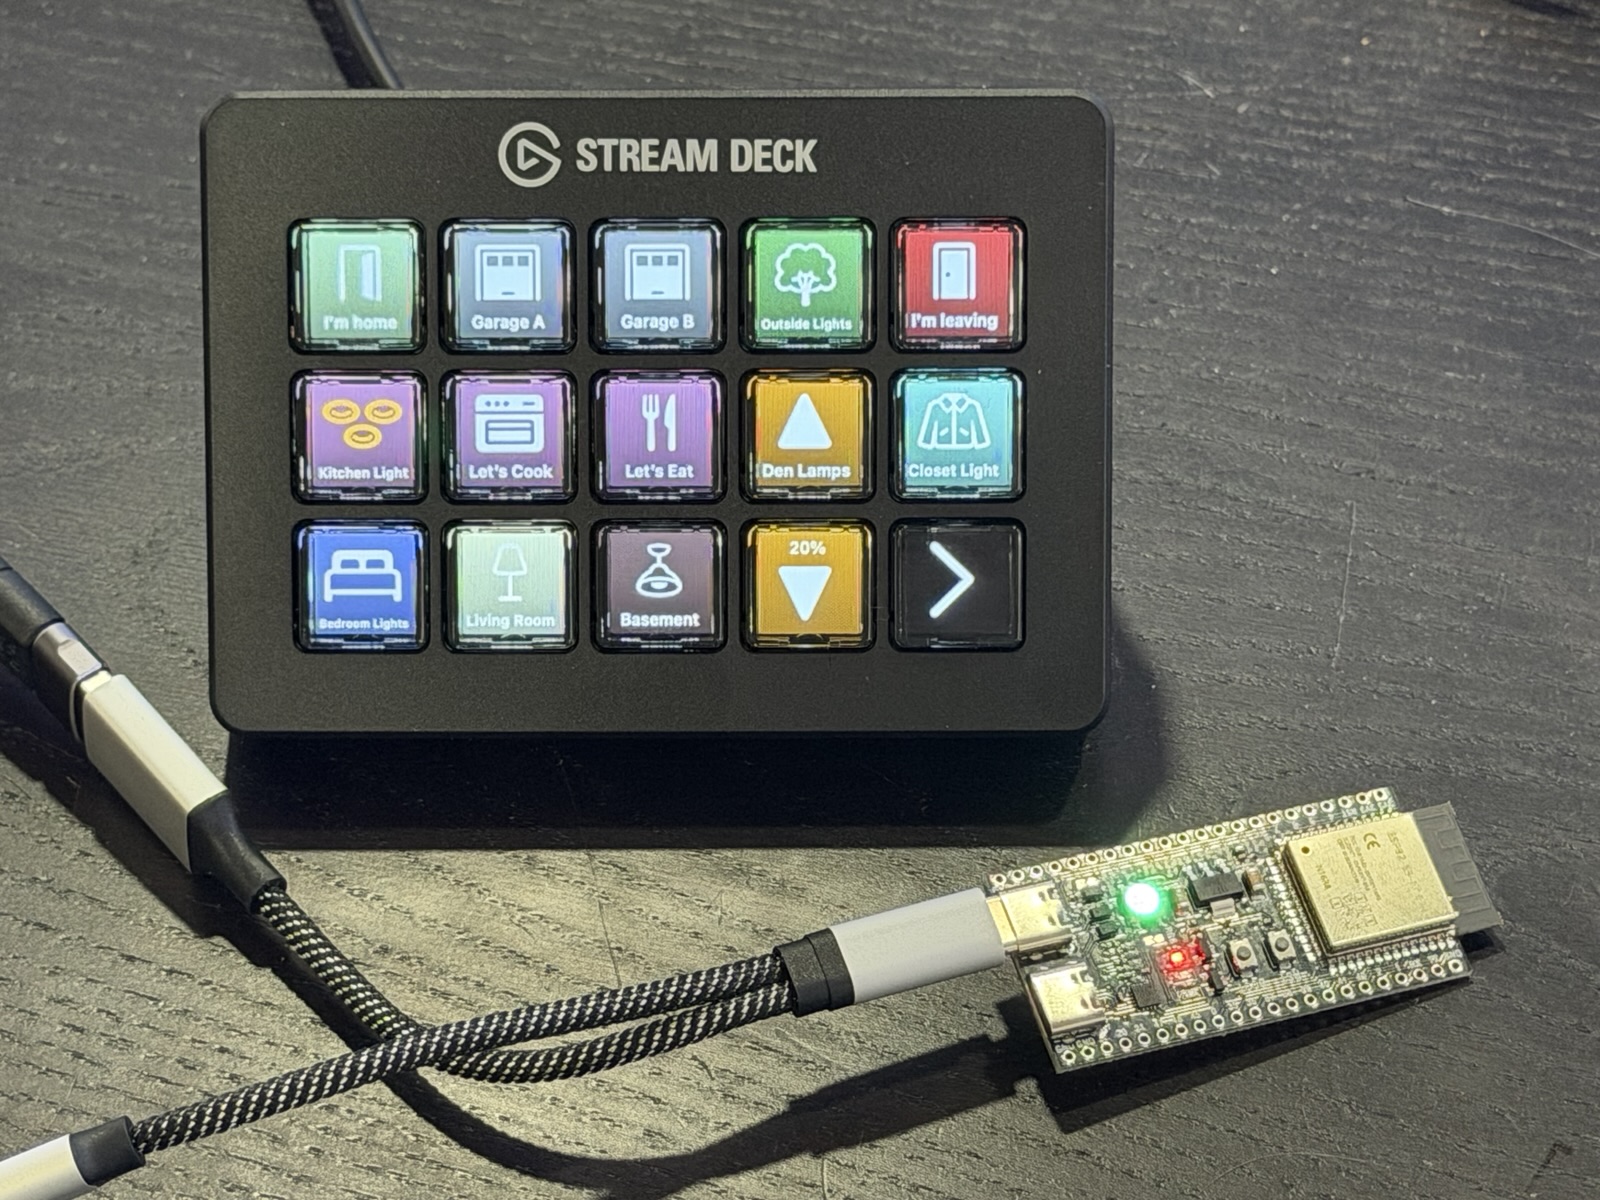
The catch with a Stream Deck is that it's meant to be plugged into a computer. ESPDeck replaces the computer with a small ESP32-S3 dev kit, which talks over Wi-Fi to an app running on a Mac somewhere else on the network.
It's a build-it-yourself project, but there's no soldering involved. It's also open source, and there's no account to create or cloud service to rely on. All of the details are over at espdeck.tmproductions.com, and the source can be found on GitHub.
As an Amazon Associate, I earn from qualifying purchases (learn more here), so if you want to support me, that’s a good way to do it.
How This Came About
I recently discovered the Xcode commands to take screenshots from my devices while developing apps. I wrapped them in scripts that would drop them into a screenshot folder and copy them directly to the clipboard. The next logical step was to give them buttons, so I got a 6-button Elgato Stream Deck Mini.
I quickly found other uses for the Stream Deck, and upgraded to a 15-button Stream Deck MK.2. But now I had this 6-button one just lying around. Then I remembered that the ESP32-S3 can act as a USB host, and a quick search found that Elgato publishes the protocol for talking to Stream Decks. In the past, this would have been a "this would be nice to get to someday" thing, but with agentic coding, I was able to get it together pretty quickly, and polish it up for anyone to use.
How It Works
There are three parts to the system:
- An ESP32-S3 dev kit, which plugs into the Stream Deck and powers it. All it does is pass key presses one way and pictures the other.
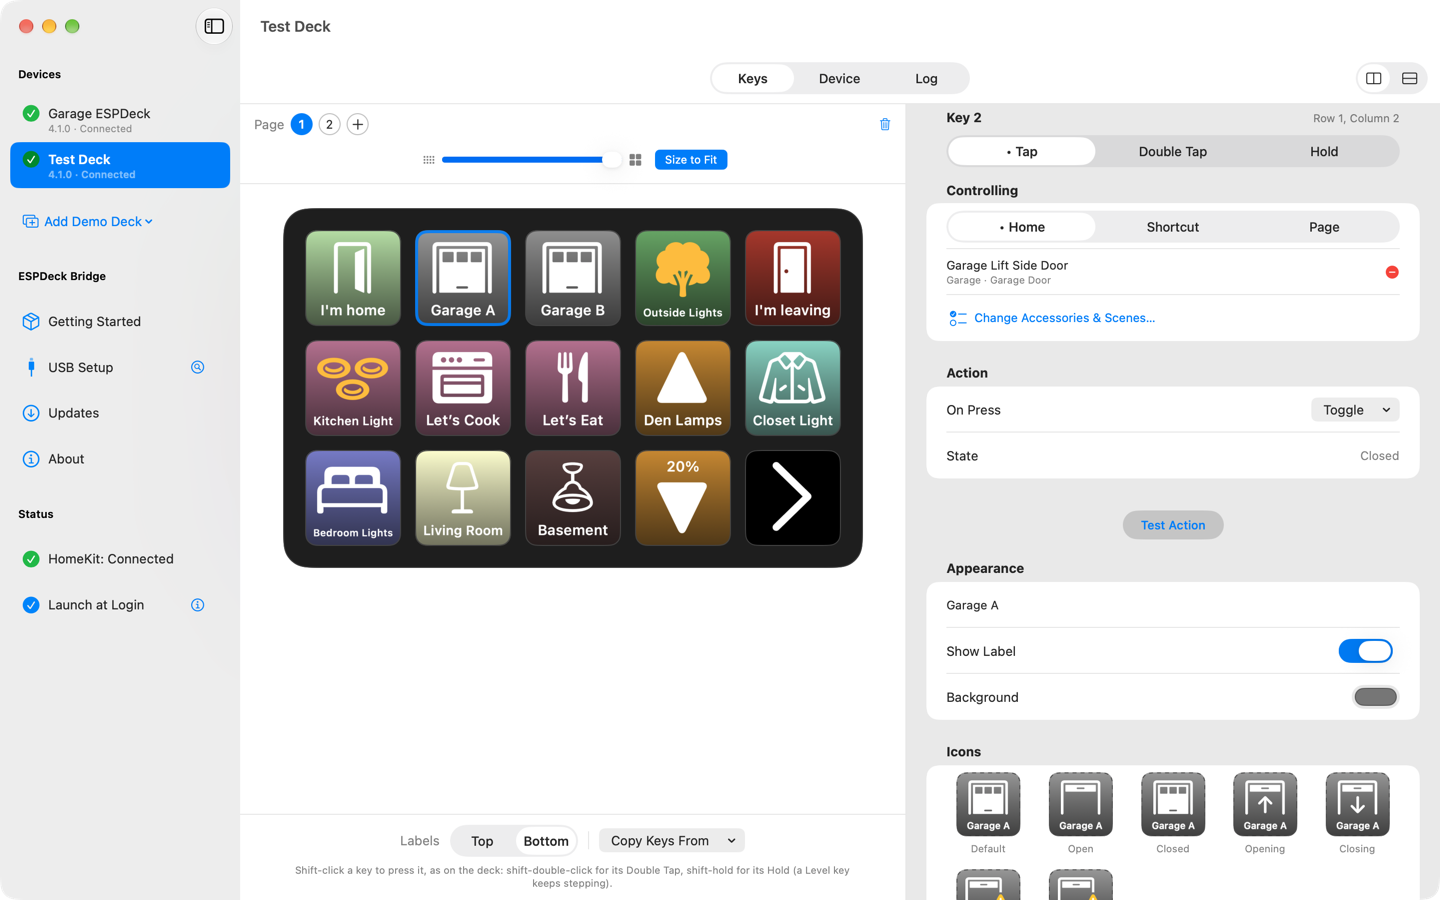
- ESPDeck Bridge, a Mac app that does the real work. It watches HomeKit, draws every key, and triggers actions when keys are pressed. This does mean that the Mac has to stay on.
- The Stream Deck itself, which can go anywhere the Wi-Fi reaches and there's a power outlet. By the door, on a nightstand, in the garage, or wherever else you want some buttons.
What It Does
Each key shows the state of its accessory: on or off, open, opening, closed, locked and so on. You can pick the icon, label and color for each state, so a garage door key can look different when the door is open, opening, closed, closing or stopped.
A key can toggle a single accessory or a few of them together, run a scene, or run a Shortcut. Taps, double taps and holds can each do something different on the same key.
For lights and fans, a pair of keys steps the brightness or the speed up and down, and holding a key keeps stepping.
A few other things it does:
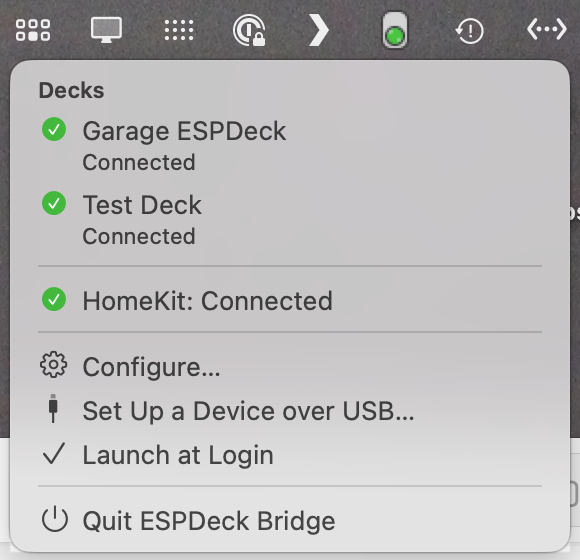
- A deck can have as many pages of keys as you like, and several decks can share one Mac.
- The deck's screen sleeps on a timer, or when something changes in HomeKit, like a door locking.
- A deck only listens to the Mac it's paired with, and everything stays on your own network.
- There's a demo deck in the app, so you can lay out keys and test their actions before buying or building anything.
ESPDeck Bridge
The Mac app is where you lay out a deck's keys. It lives in the menu bar and mostly stays out of the way.
It also handles the setup. The app installs the firmware on the dev kit over USB, joins it to your Wi-Fi and names it. After that, updates are sent over Wi-Fi, so you don't have to plug it back in.
Supported Stream Decks
Every Stream Deck with keys works: the Mini, Original, MK.2, XL, Neo, +, Pedal and the modules. Only the keys are used, though. Dials, touch strips and second screens aren't supported.
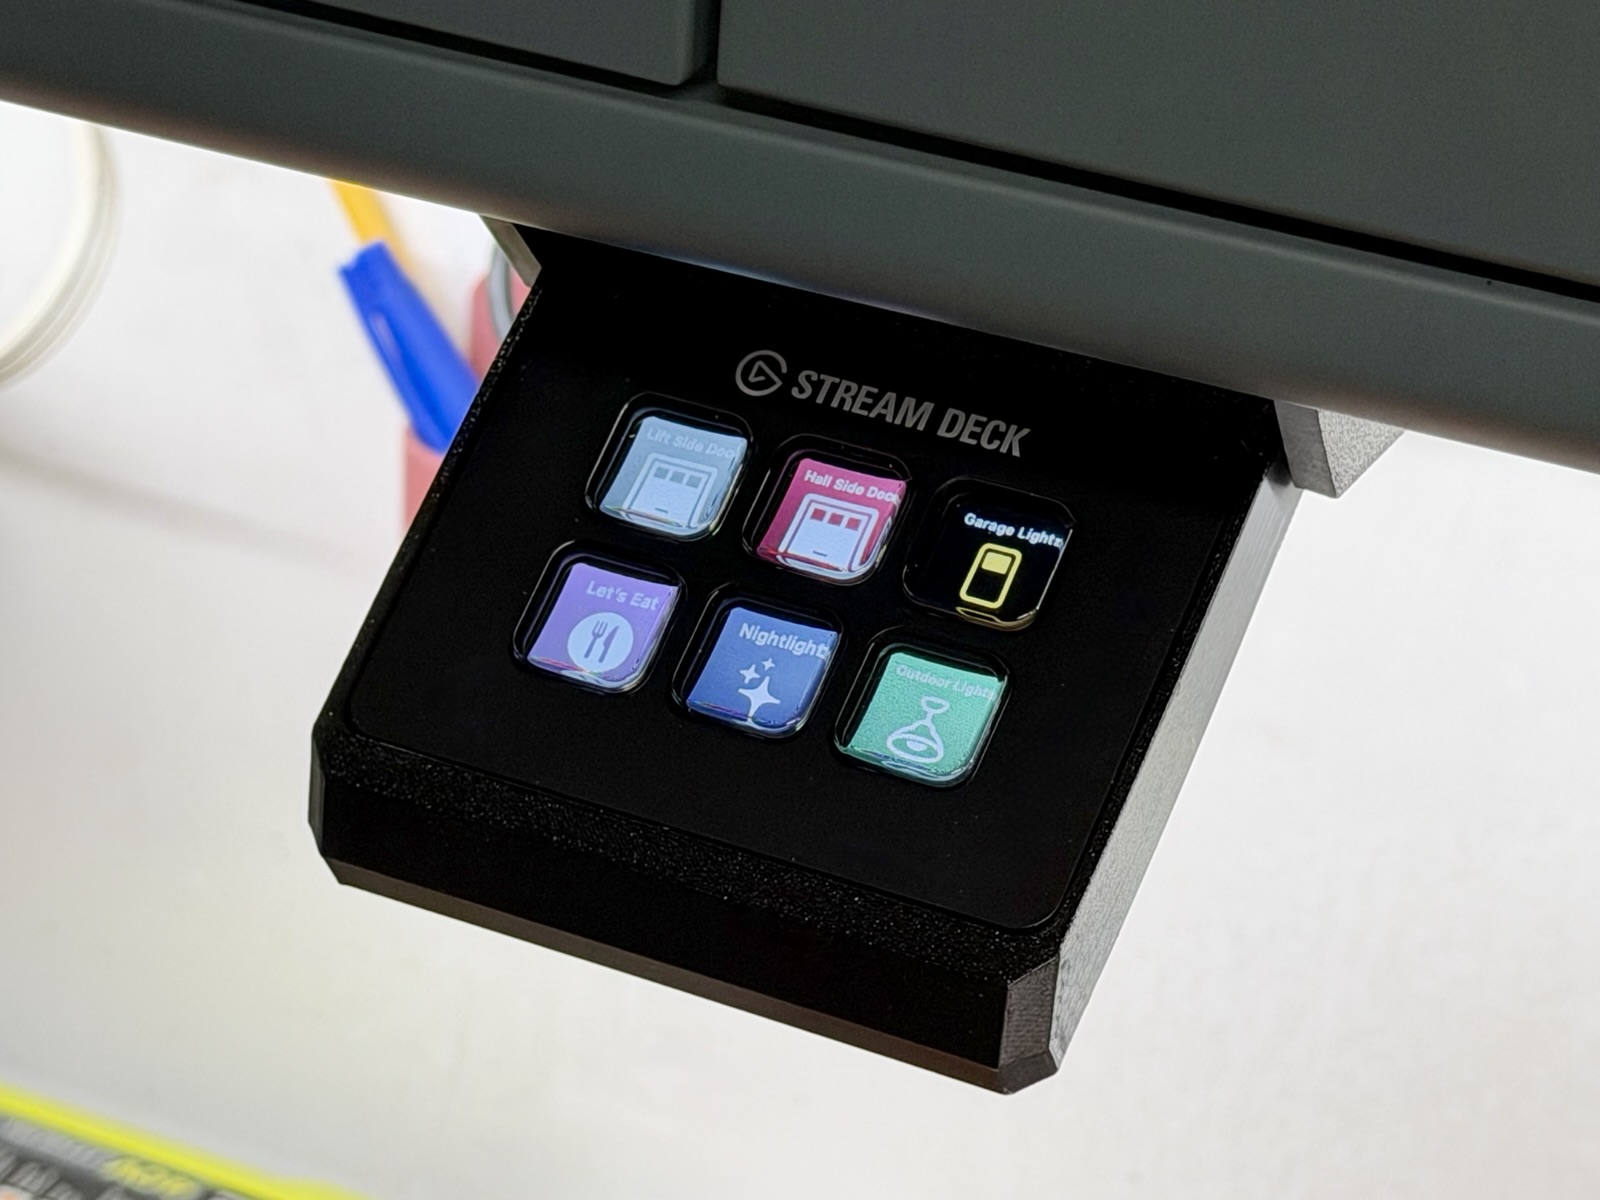
I have a Mini mounted under a shelf in my garage, using a 3D-printed slide-out mount. This puts the garage doors and lights a button press away.
What You Need
You don't need much: a Stream Deck, a dev kit and a few cables.
- Stream Deck
- ESP32-S3 dev kit. It needs to have 16 MB of flash and 8 MB of PSRAM, which is usually sold as N16R8.
- USB-C OTG adapter
- USB-A to USB-C adapter
- 5 V power supply
- USB-C data cable
I've linked to parts that are known to work with ESPDeck. The adapters in particular are easy to get wrong, so the full parts list goes over what to look for if you're buying something else.
You also need a Mac running macOS 14 or later. It has to stay on, and it has to be signed in to an iCloud account that's part of your Home. Finally, you need a 2.4 GHz Wi-Fi network for the dev kit.
Getting Started
- Get the Mac app. ESPDeck Bridge is on its way to the Mac App Store. Until then, you can build it yourself with Xcode.
- Install the firmware. ESPDeck Bridge can do this over USB, or you can use the web installer from Chrome or Edge.
- Pair the deck and set up its keys. The setup guide goes over each step, and the FAQ covers what to do when something goes wrong.
ESPDeck is open source, and is released under the MIT License.
Elgato and Stream Deck are trademarks of Corsair Memory, Inc. HomeKit and Mac are trademarks of Apple Inc. ESPDeck isn't affiliated with, endorsed by, or sponsored by Elgato, Corsair, Apple, or Espressif.