
TiStrap
Aluminum strap mount for my old titanium Apple Powerbook.
circa 2001 - 2006
I didn't really like having a bag just for my Apple Powerbook and its accessories. I used to have a trench coat with a large number of pockets sewn into it, including specific places for my laptop power supply, mouse and a spare battery. I just needed a way to carry the laptop itself. My first attempt at using the security slot just bent the slot, proving nowhere near stable enough to hold the laptop by a shoulder strap, so I decided to design something a bit more robust.
TiStrap, Version 1
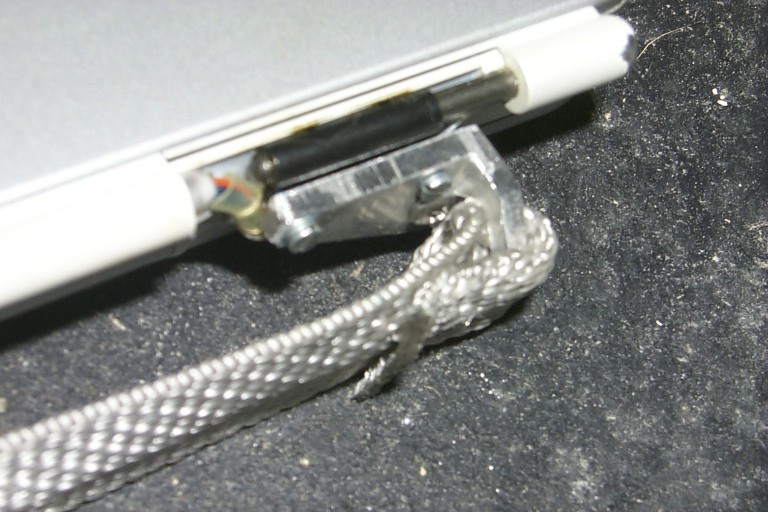
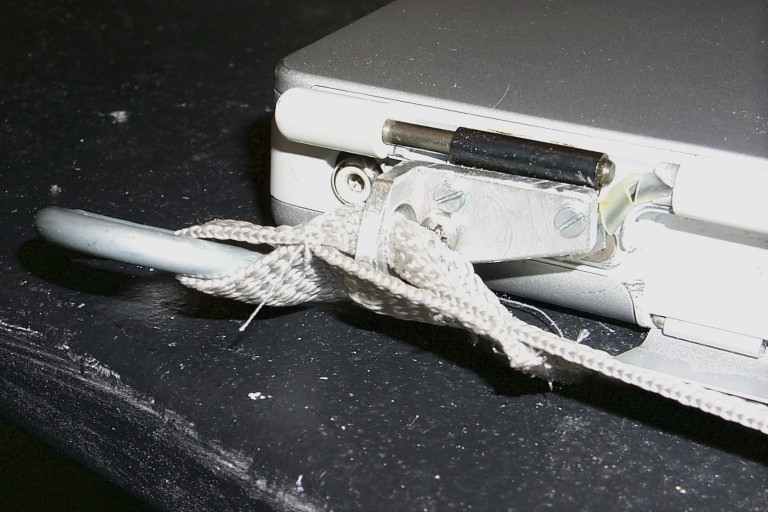
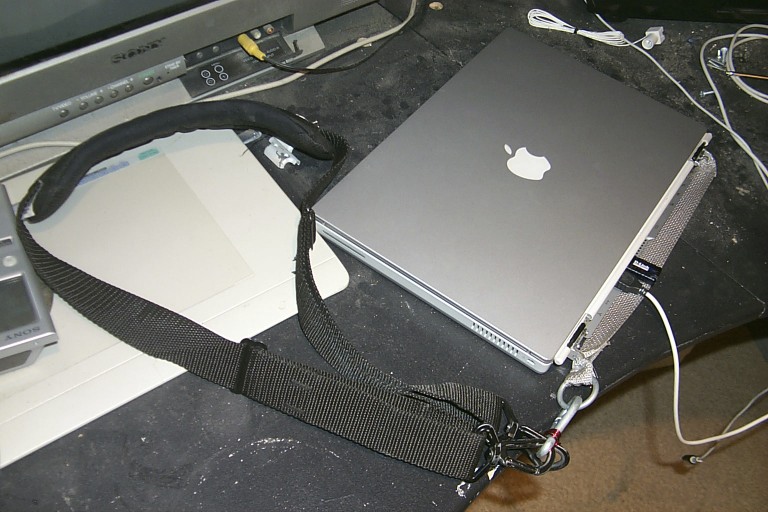
The design requirements for the strap were pretty simple: provide a ring to which a carabiner-style shoulder strap latch could be attached to. This meant finding a secure place to attach the ring to the laptop. The best mounting point on the titanium Apple Powerbook seemed to be the metal covers that were screwed over the screen hinges.
I used aluminum angle from the hardware store to create a pair of simple L-shaped mount with a hacksaw, rounding them out with a file. and a power drill. I ran a piece of nylon webbing through a hole in the L, sewed it together on the ends, and added a metal ring to serve as an attachment point for the shoulder strap.
To secure the mounts to the laptop itself, I removed the screen hinge covers and set them aside. found some slightly longer screws and used a pair on mount to secure them to the hinges. Loctite was used to make sure the screws didn't back out too easily.
This design worked pretty well in general use, and I never had the screws fail. Although they were short, the horizontal sheering force worked well to keep the shoulder strap in place. They were even strong enough that I could carry the nylon webbing as a handle. When used with a shoulder strap, the laptop dangled easily under my trench coat, while the coat itself kept the laptop from swinging around too much.
TiStrap, Version 2
When I upgraded my Powerbook to a new model, I also had to upgrade the TiStrap. I created new aluminum mounts using angle iron as before. This time I used three screws per mount: two screws from the hinge covers, and one of the screws that held the screen itself to the body. Those longer screws ensured that the strap was much stronger and less likely to fail.
This worked just as well as the old strap, and was used for a few years without any problems.

TiStrap, Version 3
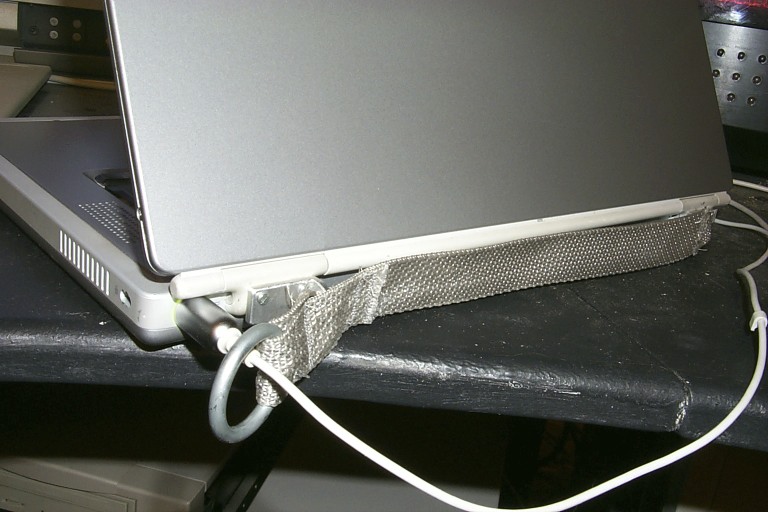
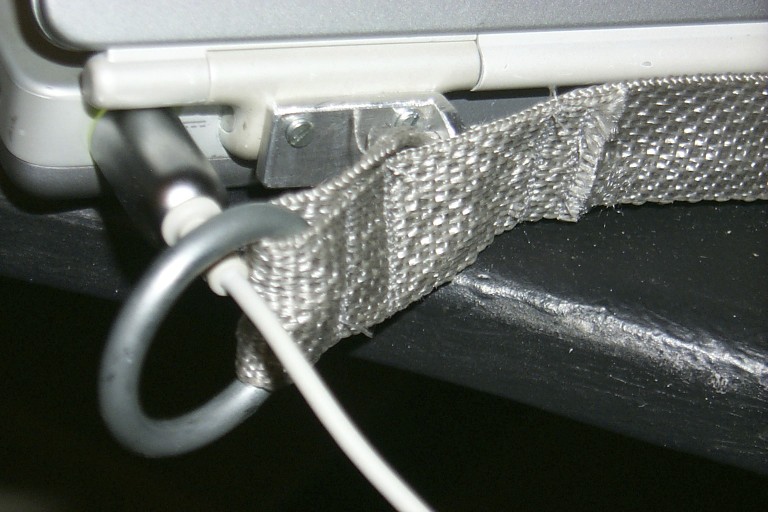
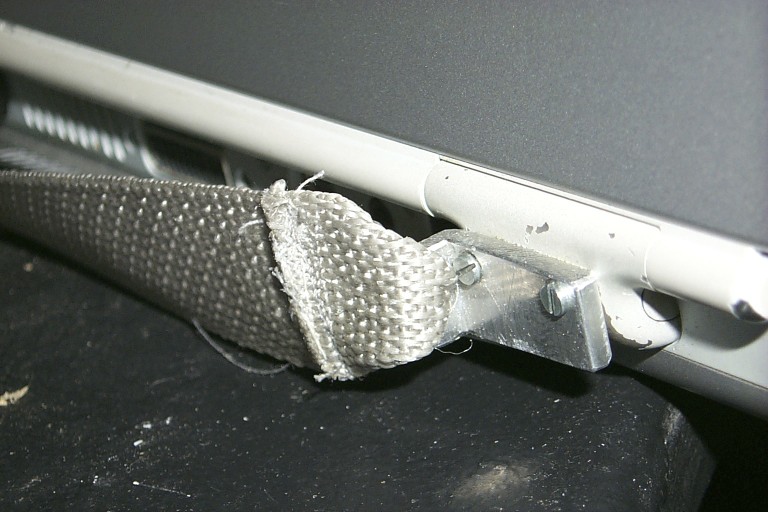
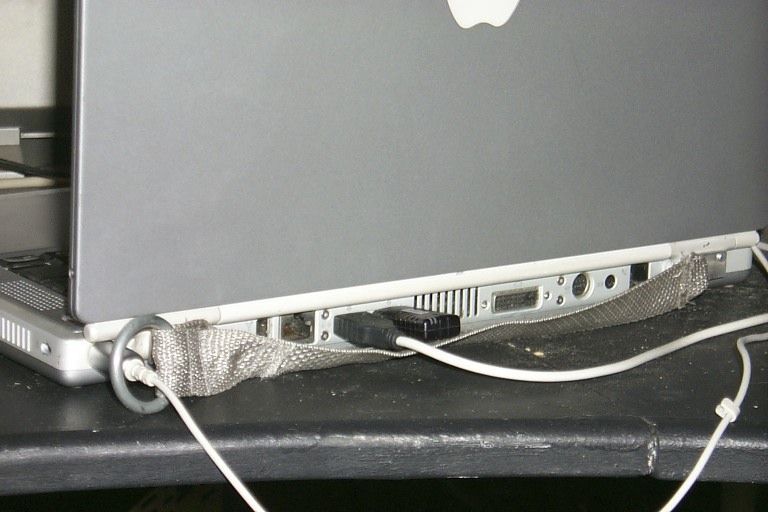
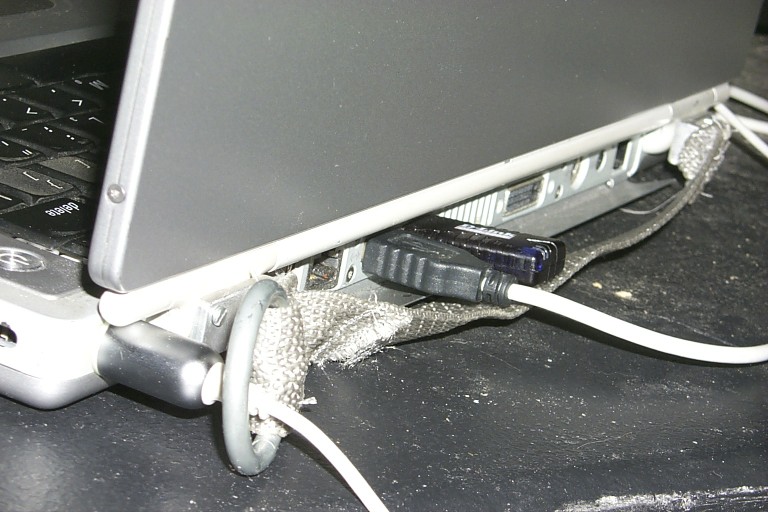
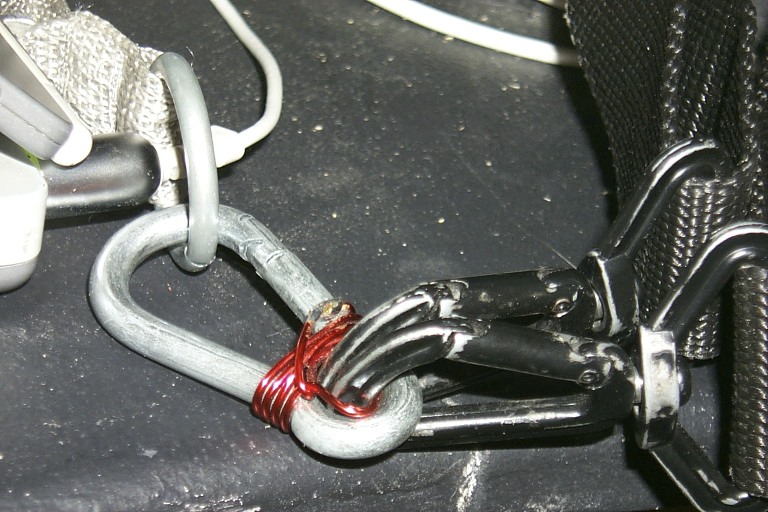
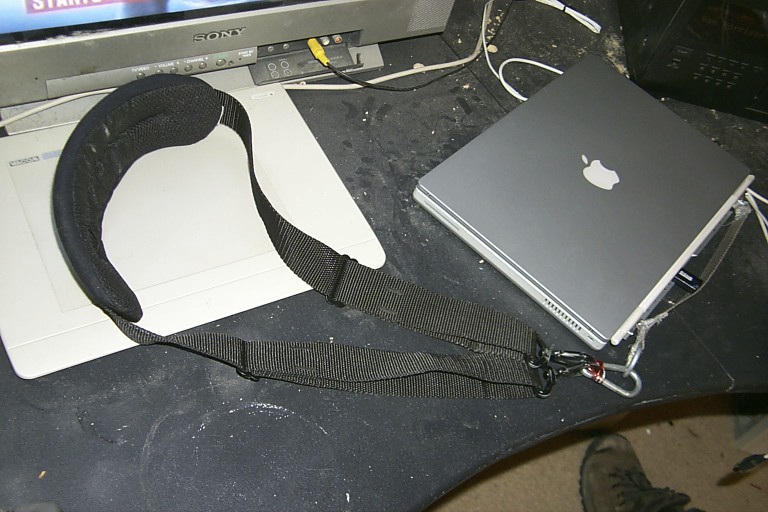
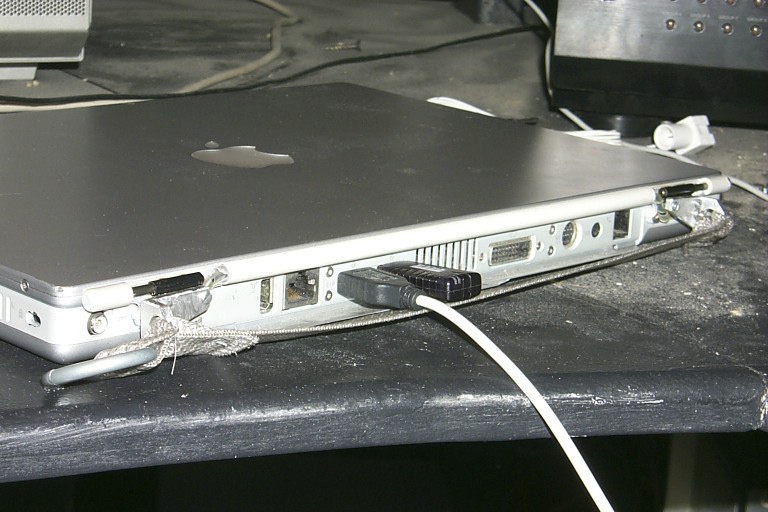
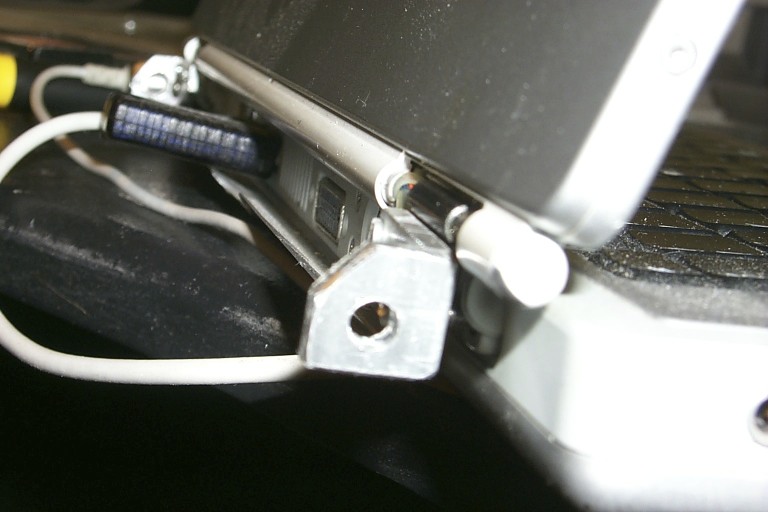
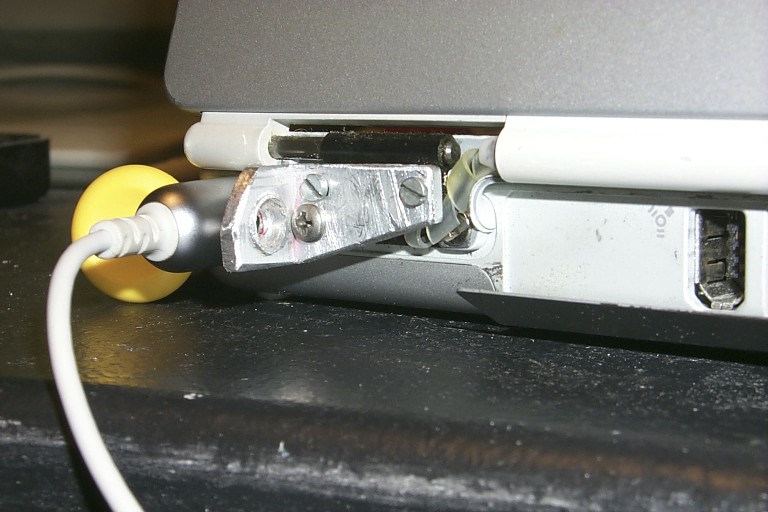
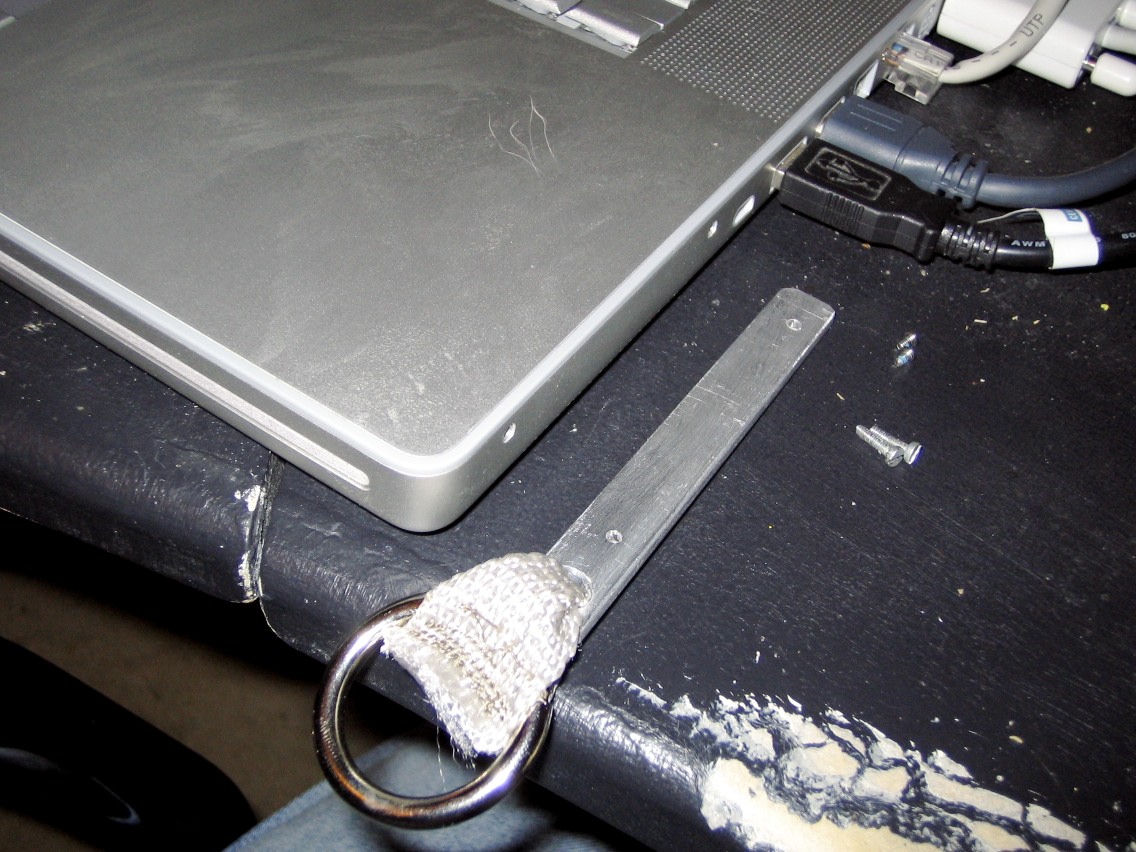
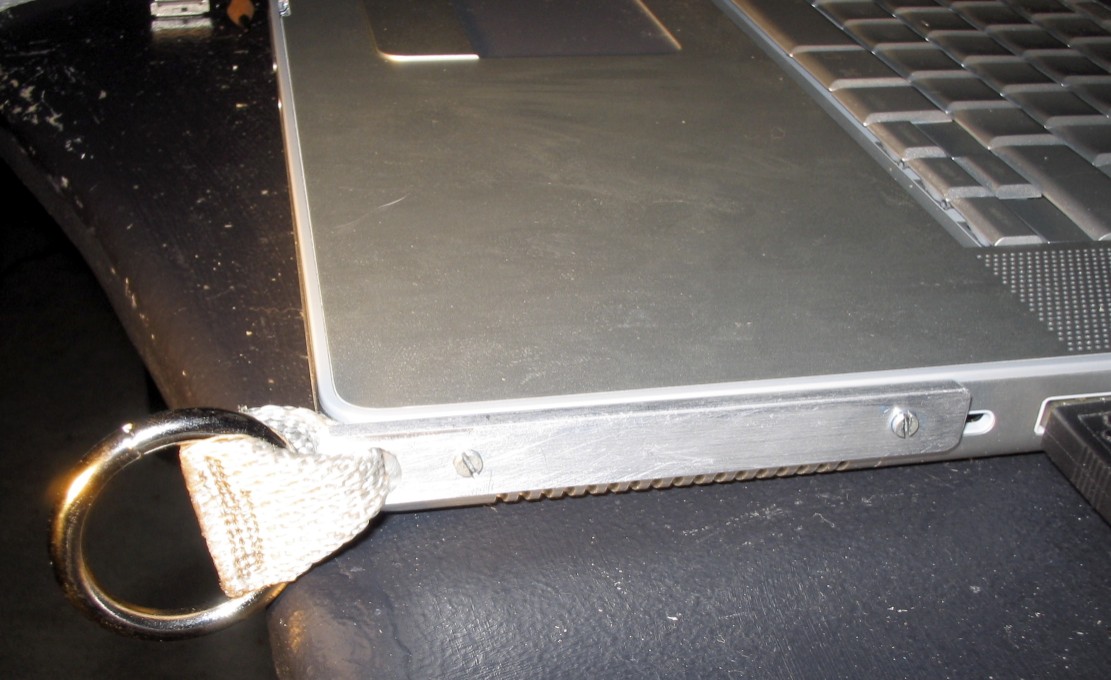
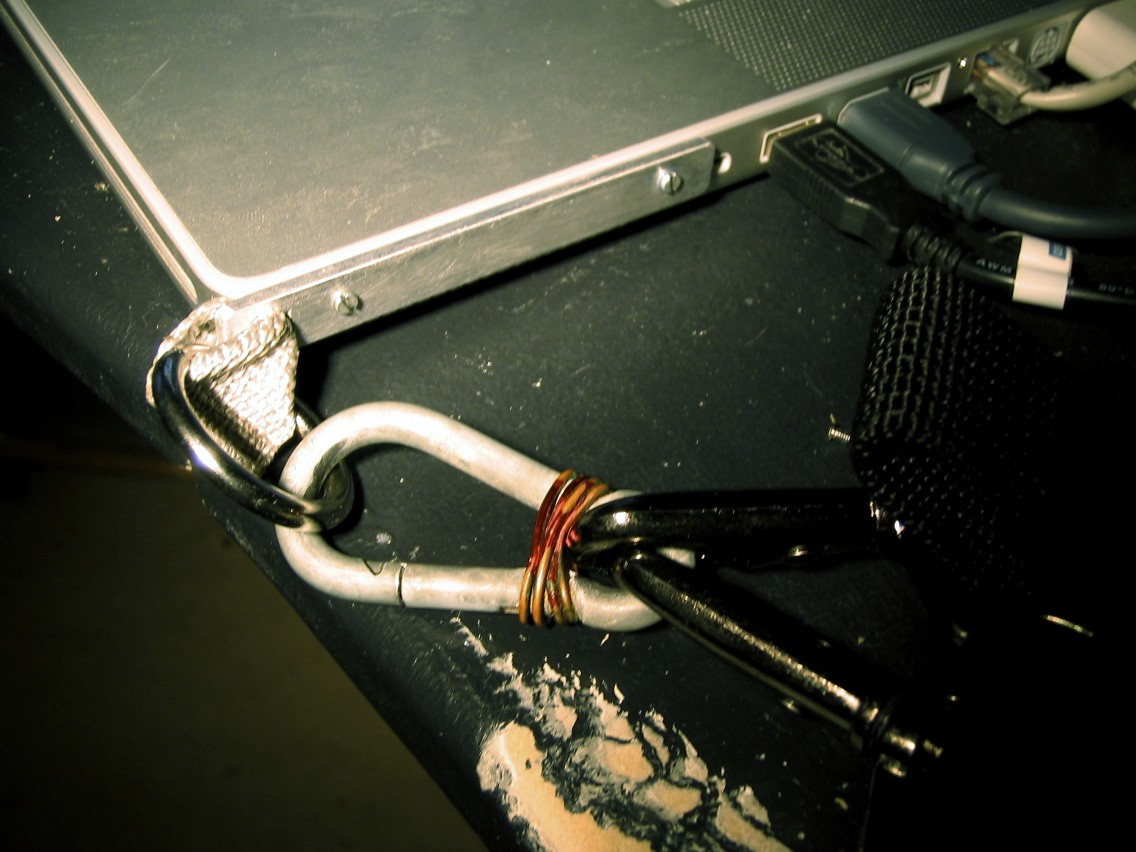
The third version of the strap was for my first aluminum MacBook Pro. The hinge had been redesigned such that I could no longer use it to mount my strap. Instead I removed two short screws from the left side of the laptop near the optical drive. I fabricated a new aluminum bar that I could attach to the side of the laptop with slightly longer screws. Due to the ports being on the side of the body, I could only use two screws to hold the bracket to the laptop. A short piece of webbing again secured a ring to the bar, which in turn was attached to a carabiner on a shoulder strap.
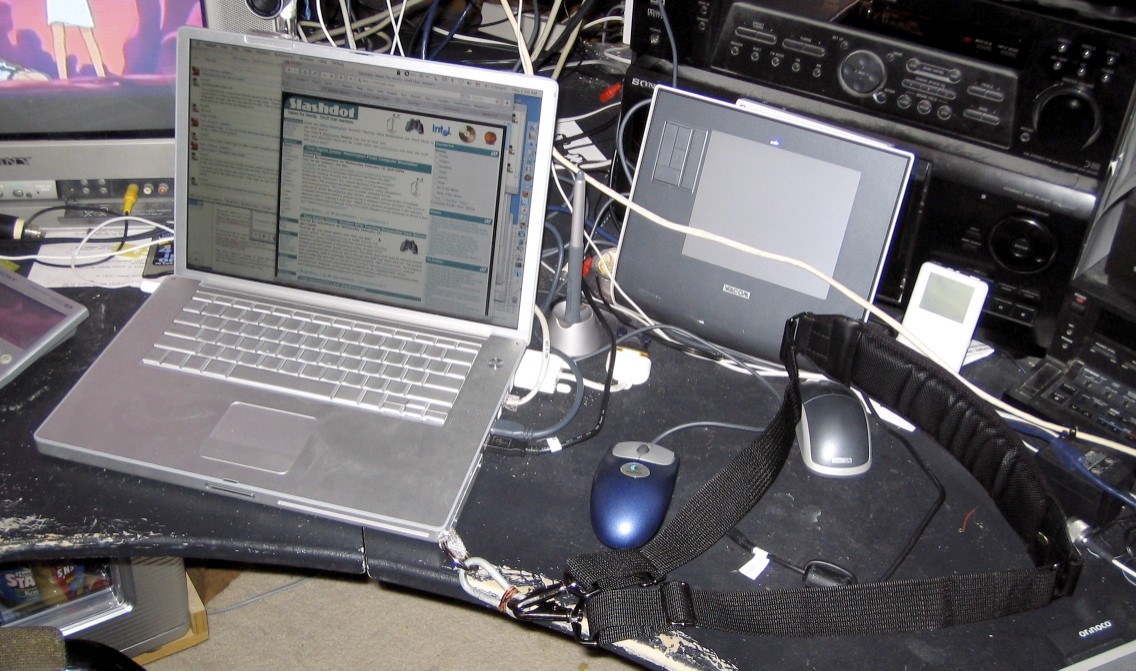
This design worked well enough, but due to only two screws being used and the mounting position on the side of the case, it was not nearly as strong as the pervious iterations, and in fact failed on me a couple of times, although no damage was taken by the laptop. Due to the position of the ring, the strap would get in the way of the mouse and had to be removed when not in use. The laptop could easily be carried by the ring without the strap as well, although this wasn't as comfortable as using the full nylon webbing strip that was in the early designs.

Legacy
Later model Apple laptops have made it much more difficult to design a strap like this, The only screws used in, say, a 2011 MacBook Pro, are on the bottom of the case. A new strap design would have to also act as "feet" to support the laptop, or it would wobble around on the desk. It's certainly feasible, but it's not something I've pursued. Ideally this aluminum foot would be molded to the rounded bottom edges of the case as well (especially since the screws are actually attached to the curved part of the base), but that's getting pretty complicated for the basic hand tools I have at my disposal. I also now have a Windows laptop that I carry around as well, and with the retiring of my trench coat I've had to move a laptop backpack that can handle the extra load and all of the associated accessories.